
How to Add Testimonials to Shopify (Text, Photo, Video)

To add testimonials to Shopify, install the WiserReview app, pick a testimonial widget, and add it to your theme as an app block. Text, photo, and video testimonials then show on any page without code.
Shoppers look for proof before they buy from a store they don’t know yet. A testimonial near the product or the checkout button is the quickest proof you can give them.
This guide covers the setup, how to collect video testimonials, where to place them, and the mistakes that get them ignored.
Key takeaways
- WiserReview collects text, photo, and video testimonials after each Shopify order and shows them in widgets you drop into the theme editor.
- On Shopify 2.0 themes the widget is an app block, so there’s no code to paste.
- Product pages, the homepage, and the thank-you page are the three spots that do most of the work.
- Pair the widgets with WiserNotify pop-ups to show recent reviews as shoppers browse.
Why Add Testimonials to Shopify?
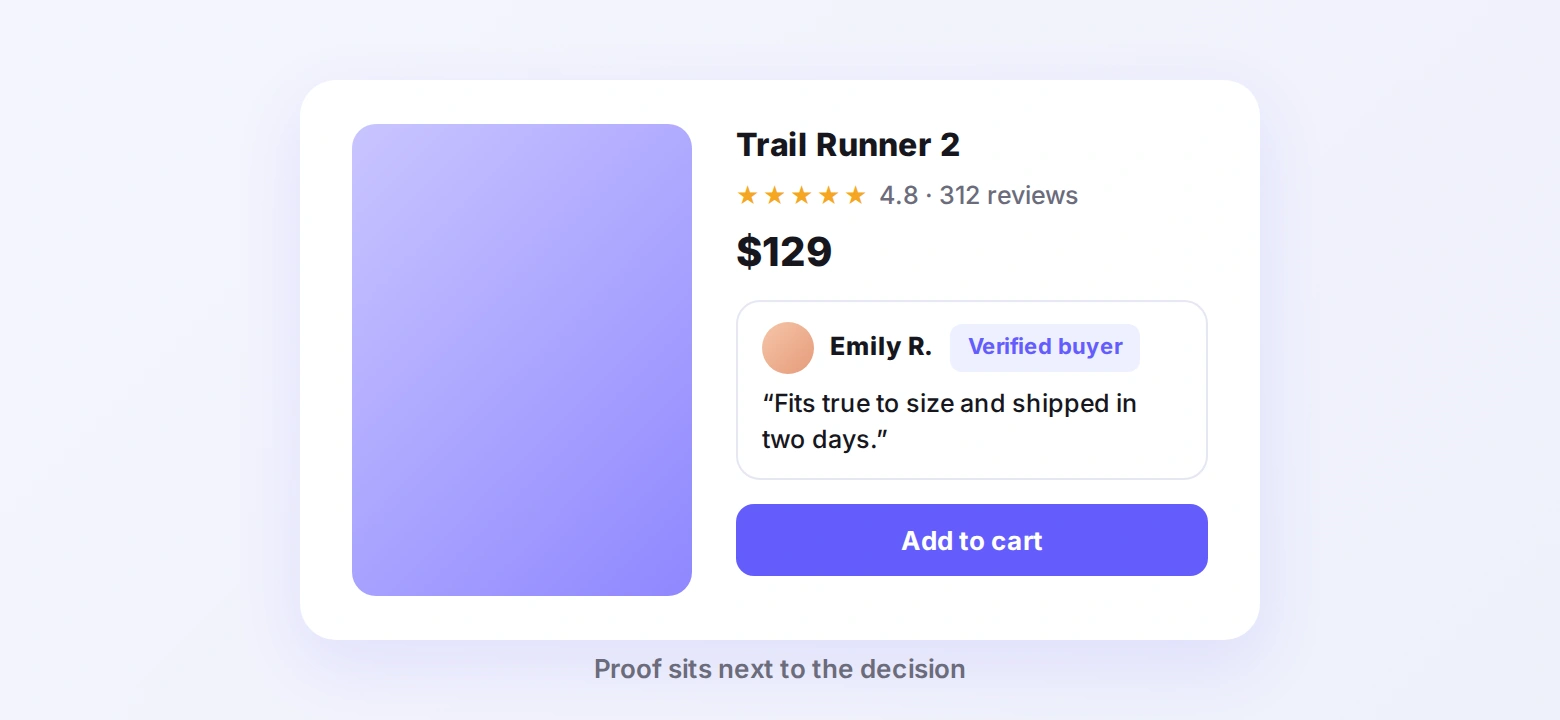
Most online shoppers don’t know you personally. So the first thing they look for is proof that your products work, your service is reliable, and your store can be trusted. That’s where testimonials help.
Customer testimonials are word-of-mouth for your online store. They give shoppers the reassurance they need before buying, especially on a first visit. Our testimonial statistics post has the numbers behind that.
Adding testimonials to your Shopify store helps you:
- Build trust by showing real customer feedback
- Give proof that your product solves a problem
- Reduce hesitation, especially for first-time buyers
- Support your product descriptions with real-life results
Build trust & FOMO
Highlight real-time activities like reviews, sales & sign-ups.

Theme Testimonial Section or App?
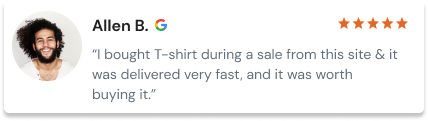
Some Shopify themes ship a testimonial section, and it works for a handful of quotes you type in yourself. An app route collects the testimonials, verifies them, and keeps the section current without edits.
| Theme testimonial section | WiserReview widget | |
|---|---|---|
| Where the quotes come from | Typed in by hand | Collected after each order |
| Proof | No verified badge | Verified buyer tag on every review |
| Formats | Text, sometimes a photo | Text, photo, and video |
| No review schema | Rich snippets and star ratings in search | |
| Upkeep | Edited manually | New reviews appear on their own |
The theme section is fine for a launch-day page with three quotes. Once orders are coming in, the typed quotes stop matching what customers are saying, and that is the point to switch.
How to Add Testimonials to Shopify




Put the Widget on Your Shopify Theme
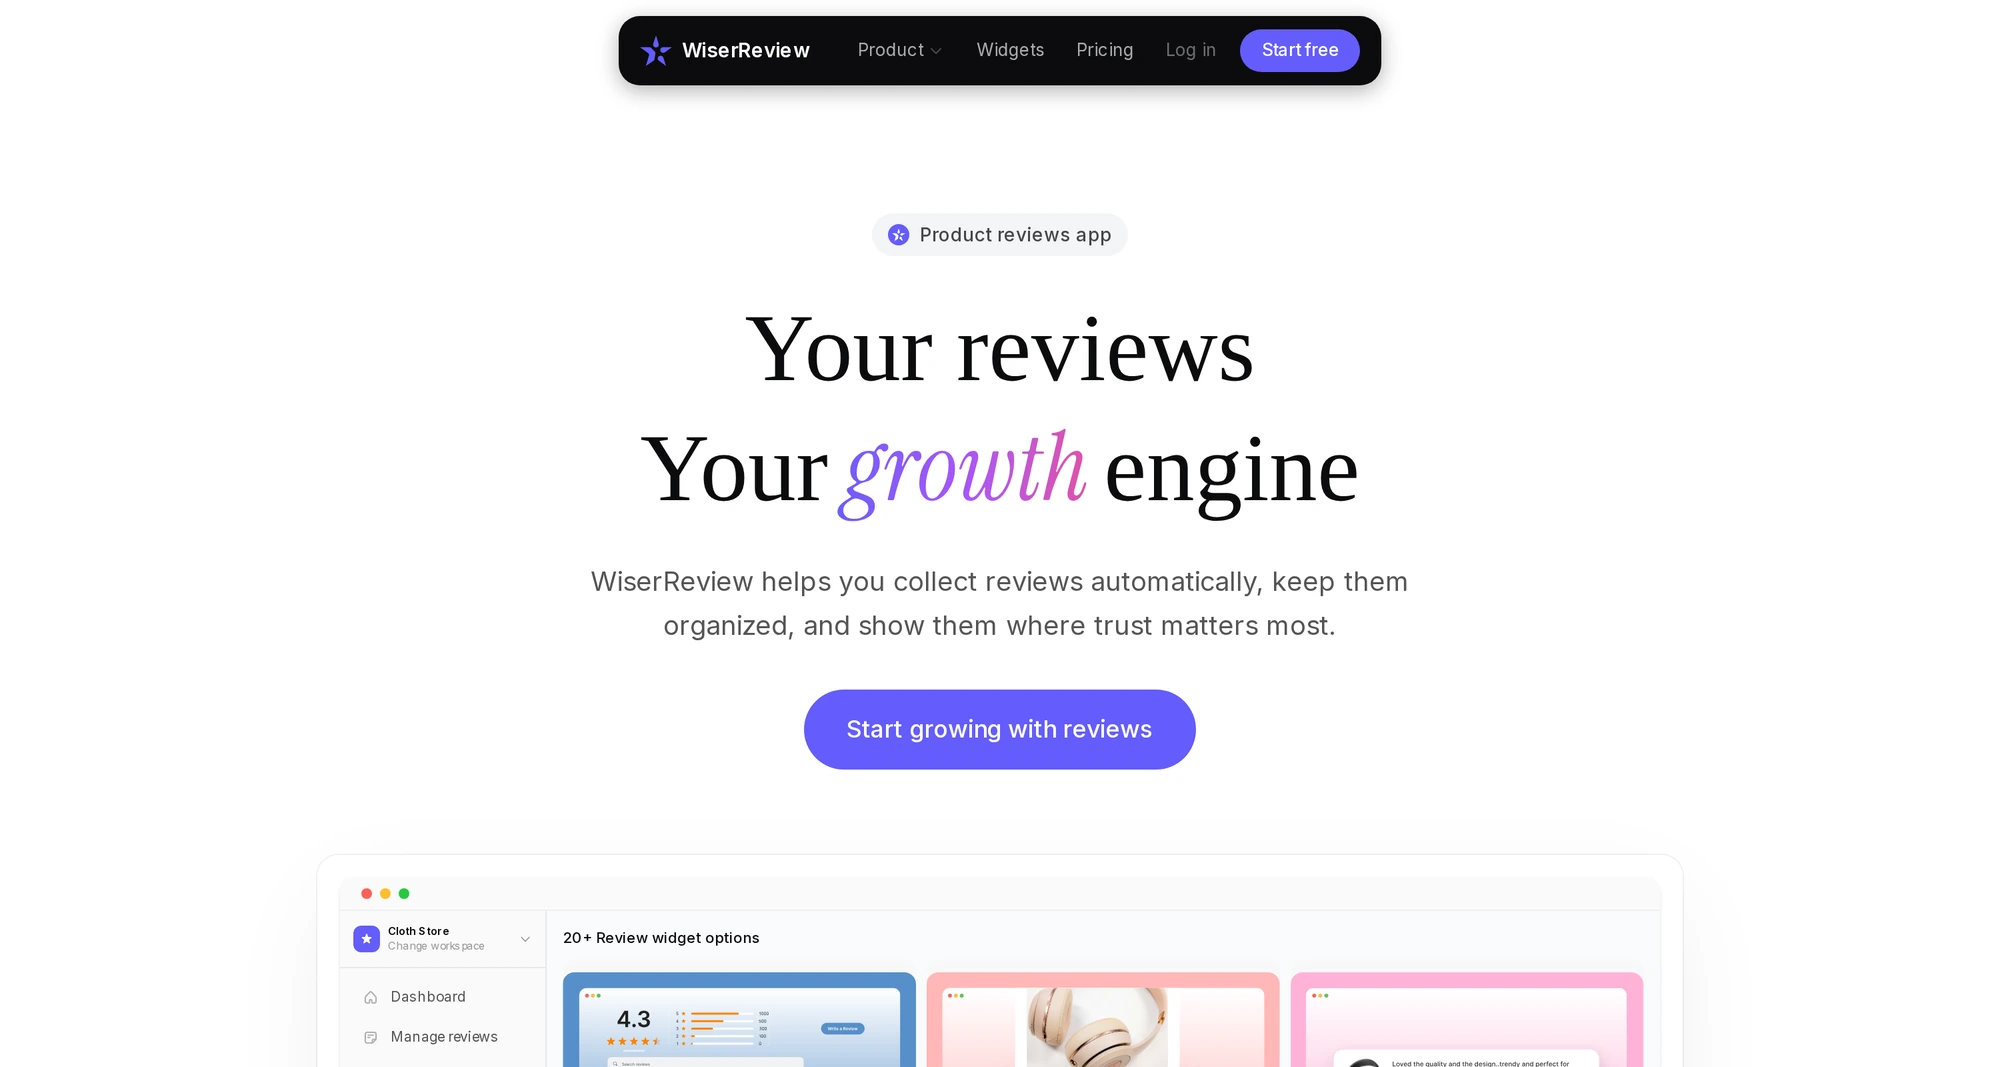
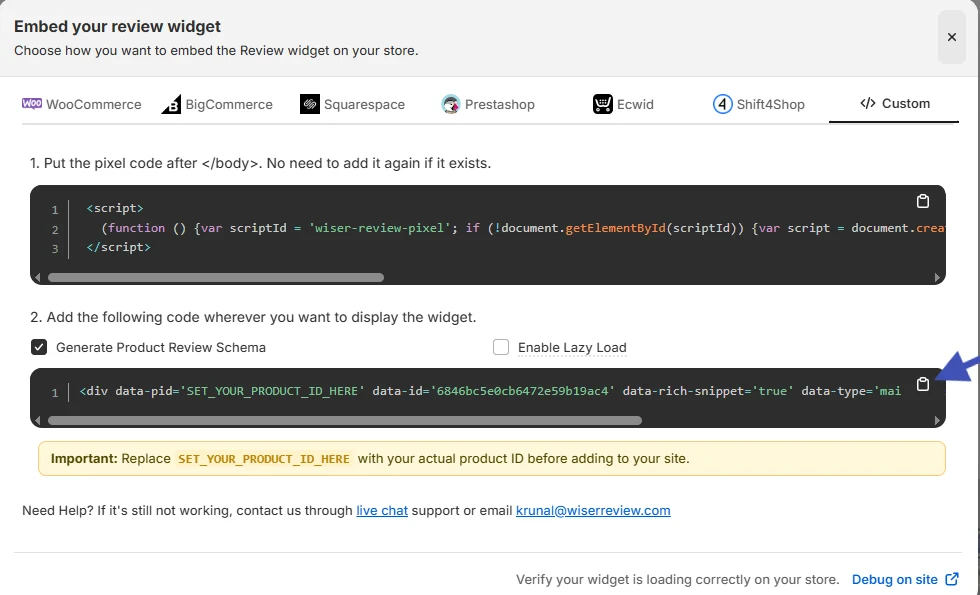
On Shopify, WiserReview is an app, so the widget goes into your theme as an app block instead of pasted code.
- Install the app: in Shopify admin, go to Apps, then Shopify App Store, search for WiserReview, and click Install.
- Open your widget: go to Apps, then WiserReview, then Widgets, and click Configure on the Carousel, Wall of Love, or Nudges widget you set up above.
- Add it to the theme: click Install, choose “Embed app via drag and drop,” then Customize Settings. In the theme editor, open the page, click Add block, pick the WiserReview widget, drag it into place, and save.
- Vintage themes: choose “Manual setup via code” instead and paste the render tag into your section file, such as sections/main-product.liquid.
- If the widget stays blank: go to Online Store, then Customize, then App Embeds, and switch WiserReview on.
Add Video Testimonials to Shopify
Video testimonials come through the same review request. In WiserReview, open Automation, create the Shopify automation, and keep photo and video uploads on in the request form.
Customers record a short clip from their phone, and it lands in Manage Reviews for approval.
Pick a widget that shows media, such as the Wall of Love or the Carousel, and the video plays inside the widget on your product page.
There’s no YouTube upload and no embed code. The video lives with the review, next to the star rating and the customer’s name.

Keep the videos short, natural, and focused on the customer’s results or experience. One strong clip can often do more than ten written reviews.
3 Testimonial Optimization Tips for Shopify
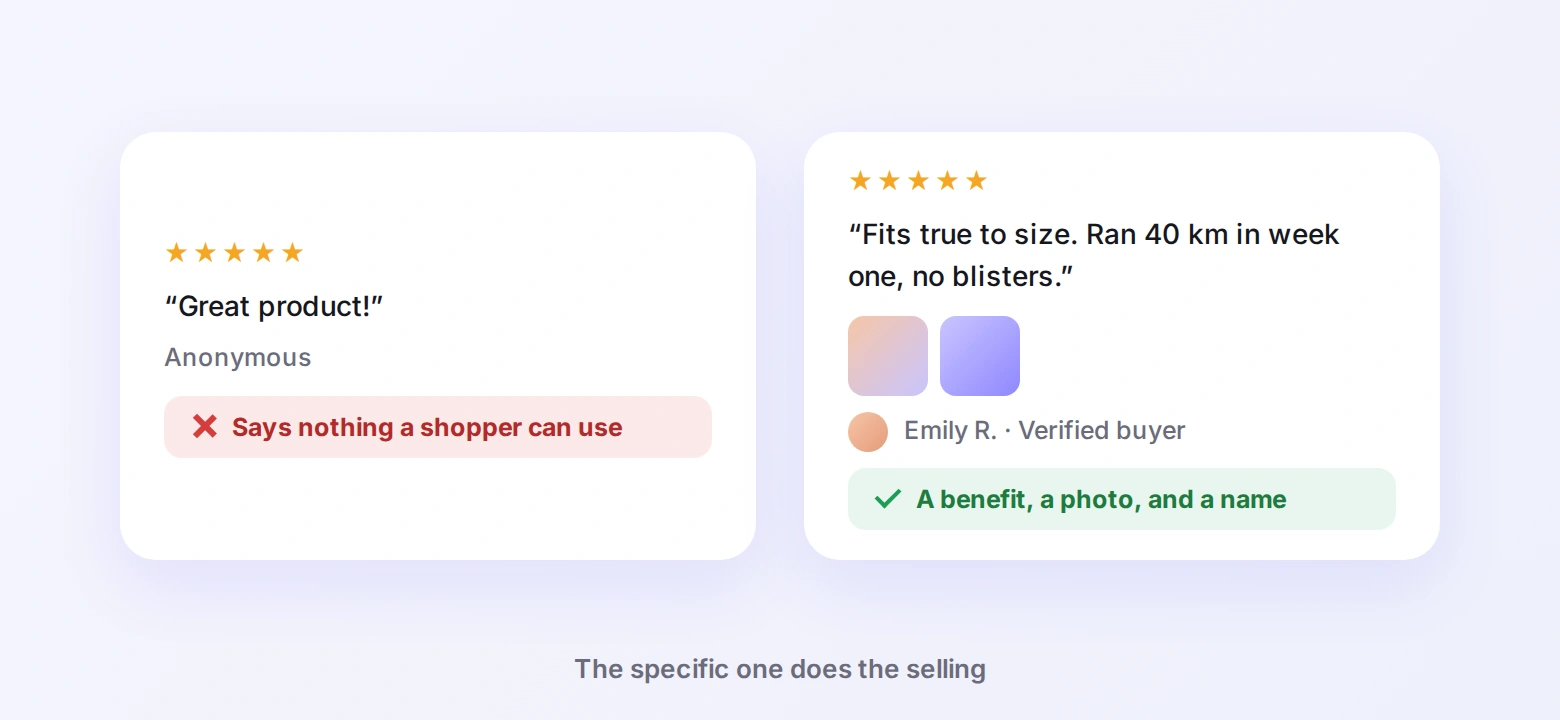
Three habits make testimonials work harder on a Shopify store.
1. Use Real Photos or Videos
Plain text feels easy to fake. When you show a happy customer’s face or a quick video review, it adds trust instantly. Real visuals prove the person had a real experience with your product.
Ask customers to send a photo with the product or a short video sharing their feedback.
A small discount on the next order is a fair thank-you, as long as it’s offered for any review, not only a good one.
Video and photo testimonials feel more personal and are more likely to grab attention on your Shopify store.
2. Highlight Specific Benefits
Don’t only use reviews that say “great product” or “amazing service.” Pick ones that talk about what got better, like “My orders arrive faster now” or “This helped me get more sales.”
Simple, clear benefits help new customers understand why your product is worth it.
3. Rotate Fresh Testimonials Often
Showing the same testimonials for months makes your store feel outdated. Customers want to see that people are buying and enjoying your products right now.
Rotate recent testimonials every few weeks. Highlight reviews that cover different things, like fast shipping, a good fit, or customer service.
- WiserReview widgets show the newest approved reviews first, so the section refreshes on its own as reviews come in.
- WiserNotify rotates recent reviews as pop-ups, so the proof moves with the shopper instead of sitting in one block.
Best Places to Show Testimonials on Shopify
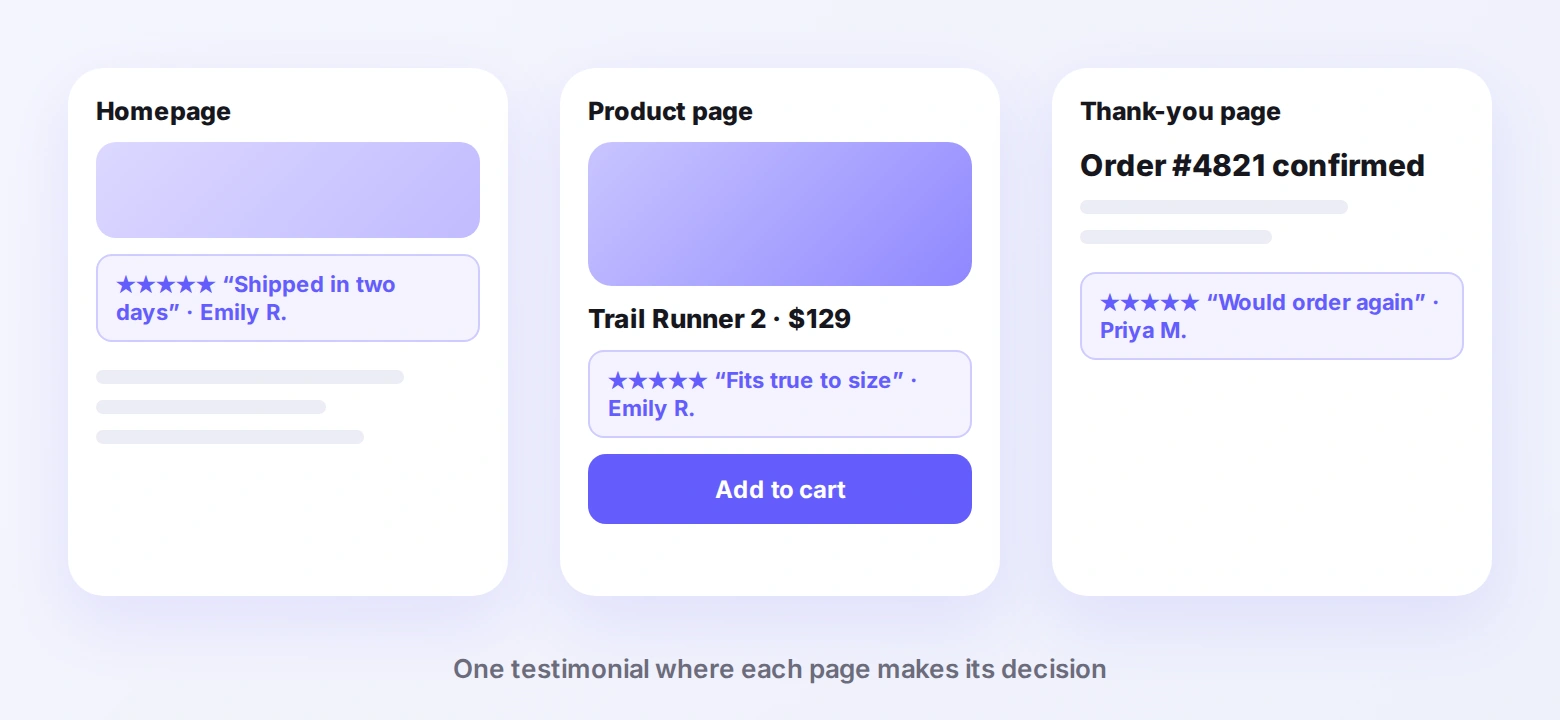
Where you show testimonials on your Shopify store matters. Put the proof where the doubt is. These are the spots where shoppers hesitate.
1. Homepage
Your homepage is the first impression. Many new visitors land here, so strong testimonials build trust before they click anywhere else.
Place one or two short, high-impact reviews near key areas like:
- Just below the hero banner
- Above or beside featured products
- Near your main call-to-action buttons
2. Product Pages
Product pages are where shoppers make their final decision. Testimonials here build trust and reduce doubts. Place them close to the Add to Cart button or below the product details.
You can include:
- Star ratings and short quotes from real buyers
- Images of the customer using the product
- A carousel or slider with multiple reviews
3. Checkout Pages
At checkout, shoppers are ready to buy but might still have doubts. A short, clear testimonial near the payment or shipping section reduces hesitation and builds last-minute trust.
Short, high-trust lines work best here:
- “Quick delivery and amazing quality!”
- “I had a question, and support was super helpful. Ordering again.”
4. Dedicated Testimonials Page
A testimonials page shows what customers are saying in one place, without distractions. Shoppers who want to read everything before buying go there.
Organize it by product, feature, or star rating, and include video reviews and customer photos. Add the page to your main menu or footer so people can find it.
5. Email Campaigns
Email is one of the most personal ways to reach customers, and a strong testimonial fits in a welcome email, a product launch, or a post-purchase follow-up.
- In promotional emails, to highlight product satisfaction
- In post-purchase emails, to encourage repeat purchases or referrals
6. Thank-You Pages
Your shopper just placed an order, so they’re still paying attention and feeling connected to your brand.
A few short, real reviews here make them feel more confident about their choice. It shows that others had a good experience too.
- If you suggest other products on the thank-you page, reviews for those items make a second purchase more likely.
Pair Testimonials With WiserNotify Pop-Ups
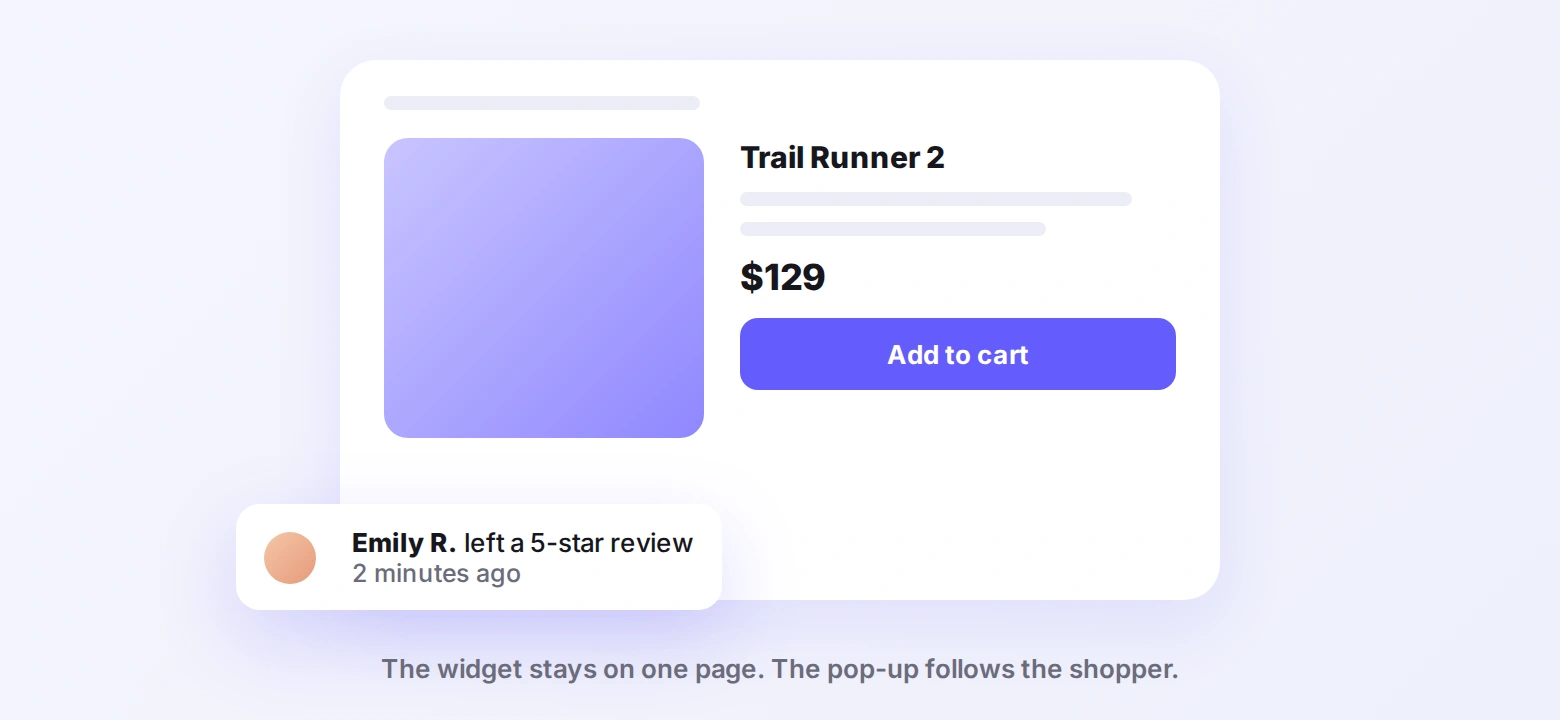
A testimonial widget sits in one spot. A pop-up follows the shopper from the homepage to checkout, so the proof keeps showing after the widget scrolls out of view.
Social Proof Pop-Ups

Social proof pop-ups show live actions from real customers, like recent purchases, reviews, or signups, in small notifications on your site. They build trust fast and add urgency for new visitors.
On Shopify, WiserNotify sets these up in minutes and pulls the reviews you collect with WiserReview.
- Recent customer reviews
- Number of items sold
- Someone just bought or signed up
- 5 people viewed this product in the last hour
Use a Sliding Review Section
A scrolling or sliding review section shows more testimonials without taking up space. It keeps your layout clean while still building trust.
The WiserReview Carousel widget does this on desktop and mobile. Keep the reviews readable, and keep the section fast.
3 Testimonial Mistakes on Shopify
Using Unverified Testimonials
If you use testimonials without proof, people can tell. Shoppers check for a real name, a product photo, or a verified badge.
When testimonials look fake or anonymous, they hurt trust instead of building it. Use feedback tied to a real order and show the “verified buyer” tag.
Overloading Your Pages
Too many testimonials on one page overwhelm shoppers and slow the page down. When everything is highlighted, nothing stands out.
Instead of stacking ten reviews in a row, pick two or three strong ones that match the product or the pain point. Keep it clean and focused.
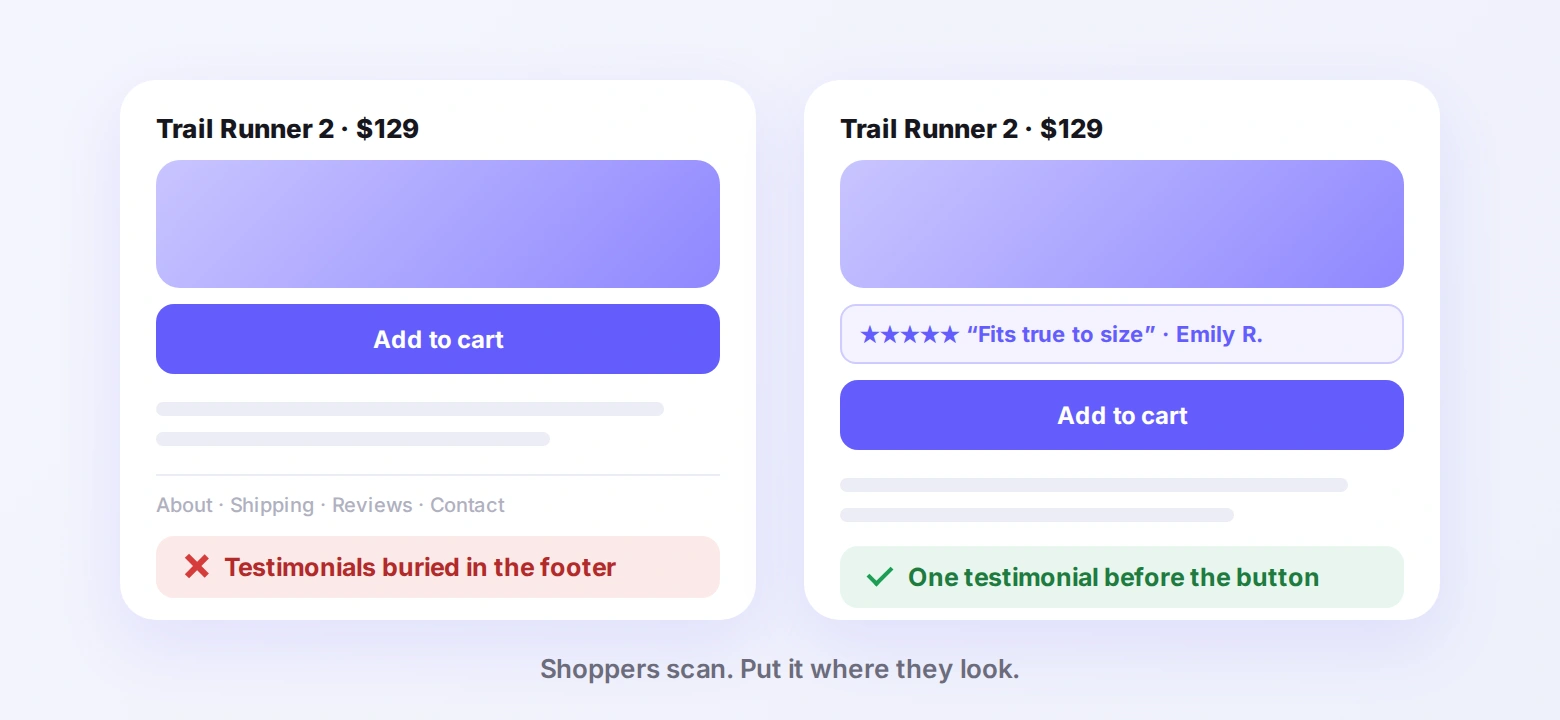
Hiding Testimonials
Testimonials nobody sees don’t help anyone. Don’t bury them in a separate tab, the footer, or far below the fold. Shoppers scan quickly and leave if they don’t see proof.
Show key testimonials near product descriptions, on the homepage, or just before the Add to Cart button.
Wrap Up
Adding testimonials to a Shopify store takes one app and one block in the theme editor. Collect them with WiserReview, show them where shoppers decide, and let WiserNotify carry them across the rest of the site.
Keep them real and keep them fresh, and your customers do the selling for you.
Related Posts:
How to embed testimonials on wordpress
How to add testimonials on Squarespace
How to embed testimonials on Webflow
How to embed testimonials on a Carrd
Frequently Asked Questions
How do I add testimonials to my Shopify store?
Install the WiserReview app, set up a testimonial widget, and add it to your theme as an app block. Text, photo, and video testimonials then show on the pages you choose.
Can I add video testimonials to Shopify?
Yes. WiserReview’s review request lets customers upload a short video, and widgets like the Wall of Love and Carousel play it on your product page.
Do I need to edit code to add testimonials to Shopify?
Not on a Shopify 2.0 theme. The widget is an app block in the theme editor. Vintage themes use a one-line render tag in the section file.
Where should testimonials go on a Shopify store?
Product pages near Add to Cart, the homepage below the hero, and the thank-you page. A short line near the payment step also helps at checkout.
Can I offer a discount for testimonials?
Yes, as long as the same offer goes to every customer who reviews, good or bad. Rewarding only positive reviews breaks the FTC’s rule on fake reviews.
Can I add testimonials to Shopify without an app?
Some themes include a testimonial section for quotes you type in yourself. It has no verified badge, no video, and no review schema, so it suits a launch page more than a growing store.

Krunal Vaghasiya is a marketing tech expert who boosts e-commerce conversion rates with automated social proof and FOMO strategies. He loves to keep posting insightful posts on online marketing software, marketing automations, and improving conversion rates.




 Capterra