

Webflow is a powerful website builder for designers and developers.
Customer testimonials can make a big difference when someone decides to trust your product or service.
If you’re using Webflow, adding those testimonials to your website is quick and easy—and it can help increase conversions, reduce bounce rates, and improve your credibility right away.
One of the easiest ways to do this is by using WiserNotify. It lets you collect and display text, image, or video testimonials with no coding required.
You can even set up automated review collection and show them on your site using simple widgets.
In this guide, you’ll learn how to embed testimonials on Webflow using WiserNotify—all in under 5 minutes.
Let’s get started!
Why Add Testimonials to Webflow?

People don’t always trust what a brand says about itself—but they do trust what other customers say. That’s why adding testimonials to your Webflow site can make a big difference.
It adds credibility, builds trust, and helps visitors feel more confident before they buy or sign up.
According to a report by Wisernotify, 72% of customers say positive reviews and testimonials make them trust a business more. That’s a strong reason to include them on your site.
Here’s what testimonials can do for you:
Build instant trust – Real feedback from real people feels more genuine than ads.
Answer buyer doubts – Testimonials often cover common concerns in a natural way.
Improve conversion rates – Visitors are more likely to take action when they see others are happy with your product.
Show social proof – It tells visitors, “You’re not the only one who’s considering this.”
Build trust & FOMO
Highlight real-time activities like reviews, sales & sign-ups.


How to Add Testimonials to Webflow


Using Webflow’s Built-In Tools
1. Create a Testimonial Section
- In Webflow Designer, add a Section element where you want testimonials displayed.
- Use Div Blocks for structure and Text Blocks for quotes, names, and designations.
2. Add Visual Enhancements
- Include customer photos or logos with Image Blocks to increase authenticity.
- Use Background Colors or gradients to distinguish the testimonial section.
3. Style for Consistency
- Customize typography, spacing, and alignment to match your site’s design system.
- Add subtle animations or hover effects for visual appeal.
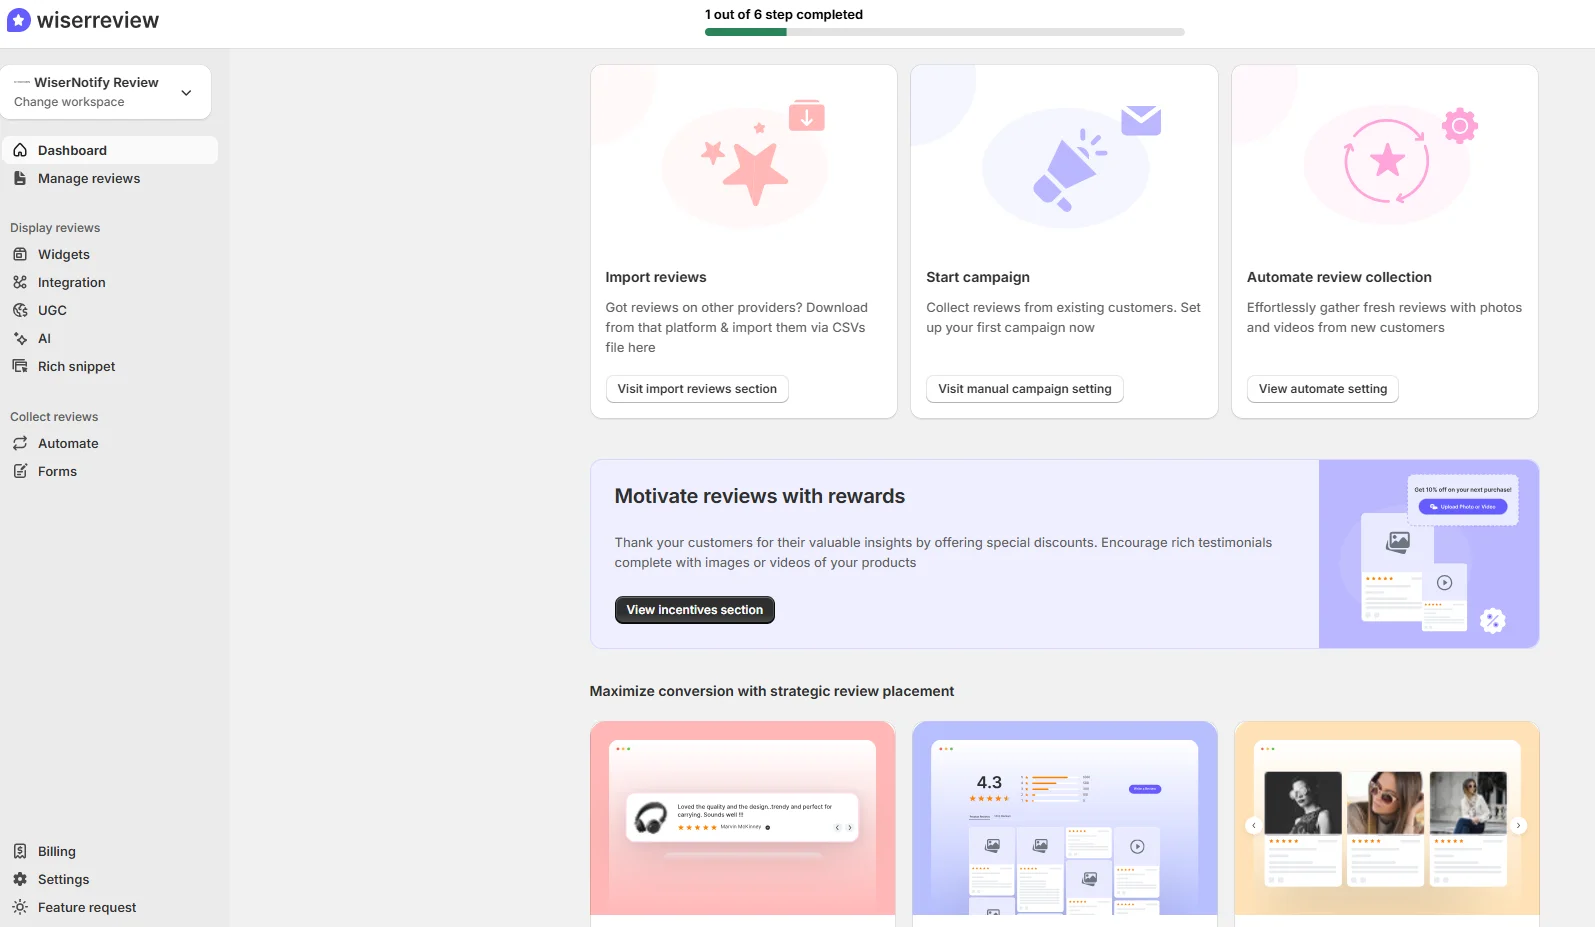
Embedding Testimonials with Wisernotify
Adding testimonials to your Webflow site using WiserNotify is fast and simple. Follow these quick steps:
1. Sign Up and Log in to WiserNotify
- First, sign up for Wisernotify and log in to your WiserNotify account.
2. Create a Testimonial Notification
- From your dashboard, click on “Add Notification” and select “Testimonials” from the widget options.
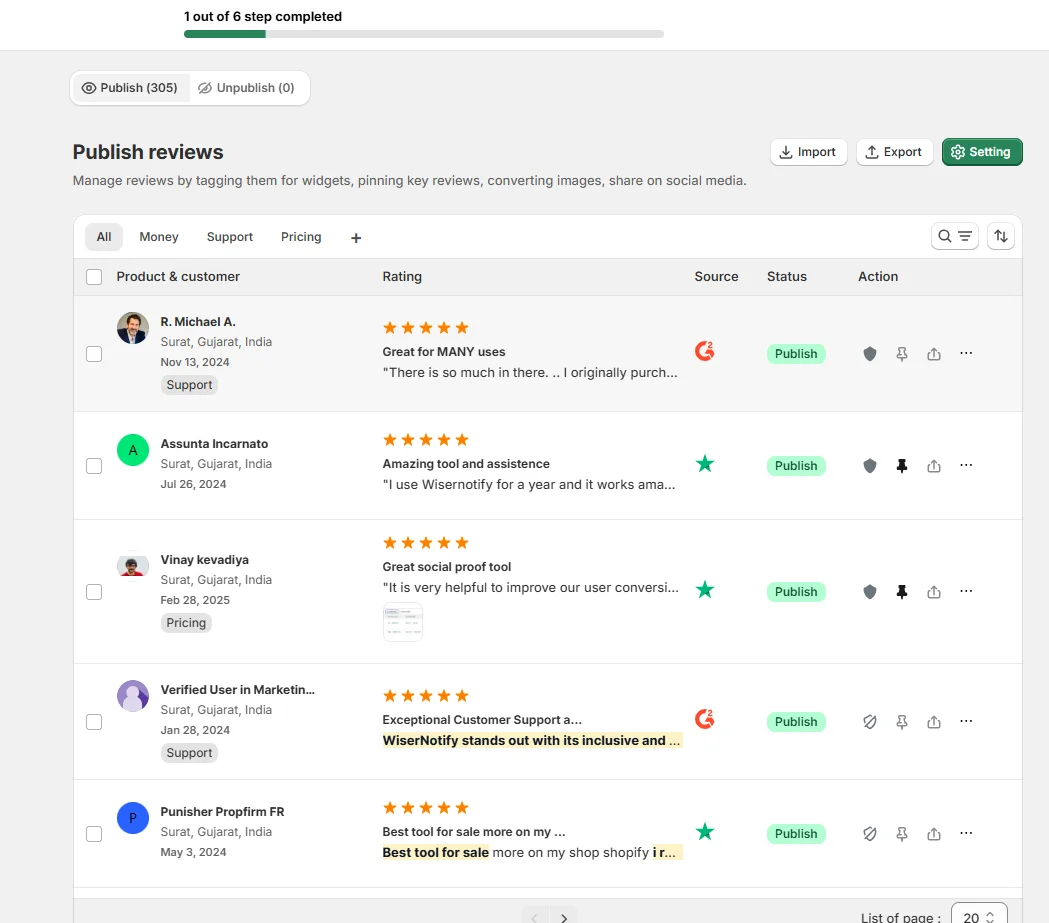
3. Customize Your Widget
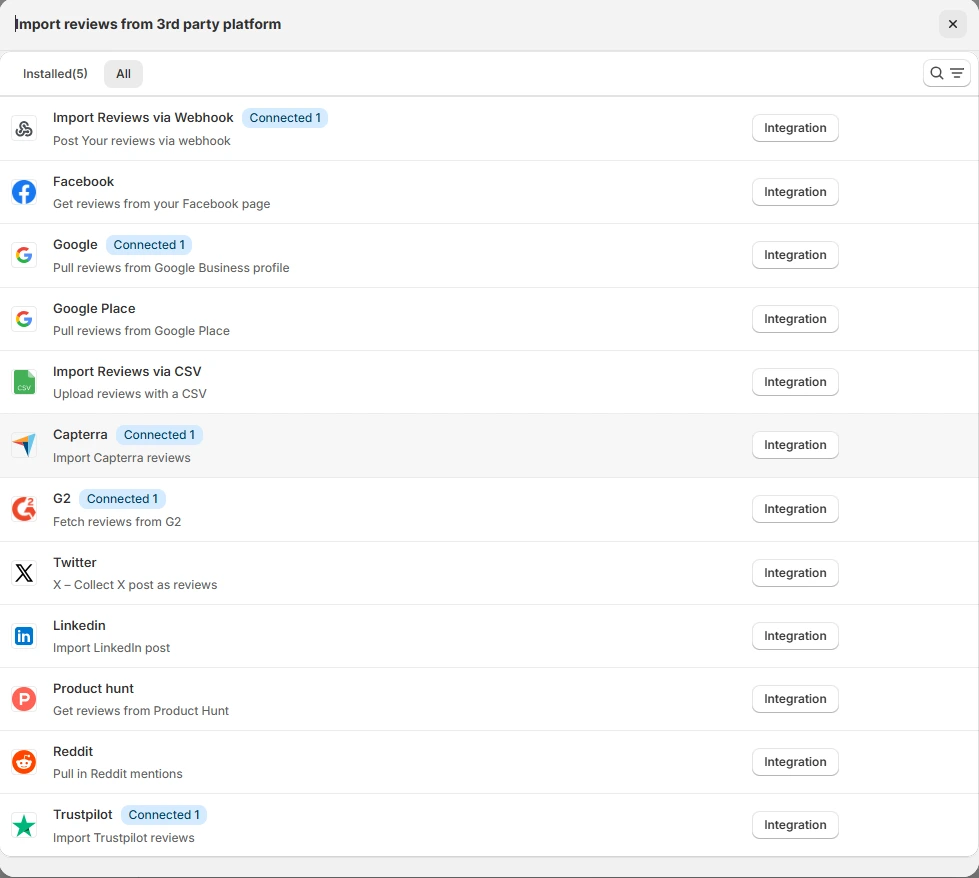
- Choose a layout that fits your design—carousel, grid, or single block. Then upload your testimonials or pull them in using integrations.
4. Copy the Embed Code
- Once your widget is ready, click “Publish” and copy the generated embed code.
5. Paste it in Webflow
- Open your Webflow project. Drag an Embed element to the section where you want the testimonial to appear. Paste the code and publish your site.
Dynamic Testimonials with Webflow CMS
Create a Collection for Testimonials
- In Webflow CMS, create a new Collection with fields for customer name, quote, image, and rating.
Design a Dynamic Testimonial Section
- Add a Collection List element to the page and connect it to your testimonial collection.
- Use dynamic fields to populate quotes, names, and images automatically.
Style the Layout
- Customize the Collection List using Webflow’s design tools. Arrange testimonials in grids, sliders, or carousels.
Add Pagination
- Enable pagination in the Collection List settings to display testimonials dynamically.
3 Testimonial Optimization Tips for Webflow
Here are the three main testimonial optimization tips:
1. Place Testimonials Near Decision Points
Show testimonials exactly where visitors are about to make a choice—like adding a product to cart, booking a demo, or signing up.
When a visitor pauses to decide, seeing someone else’s positive experience can give them the final push. This works because it builds trust and lowers doubts right at the moment they matter most.
For example, place a short review:
- Below the pricing table
- Besides the “Buy Now” or “Book a Demo” button
- Near the form on landing pages
It works best when the testimonial matches the context. If the user is about to book a demo, show a review from someone who just did that and found it helpful.
2. Keep it Short, Clear, and Real
Visitors don’t read long testimonials. They scan.
Keep your testimonials under 3-4 sentences. Focus on a specific benefit or result that the customer got. For example, a simple line like “Helped me launch my store in a day!”.
Real words from real people build trust.
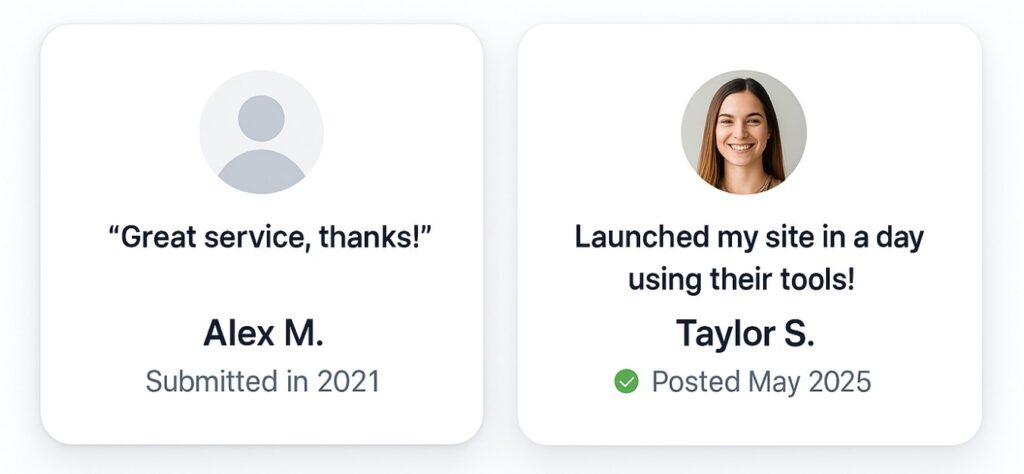
3. Update Testimonials Regularly
Outdated testimonials can hurt your credibility. Make sure to refresh them often with new reviews that reflect your current offerings, design, and service quality.
Fresh testimonials show that your business is active and trusted by recent customers. It also helps showcase updated features, newer products, or improvements you’ve made.

Set a reminder every month or quarter to collect and upload new testimonials. This small habit keeps your site looking alive and relevant.
Best Places to Show Testimonials on Webflow

Below are the best places where you should consider showing testimonials:
Homepage
Your homepage is often the first thing people see. Adding 1–3 short testimonials below your main headline or benefit section helps set the tone. Visitors immediately see proof that others like your brand, which builds credibility.
You can also use a slider, carousel, or grid layout with client names and photos here for visual appeal.
Product or Service Pages
On these pages, place testimonials near your product features or pricing tables. This helps visitors see how others benefited right at the moment they’re considering buying or signing up.
For Example:
- Next to pricing: “Well worth the price, saved us 10+ hours a week.”
- Near features: “Their automation tools helped our team cut manual tasks by 40%.”
Landing Pages
Whether you’re running an ad campaign or promoting a lead magnet, always include 1–2 testimonials that align with the offer.
If you’re promising time savings, include reviews that say just that. If it’s about results, share exact numbers and outcomes.
Avoid generic praise like “Great service!” — instead, focus on specific results.
About Page
The About page is one of the most trusted pages on any site. Visitors often check it to learn who you are and if you’re credible. Adding testimonials here gives social proof right where people are looking for trust signals.
Place a few strong, short quotes from real customers near your mission or team section. It helps show that you not only talk the talk but also deliver results people are happy with.
Checkout Page
This is a high-intent page where users are ready to take action — but may hesitate. Add 1–2 short, specific testimonials here to reinforce trust and remove friction.
- Example: “I was unsure at first, but after reading the reviews, I signed up — and it’s been amazing!”
Keep it short and near the CTA button, form, or plan selection.
Blog Posts
Adding testimonials to blog posts helps build trust while readers are already engaged with your content. This works well, especially if the testimonial relates to the post’s topic.
For example, if your blog is about how your product helped someone solve a problem, place a customer quote right after the key point or before the CTA. This supports your claims with proof.
You can show the testimonial in a styled quote box, use the customer’s photo, or embed a short video. Keep it short, real, and directly related to the post.
It adds credibility and makes readers more likely to take the next step—like signing up or buying.
Other Ways to Add Testimonials to Webflow

1. Add a Video Testimonial Widget
Video testimonials feel more real and personal. When people see and hear your happy customers, it builds trust quickly.
You can use tools like WiserReview, VideoAsk, or VocalVideo to collect short video clips from your customers.
Most of these tools make it super simple—your customer just clicks a link and records from their phone or computer.
Once the video is ready, you can easily add it to your Webflow site using the embed block or by pasting a small code snippet. Try placing the video near your product or sign-up section so visitors see it at the right moment.
2. Use a Testimonial Collection with CMS
If you’re managing many testimonials, it’s better to use Webflow’s CMS instead of adding them one by one. Create a CMS Collection called “Testimonials” and include fields like Name, Photo, Review Text, Company Name, and Rating.
Once the collection is ready, design a testimonial layout on your page and connect it to the CMS.
You can filter, sort, and even style testimonials dynamically—no need to update the page each time. Just add new entries to the CMS and they’ll show up automatically.
This is ideal for growing brands that collect reviews regularly. Want to feature only 5-star reviews? Set a filter. Want to show rotating testimonials? Add a slider. The CMS keeps everything organized and easy to manage.
3. Display Testimonials with Sliders or Tabs
Sliders and tabs help you show more testimonials without taking up too much space. They’re perfect for keeping your design clean while still building trust.
You can:
- Use sliders to rotate multiple testimonials in one section.
- Add tab-based layouts to group reviews by product, service, or category.
- Set auto-play or manual navigation so visitors can control the experience.
Most testimonial slider widgets also support star ratings, images, or logos. This makes the section feel more real and relatable. You can build these using Webflow’s native slider or connect with tools like WiserNotify.
4. Add Pop-up Testimonials
Pop-up testimonials let you show real customer feedback without changing your page layout. These small windows appear after a few seconds or based on user behavior, like scrolling or exit intent.
You can:
- Highlight a quote or review from a happy customer
- Include their name, photo, and what product/service they used
- Add a link to a full review or product page
You can use tools like WiserNotify to do this easily. Just copy the code and paste it into your Webflow embed element. You control the design, timing, and placement without coding.
3 Testimonial Mistakes to Avoid on Webflow

1. Ignoring Visual Design and Layout
If your testimonials don’t look good, people will likely skip them. A messy layout, mismatched fonts, or clashing colors can make even great feedback feel out of place. It’s important that testimonials fit well with the rest of your site.
Here’s what helps:
- Make sure spacing looks clean and balanced.
- Use the same fonts and colors as the rest of your website.
2. Add Testimonials in Low-Visibility Areas
If people can’t see your testimonials easily, they won’t read them. Don’t tuck them away at the very bottom of a page or somewhere that needs too much scrolling.
Instead, show them where they actually matter. That’s when visitors are thinking, “Should I go ahead?” and a good review can help them say yes.
3. Using Fake Testimonials
Fake testimonials can hurt your business. People can usually tell if something feels made up — like a random name, a stock photo, or a review that sounds too perfect. If they think it’s fake, they’ll stop trusting your site.
It’s better to use real feedback from real customers. Even short comments work if they’re honest. If you don’t have reviews yet, that’s okay. Ask early users or offer something small in return for a quick review.
Wrap-Up
That’s it — you’ve now got your testimonials live on your Webflow site.
It doesn’t have to be complicated. Just a few honest words from happy customers can help new visitors feel more confident about buying or signing up.
Whether you’re using a widget, custom code, or a tool like WiserNotify, what matters most is showing real feedback that people can connect with.
Make sure the reviews you show are short, clear, and easy to spot. Update them now and then, especially if you get a great new one. And if someone sends you kind words over email or messages, don’t be shy—ask if you can add it to your site.
It’s a small thing that builds big trust.
Related Posts:
How to embed testimonials on wordpres
How to add testimonials on Squarespace
How to embed testimonials on Shopify
How to embed testimonials on a Carrd
