
How to Add Customer Reviews to an Unbounce Landing Page

A landing page asks for one decision and gives the visitor one button to make it. What it often skips is a reason to trust the offer. A row of customer reviews beside the button is that reason.
Unbounce has no reviews element of its own, so you bring the reviews in with one embed code.
Below are the steps with screenshots, where the reviews should sit on the page, and the fixes when they do not show.
Does Unbounce Have a Reviews Widget?
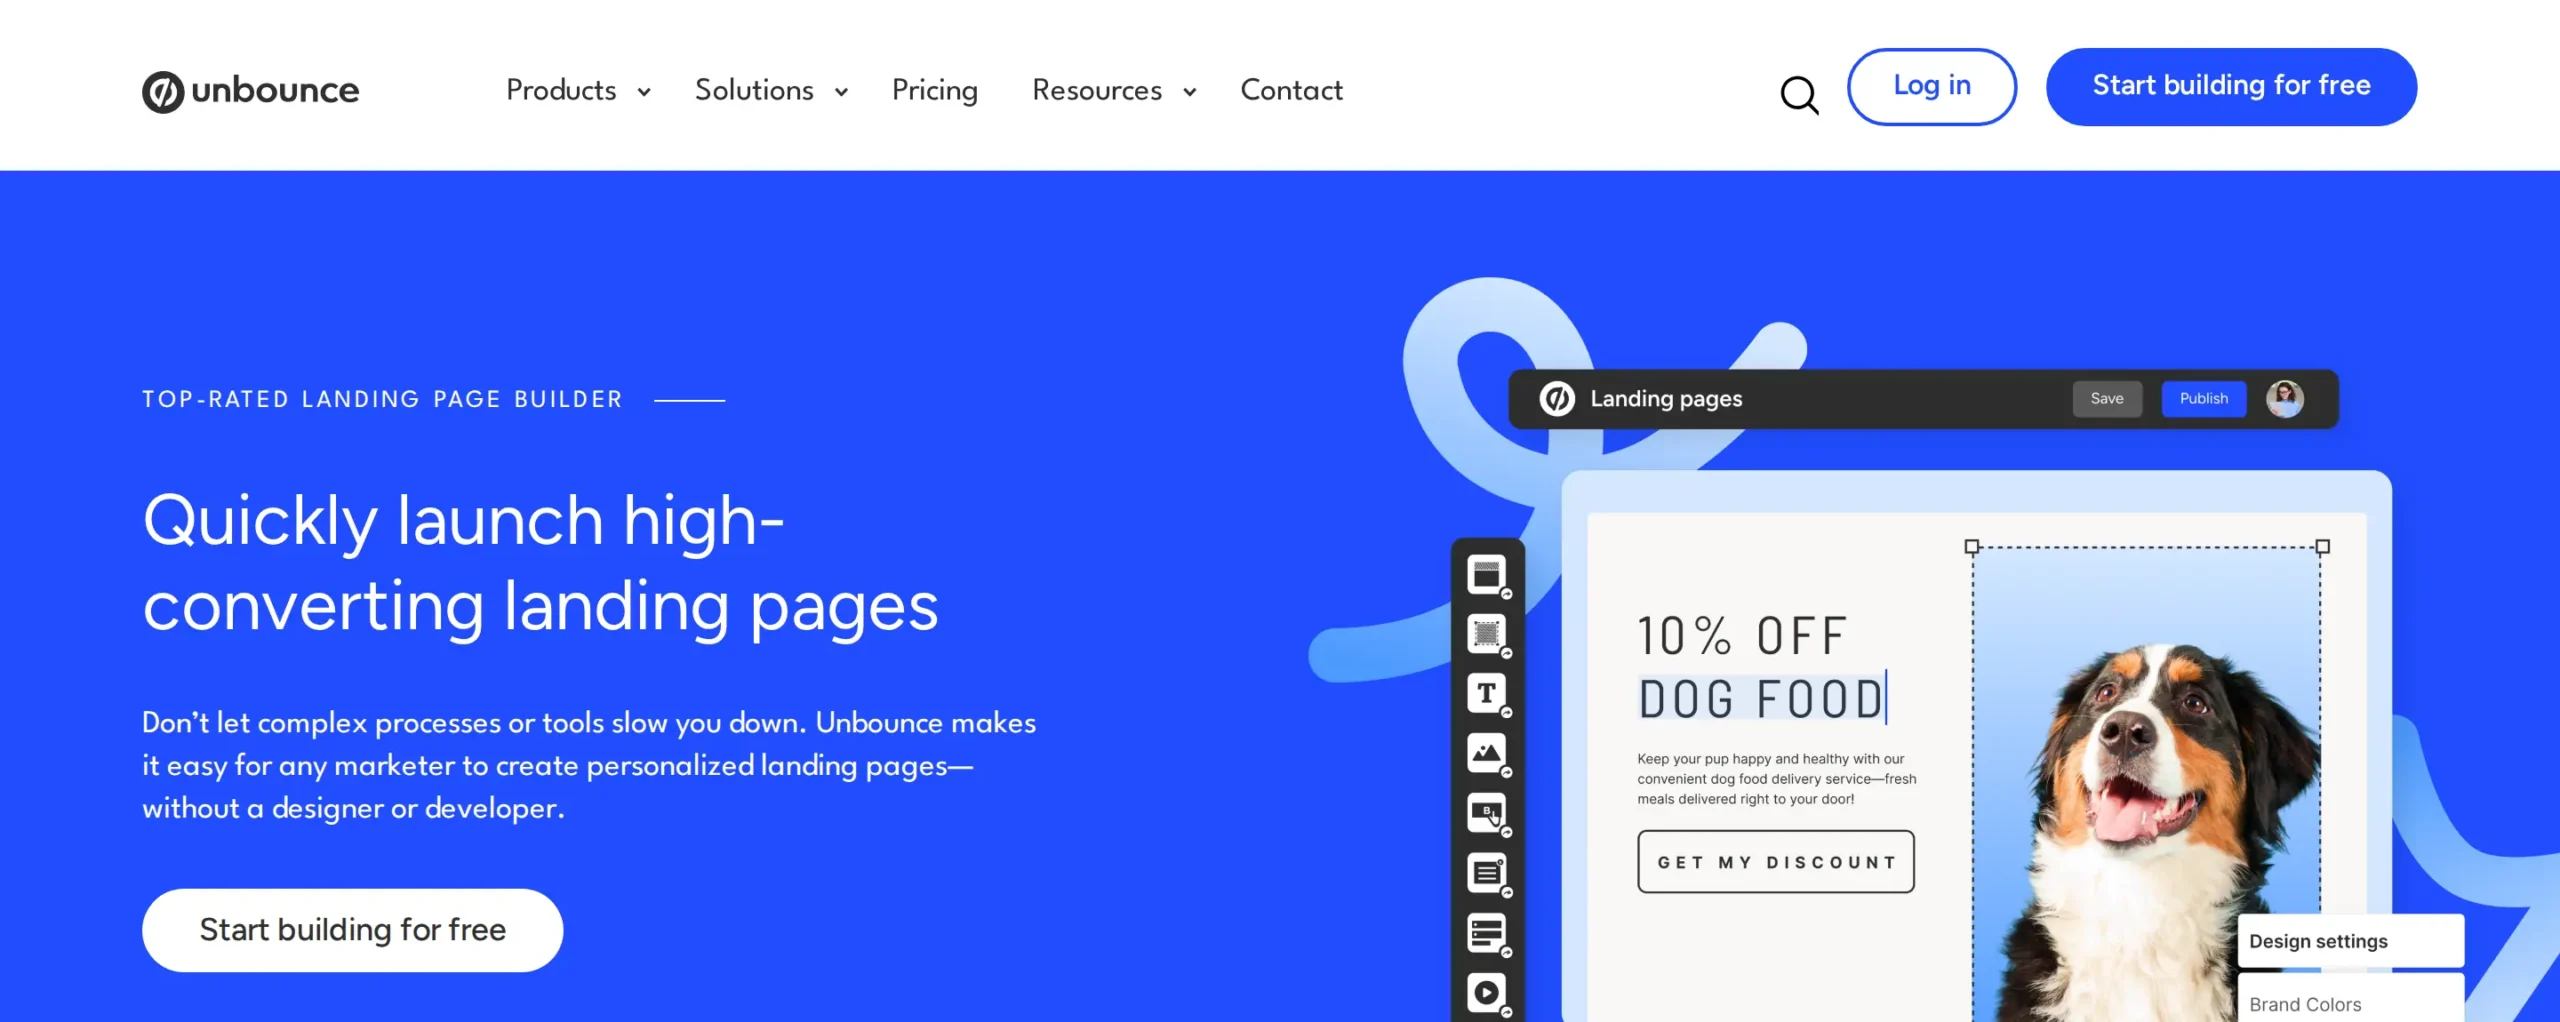
No. Unbounce builds the page, and reviews come from a review tool that collects them and hands you an embed code. In the Classic Builder that code goes into a Custom HTML element, which renders on the live page.
Smart Builder pages are different. Smart Builder has no Custom HTML element and takes third-party content only through Unbounce Apps, so build the page that needs reviews in the Classic Builder.
The steps use WiserReview to collect reviews and build the widget. The embed works in any Custom HTML element, so the Unbounce side is the same whichever layout you pick.

Reviews that fit the page
Pick a badge, a carousel or a wall, style it, and paste one code into Unbounce.
How Do You Add Reviews to an Unbounce Page?
Here is a short look at WiserReview before you start.
Step 1: Collect Your First Reviews

- Sign up for WiserReview. Each plan opens with a 7-day free trial.
- Open Collect reviews and choose Forms, Automate or Manual.
- Get a handful of reviews in before you build the widget.
Step 2: Approve and Tag Reviews

- Open Manage reviews and approve the ones you want on the page.
- Tag them by offer or audience. A landing page for one campaign should show reviews about that campaign’s product.
Step 3: Open the Widget

- Go to Widgets and pick a layout. A trust badge or a carousel suits most landing pages.
- Click Add & Manage, or Manage if the widget already exists.
Step 4: Filter and Style It

- Under Filter Reviews, pick the tag from Step 2 so only matching reviews show.
- Match the colors and font to the landing page, then save.
Step 5: Copy the Embed Code
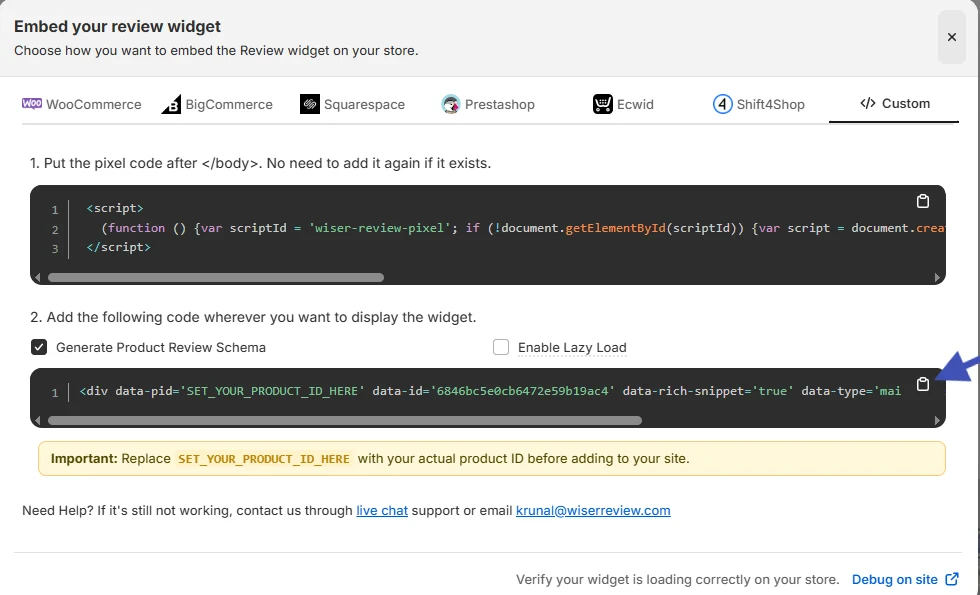
- Click Install at the top of the editor and open the Custom tab.
- Copy the embed code. Review widgets show one script. Store widgets show a pixel and a widget code, and you copy both.
Step 6: Paste It into Unbounce
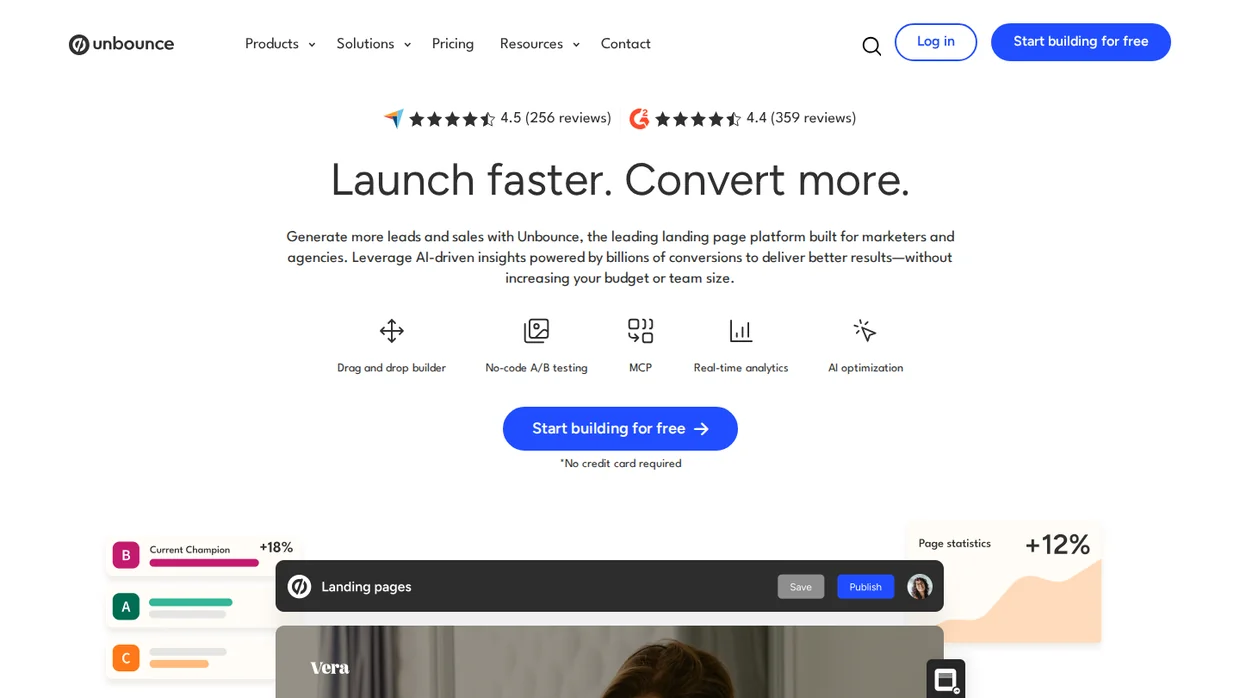
- Open the landing page in the Unbounce Classic Builder.
- Drag a Custom HTML element into the layout where the reviews belong, such as under the CTA.
- Paste the code into the Embed Custom HTML Code box and click Save Code.
- Stretch the box to the height the widget needs, then check it in Preview.
- Size the box in the mobile layout too, then publish.
Reviews from Google, Facebook or other sites can feed the same widget. Import them in WiserReview under Manage Reviews, then Import Reviews, and set the widget’s source to that platform in Step 4.
One code per landing page
Collect, filter and style once, then reuse the same code on every page.
Where Should Reviews Sit on the Page?
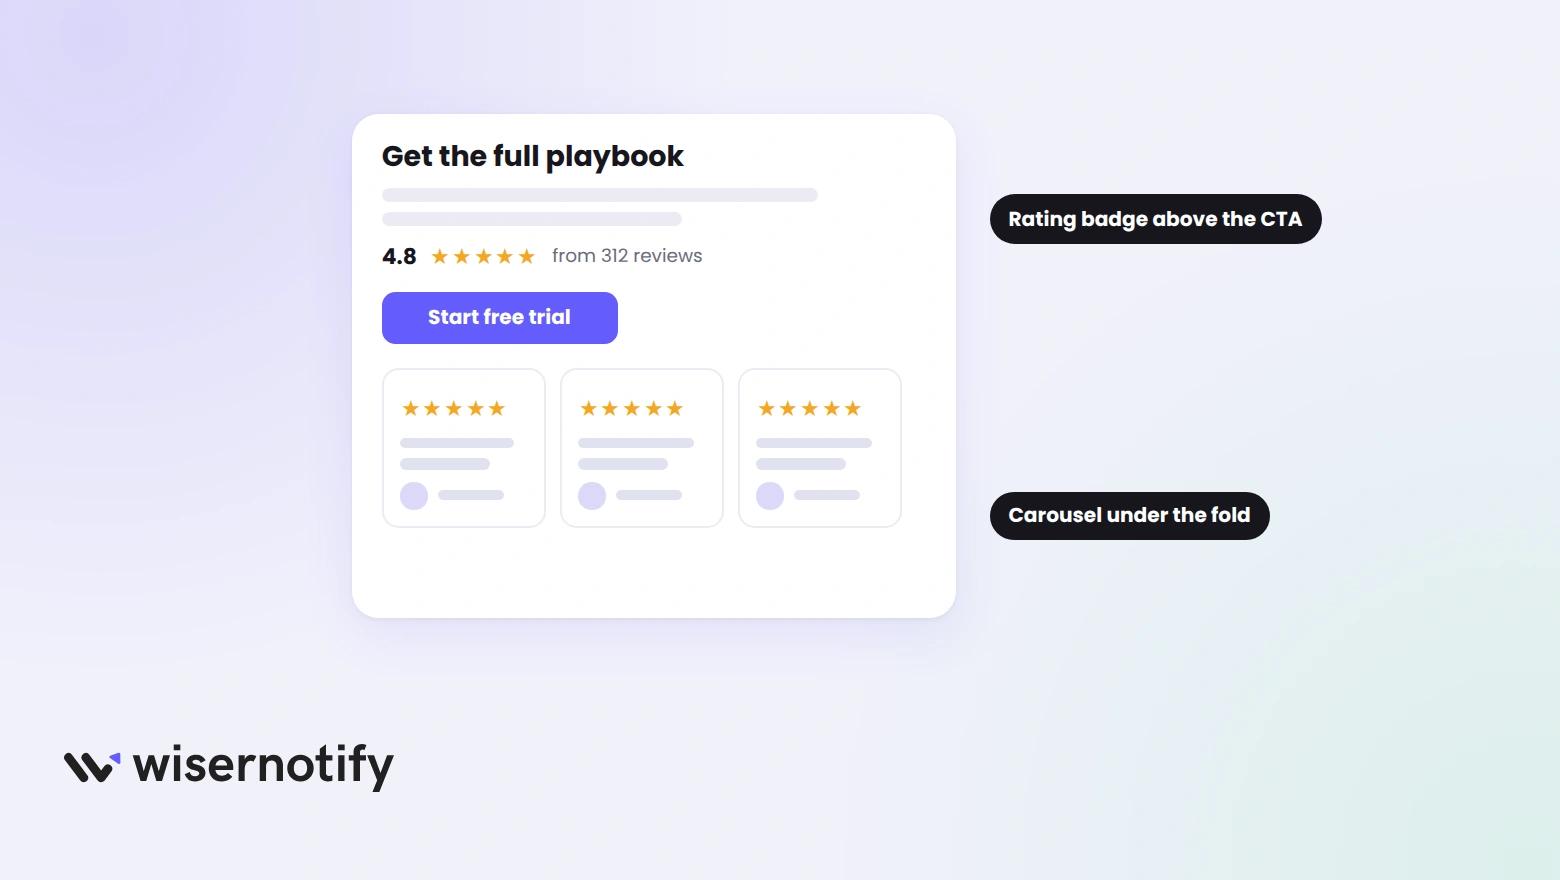
- Above the fold: only the badge. Anything taller moves the button off the first screen.
- After the offer details: the carousel or the nudge, at the point where doubt sets in.
- Before the final CTA: the wall, for the visitor who scrolled all the way down.
- Thank-you page: one review that confirms the choice, since the visitor is still deciding whether to open the email or book the call.
Running an A/B test? Keep the review widget identical in both variants, so the test measures the headline or the offer and not the proof.
Proof beside every button
Star badges, carousels and nudges that load fast on landing pages.
Reviews Not Showing on Unbounce?
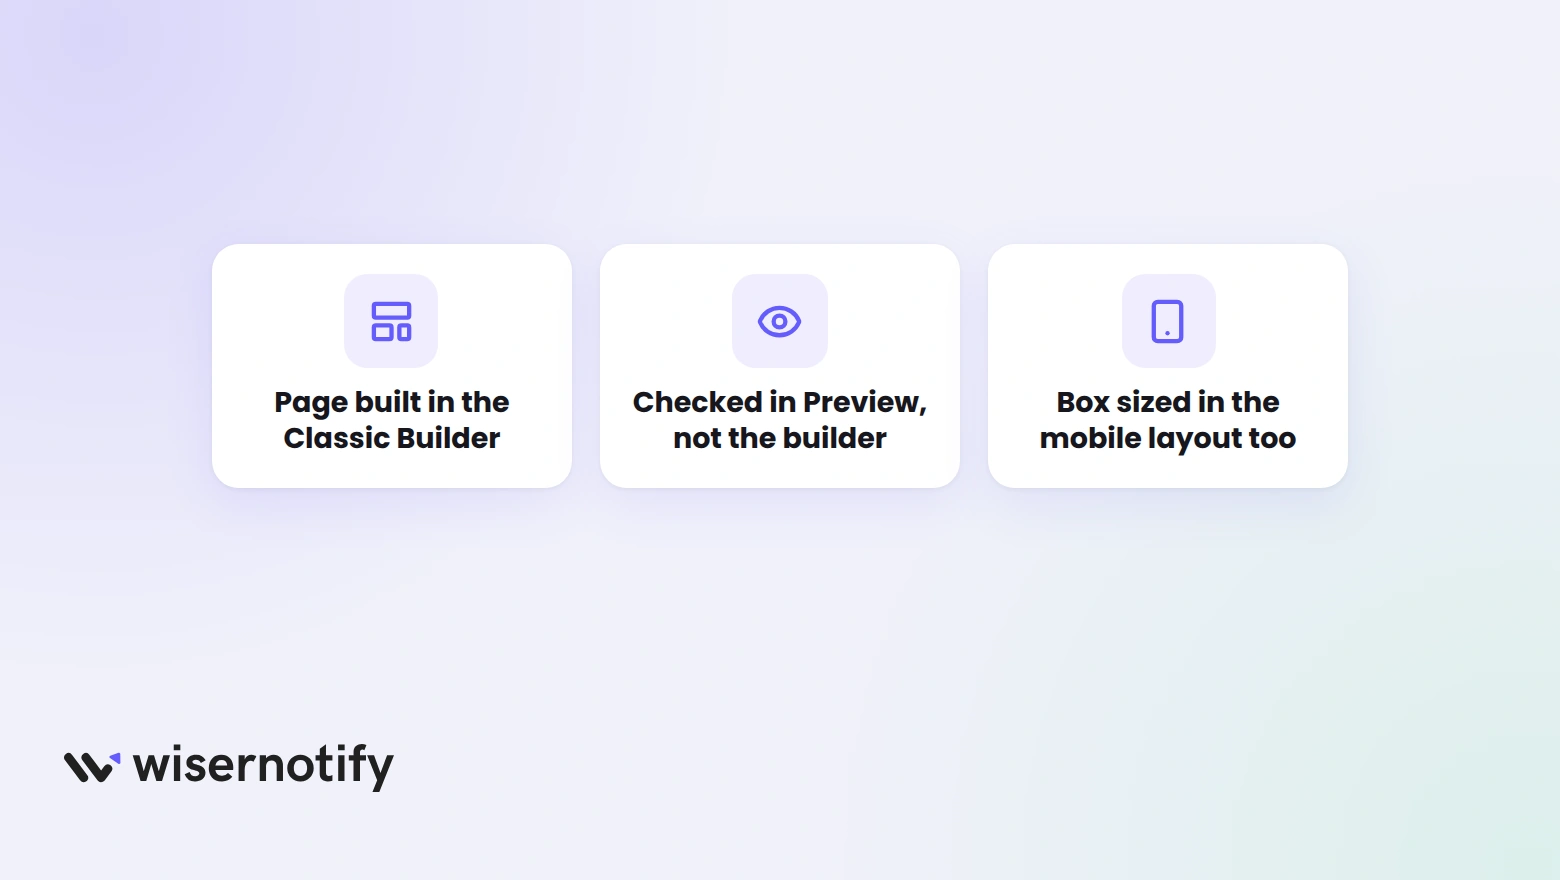
- Looking in the builder: Custom HTML only renders in Preview and on the live page. The builder shows a box.
- Smart Builder page: there is no Custom HTML element there. Rebuild the page in the Classic Builder.
- Box too small: the widget is clipped. Stretch the Custom HTML element taller and preview again.
- Mobile layout: the element needs its own position and size in the mobile view.
- Not republished: saving the page is not enough. Click Republish.
- No matching reviews: widen the tag filter in WiserReview.
Wrap Up
On Unbounce, reviews are one Custom HTML element and one code. The work is choosing the widget and the spot, not the install.
Start with a rating badge beside your main button, then test a carousel under the fold.
Related Post
Frequently Asked Questions
Does Unbounce have a built-in reviews widget?
No. Reviews come from a review tool’s embed code, which you paste into a Custom HTML element in the Classic Builder.
Can I add review widgets in the Unbounce Smart Builder?
Smart Builder has no Custom HTML element and takes third-party content only through Unbounce Apps, so use the Classic Builder for pages that need a review widget.
Why do the reviews not show in the Unbounce builder?
Custom HTML renders only in Preview and on the published page. The builder shows a placeholder box where the widget will appear.
Do I need to size the Custom HTML box?
Yes. Stretch it to the height the widget needs on desktop, then switch to the mobile layout and size it there as well.
Can I show Google reviews on an Unbounce page?
Yes. Import your Google Business Profile reviews into WiserReview, set the widget’s source to Google and paste the same embed code into the Custom HTML element.

Krunal Vaghasiya is a marketing tech expert who boosts e-commerce conversion rates with automated social proof and FOMO strategies. He loves to keep posting insightful posts on online marketing software, marketing automations, and improving conversion rates.




 Capterra