
How to Add Capterra Reviews on Website in Minutes
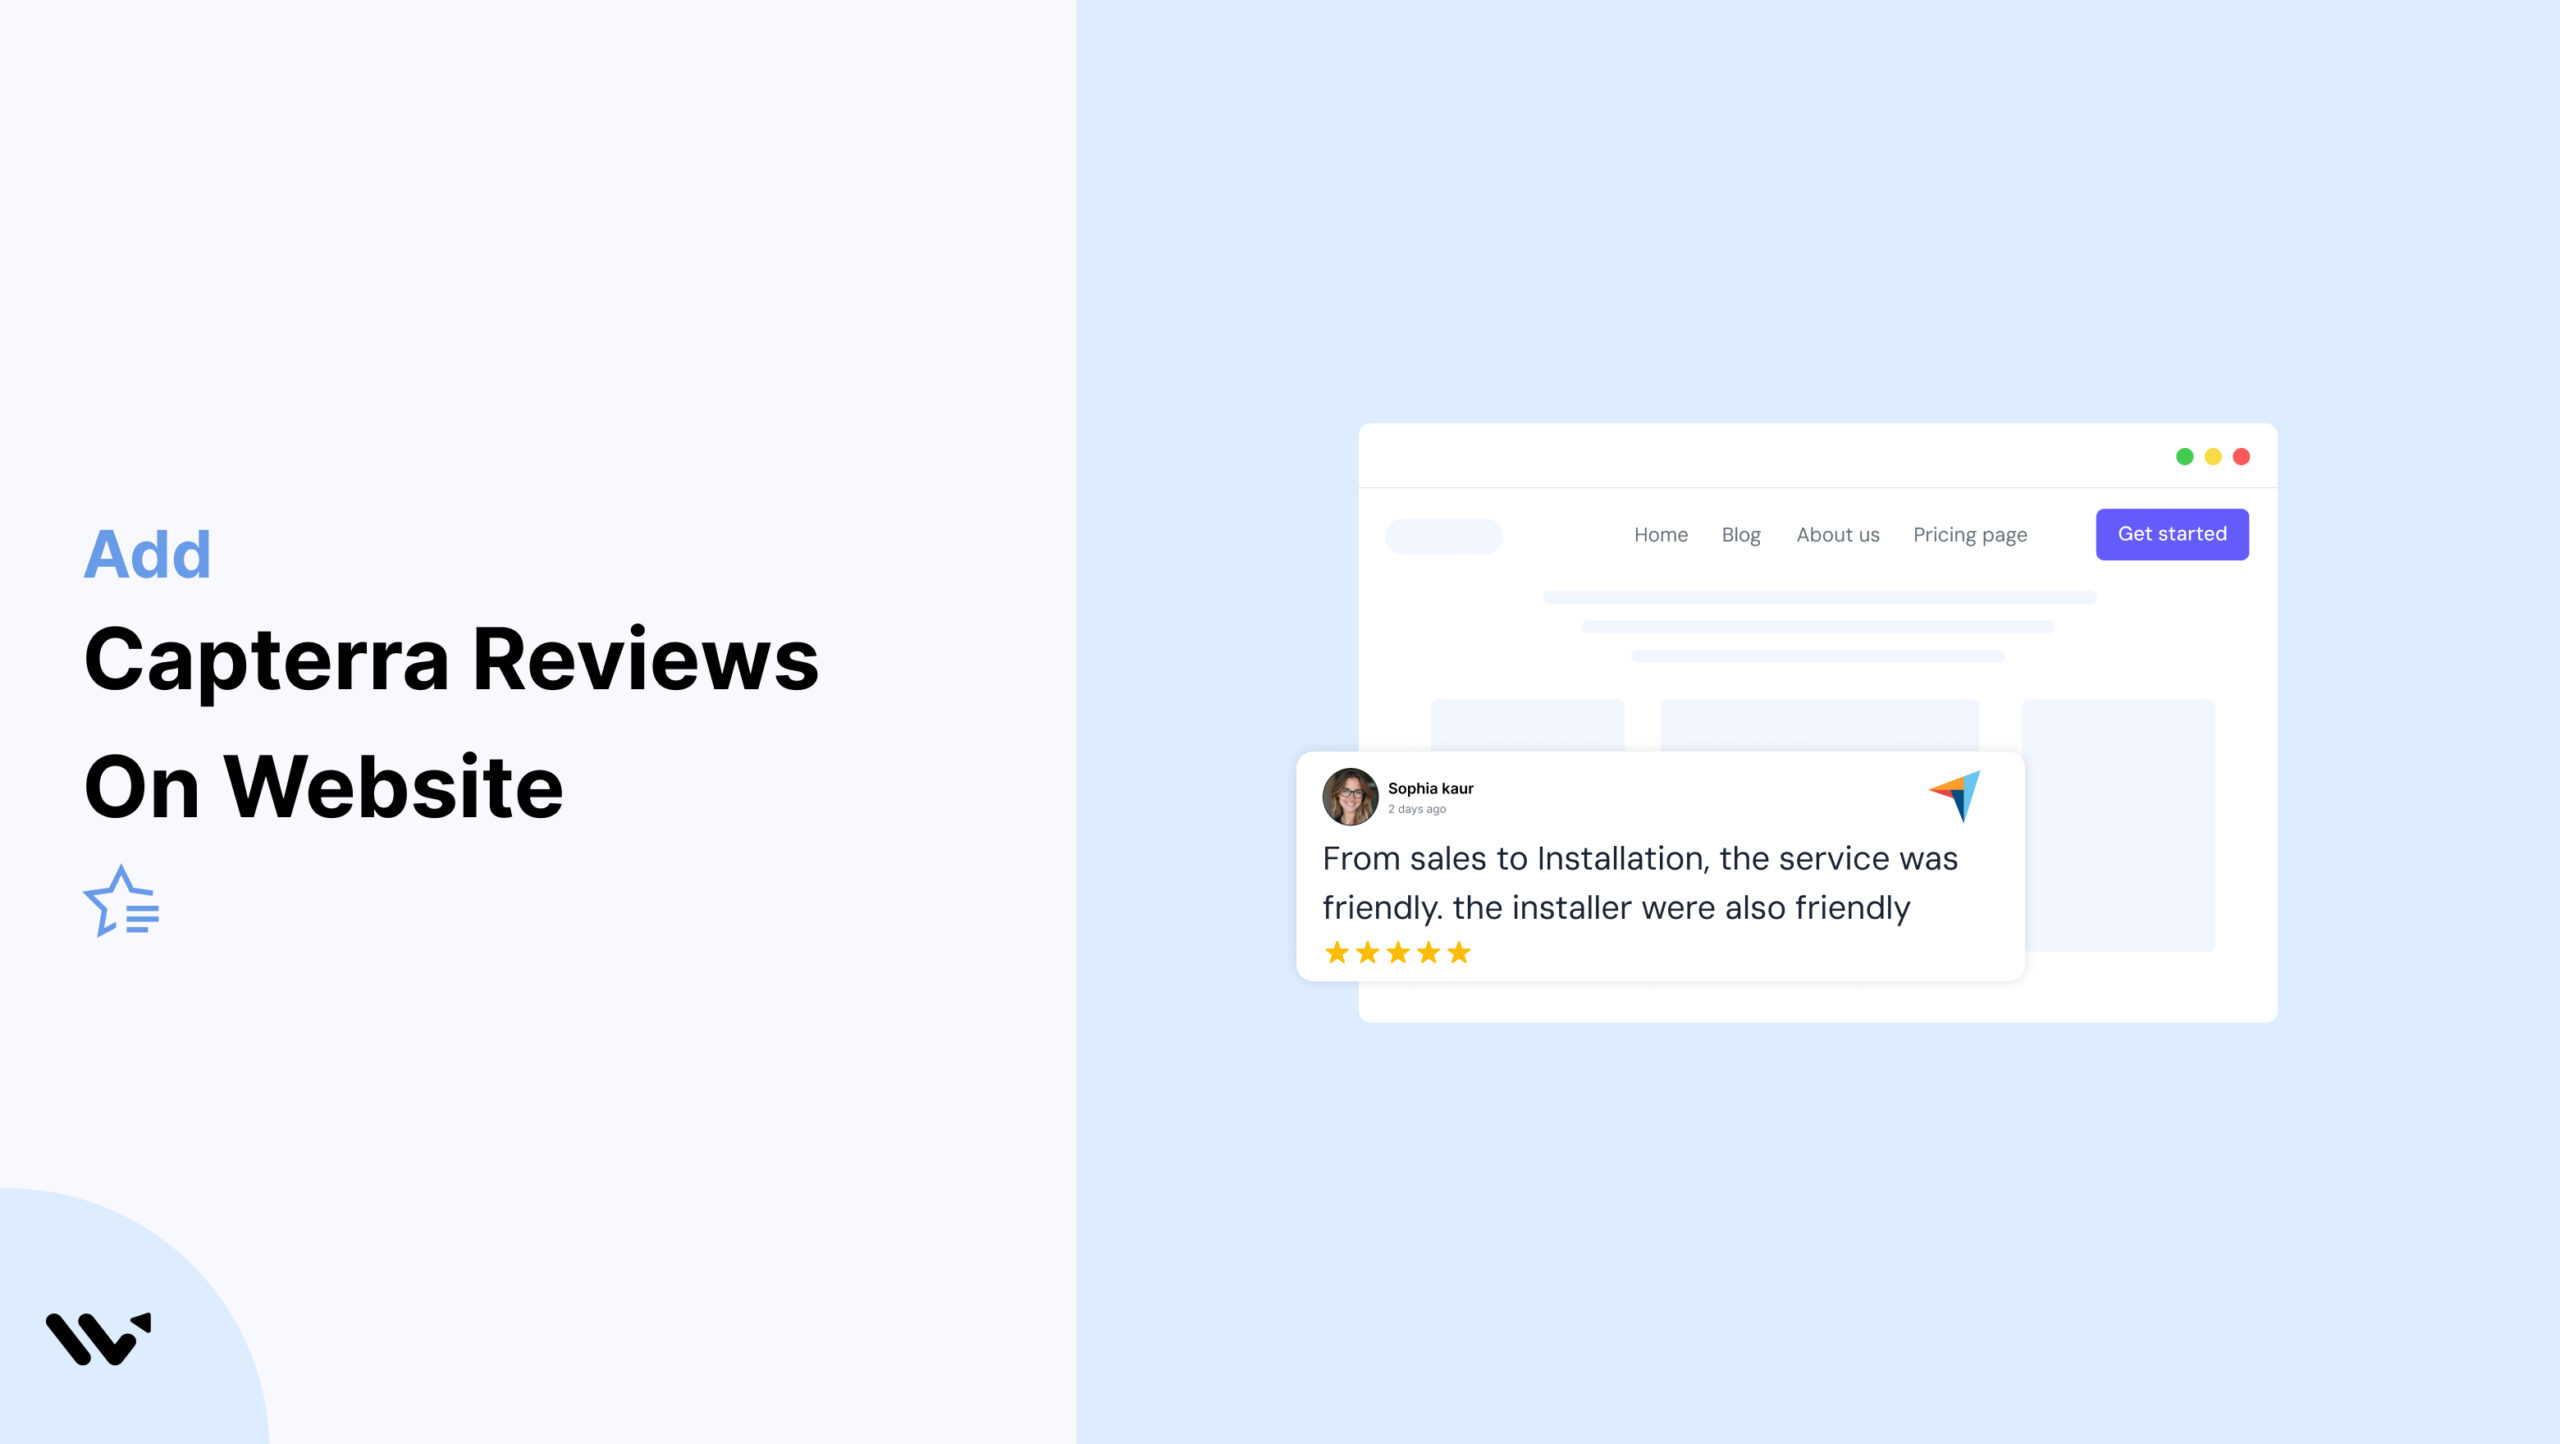
If you sell software or offer services online, building trust is one of the hardest parts. Visitors want proof before they try or buy—and that’s where Capterra reviews can help.
Capterra is one of the most trusted review platforms for software and SaaS products. If your product has good reviews there, you’re already one step ahead.
But just having reviews on your Capterra profile isn’t enough. Most visitors never make it that far. They stay on your website, browse your landing pages, and look for signs they can trust you.
That’s why adding Capterra reviews directly to your site is so important.
In this guide, we’ll show you step-by-step how to display Capterra reviews on your website using Wisernotify, no matter what platform you’re using.
You’ll also learn some best practices for placing them in the right spots and making them look clean, real, and convincing.
Now, let’s get started!

Boost Conversion Instantly
Add Social Proof & Urgency to your website
Why Add Capterra Reviews to Your Website

When people visit your website, they’re looking for reasons to trust you. Showing Capterra reviews is one of the easiest ways to build that trust.
These reviews come from real users who’ve actually used your product, which helps new visitors feel more confident.
Capterra is a well-known site where people go to compare software before they buy.
Nearly 50% of consumers visit a company’s website after reading positive reviews.
By bringing those reviews onto your site, you keep visitors from leaving to do more research elsewhere.
Here’s why adding Capterra reviews makes a real impact:
Builds Trust Instantly: Verified reviews from a known platform like Capterra give your product instant credibility. Buyers are more likely to trust what others say than what you claim.
Improves Conversions: Real estate tools with 50+ positive reviews on Capterra see up to 18% higher conversion rates, according to software buyer behavior studies.
Shortens the Buying Journey: When users see positive reviews on your site, they’re more likely to make a faster decision without leaving your page.
How to Add Capterra Reviews to a Website


On Swipe Pages
Get your Capterra widget or review-snippet embed code from the Marketing Toolkit section of your Capterra vendor account, then drag a Custom HTML block onto your Swipe Pages layout and paste the code into it. Resize the block to fit, then use the AMP preview to confirm it still renders correctly before publishing, since Swipe Pages serves an AMP version of the page by default.
Best Practices for Showcasing Capterra Reviews on a Website

Here are simple and effective ways to display Capterra reviews that build trust and boost conversions.
1. Place Reviews on High-Intent Pages
Your Capterra reviews work best when shown on pages where people are already close to taking action. These include your pricing page, demo request page, and product pages.
Visitors on these pages are likely comparing tools or looking for a final reason to trust you. By showing strong, recent reviews from Capterra here, you give them that extra push.
Make sure the reviews are visible without needing to scroll. Highlight ratings, reviewer names, and real business use cases to build confidence fast.
2. Rotate or Update Regularly
Showing the same reviews for months can make your site feel outdated. Visitors may question if your product is still trusted or active. Keep your review section fresh by rotating different Capterra reviews or updating them as new ones come in.
Set a schedule—weekly or monthly—to switch out older reviews with newer ones. If your product receives frequent reviews, highlight the latest ones automatically using a review widget.
This shows potential customers that real users still use and trust your tool. Fresh reviews signal ongoing value and build stronger trust.
3. Display Reviews Near CTAs
Placing Capterra reviews close to your call-to-action (CTA) buttons can increase conversions.
When users are about to make a decision—like signing up, booking a demo, or starting a trial—they look for trust signals.
Positive reviews at this point act as proof that others have made the same choice and are happy with it.
- For example, show a few 5-star Capterra reviews right below a “Start Free Trial” button or next to a pricing table.
Keep the review short, authentic, and tied to the benefit your CTA promises. This reduces hesitation and gives users the extra push to take action.
4. Show Verified Badges Clearly
Always display the “Verified by Capterra” badge or icon next to your reviews. This instantly signals trust.
When visitors see that the review comes from a real user and not a fake or planted comment, it builds confidence in your product.
Make sure the badge is visible without any extra clicks—either within the review card or near the reviewer’s name. Use a clean layout so the badge doesn’t get lost.
Avoid shrinking it too much or hiding it behind tabs or sliders.
5. Highlight Top-Rated Reviews
Make your best reviews easy to spot. Feature reviews with 5-star ratings and strong, positive language. These reviews help new visitors quickly understand the strengths of your product or service.
You can:
- Pin top reviews at the top of your review section
- Add visual tags like “Top Rated” or “Customer Favorite”
- Use them in homepage sliders or testimonial sections
6. Match your site’s branding
Your Capterra review section should look like it naturally belongs on your site. Keep the fonts, colors, and layout consistent with the rest of your design.
Avoid using generic widgets that stand out too much or clash with your site’s theme. Instead, use custom styles or embed options that let you control how reviews appear.
- This keeps the user experience smooth and professional while still showing trust-building proof.
Build trust & FOMO
Highlight real-time activities like reviews, sales & sign-ups.


Other Ways to Add Capterra Reviews to Websites

Explore easy and effective methods to add Capterra reviews to your website without using a widget.
1. Add Screenshots of Capterra Reviews
A quick and simple way to show Capterra reviews on your website is by taking screenshots and adding them as images. This works well if you want full control over placement without dealing with code or integrations.
Here’s how to do it:
- Visit your product’s Capterra page.
- Scroll to the review section and choose reviews that highlight key benefits.
- Take clean screenshots showing the reviewer’s name, rating, and comment.
- Upload the images to your website — you can place them in sliders, testimonial sections, or near call-to-action buttons.
2. Manually Copy and Paste Review Text
You can also copy the text from your Capterra reviews and paste it into your website. This lets you match the style of your site while highlighting the most useful feedback.
Here’s how to do it:
- Go to your product’s Capterra profile and read through the reviews.
- Pick a few strong reviews that mention key features or customer support.
- Copy the reviewer’s name, star rating, and the review text.
- Paste the content into your website — use a testimonial section, quote block, or review card layout.
3. Link to Your Capterra Profile
One of the easiest ways to show credibility is by linking directly to your Capterra profile. This gives visitors full access to all your reviews in one place and shows you’re listed on a trusted software review platform.
Here’s how to do it:
- Copy the URL of your product’s Capterra profile page.
- Add a clear call-to-action like “Read our reviews on Capterra” or “See what our users say on Capterra.”
- Place the link in your website footer, about page, or near your testimonials.
4. Embed Video Review with Mention of Capterra
If a customer has shared a video review and mentioned Capterra in it, you can feature that video on your website to build strong trust. Seeing a real person talk about their experience adds authenticity and draws attention.
Here’s how to do it:
- Ask the reviewer for permission to use their video if it’s not already public.
- Upload the video to YouTube, Vimeo, or directly to your site.
- Embed it on your homepage, testimonial section, or product page.
- Add a short caption like “As shared on Capterra” to build credibility.
5. Add Reviews to Blog Content
You can highlight Capterra reviews inside your blog posts to support your points with real user feedback. This helps make your content more convincing and shows that your claims are backed by real customers.
Here’s how to do it:
- Find reviews on your Capterra profile that relate to the blog topic (like ease of use, support, or ROI).
- Copy the review text and include it in your blog as a quote or a highlighted box.
- Mention that the review is from Capterra.
Common Mistakes to Avoid When Adding Capterra Reviews on a Website

Avoid these common mistakes to make your Capterra reviews more effective and trustworthy on your website.
1. Displaying Outdated or Irrelevant Reviews
Showing old or off-topic Capterra reviews can hurt your credibility.
Visitors want to see what users are saying now, not feedback from several years ago that may no longer apply.
For example, Reviews are more than 2 years old.

Highlight recent reviews, ideally from the past 2-3 weeks.
2. Showing Too Many Reviews at Once
Displaying a long list of Capterra reviews all at once can overwhelm your visitors.
Instead of helping them decide, it may lead to confusion or make the page feel cluttered.
There’s no clear highlight of the best or most helpful feedback.
Show 3 to 5 key reviews that cover different benefits or use cases.
3. Ignoring Mobile Responsiveness
If your Capterra reviews aren’t easy to read on mobile, you risk losing trust and attention from a large part of your audience.
Most users browse on their phones, so your review section needs to work smoothly on smaller screens.
Test your review section on different screen sizes and devices.
Platform-Specific Integration Guides
Step-by-step guides to help you connect WiserNotify with your favorite platforms.
No coding needed. Just follow the steps and go live in minutes.
How to Add Capterra Reviews on Hubspot
How to Add Capterra Reviews on Shopify
How to Add Capterra Reviews on Elementor
Conclusion
That’s all it takes to add Capterra reviews to your website. It’s a simple step with Wisernotify, but it can really help build trust with your visitors.
When people see honest feedback from real users, they feel more confident about trying your product.
You don’t need anything fancy—just pick a way that works for your site, make sure the reviews are easy to spot, and keep them up to date. Even a few strong reviews can make a big difference.
Let your happy customers speak for you.
Boost Conversion Instantly
Add Social Proof & Urgency to your website
Frequently Asked Questions
Can I integrate Capterra reviews using WiserNotify on a WordPress website?
Absolutely! WiserNotify is compatible with various website platforms, including WordPress. The integration process is seamless, and you can easily add Capterra reviews to your WordPress site. It doesn’t require any complex coding or technical expertise.
Is there a limit to the number of Capterra reviews I can display on my website using WiserNotify?
No, there are no strict limits on the number of Capterra reviews you can showcase on your website through WiserNotify. You have the flexibility to display as many reviews as you see fit. Whether you want to feature a handful of select reviews or create a comprehensive review section, WiserNotify adapts to your requirements ensuring a seamless display of Capterra reviews.
Do I need any coding skills to set up WiserNotify for Capterra reviews integration?
No coding skills are required! WiserNotify is designed to be user-friendly and accessible for individuals with varying technical backgrounds. The setup process is straightforward and involves minimal technical complexities. You’ll be guided through the integration steps, and you can easily copy and paste the provided code snippet into your website. It’s as simple as that!
How often are the Capterra reviews updated on my website when using WiserNotify?
Capterra reviews displayed on your website using WiserNotify are updated in real-time. This means that whenever a new review is posted on Capterra, it will automatically appear on your website as well. The real-time synchronization ensures that your visitors always see the most current and relevant feedback from your customers.
Can I choose where the Capterra reviews are displayed on my website with WiserNotify?
Absolutely! WiserNotify provides you with the flexibility to choose where you want the Capterra reviews to be displayed on your website. You can decide the placement, whether it’s on your homepage, product pages, or a dedicated reviews section. This customization allows you to strategically position the reviews to maximize their impact and engagement with your audience.

Krunal Vaghasiya is a marketing tech expert who boosts e-commerce conversion rates with automated social proof and FOMO strategies. He loves to keep posting insightful posts on online marketing software, marketing automations, and improving conversion rates.




 Capterra