The Fastest Way to Display Reviews on Leadpages
 Krunal Vaghasiya|May 16, 2025
Leadpages is a go-to platform for building high-converting landing pages.
But when it comes to integrating customer reviews, it doesn’t offer much out of the box. This missing trust factor can weaken your campaign’s conversion potential.
That’s where WiserReviews helps. It allows you to collect and showcase powerful customer reviews text, star ratings, or video on any Leadpages page using simple embed codes that match your design and boost credibility instantly.
In this blog, Learn how to embed WiserReviews into your Leadpages site, where to place reviews for maximum impact, and which common mistakes to avoid.
Why Add Reviews on Leadpages?
Build Instant Trust on Landing Pages: Customer reviews validate your offer. Embedding reviews near CTAs and pricing sections reassures visitors and removes buying hesitation.
Customize Testimonials to Match Your Funnel: With WiserReviews tags, you can create page-specific widgets that reflect different services or personas. This improves alignment and clarity across your campaigns.
Boost A/B Testing with Social Proof Variables: Leadpages users run a lot of tests. WiserReviews widgets can be varied between versions, helping you analyze the impact of testimonials on conversions.

All your reviews in one place
Collect reviews, manage every response, and display them where they matter most.
What Makes WiserReviews’ Reviews Special?
WiserReviews offers lightweight, fast-loading widgets built for conversion-focused platforms like Leadpages.
Its carousels, badges, and sliders are fully responsive and customizable to your branding.
Widgets support review filtering by tags, schema markup for SEO, and allow automation of review collection based on post-purchase, lead generation, or email capture events.
It’s the easiest way to build trust into every version of your funnel.
How to Add Reviews on Leadpages


How to Embed Reviews on Leadpages
1. In Leadpages, edit the landing page where you want to show reviews.
2. Add an “HTML” widget to your layout.
3. Paste your code into the widget and save.
4. Preview and adjust spacing or positioning as needed.
Related Post: How to Add Reviews to Your Website in Minutes
Best Practices for Showcasing Reviews on Leadpages
Here are a few smart ways to show customer reviews that actually build trust and help boost sales.
Make sure they’re easy to see and feel real to your visitors.
1. Position Testimonials Near Action Buttons
Conversion happens near the CTA. Position reviews just above or below your sign-up or purchase buttons.
This placement ensures testimonials are seen at the precise moment users are considering their next step, reinforcing credibility and urgency.
2. Use Campaign-Specific Review Filters
WiserReviews allows tagging of testimonials based on service, audience type, or campaign.
Filter and display only relevant reviews per landing page so the social proof directly matches the offer. This tactic increases engagement and message consistency.
3. Stick to Lightweight and Visual Layouts
Leadpages thrives on minimal design. Choose widgets that don’t clutter the page like a single-line badge or a 2-3 review carousel. These visual formats look clean, load quickly, and keep user focus on your funnel goal.
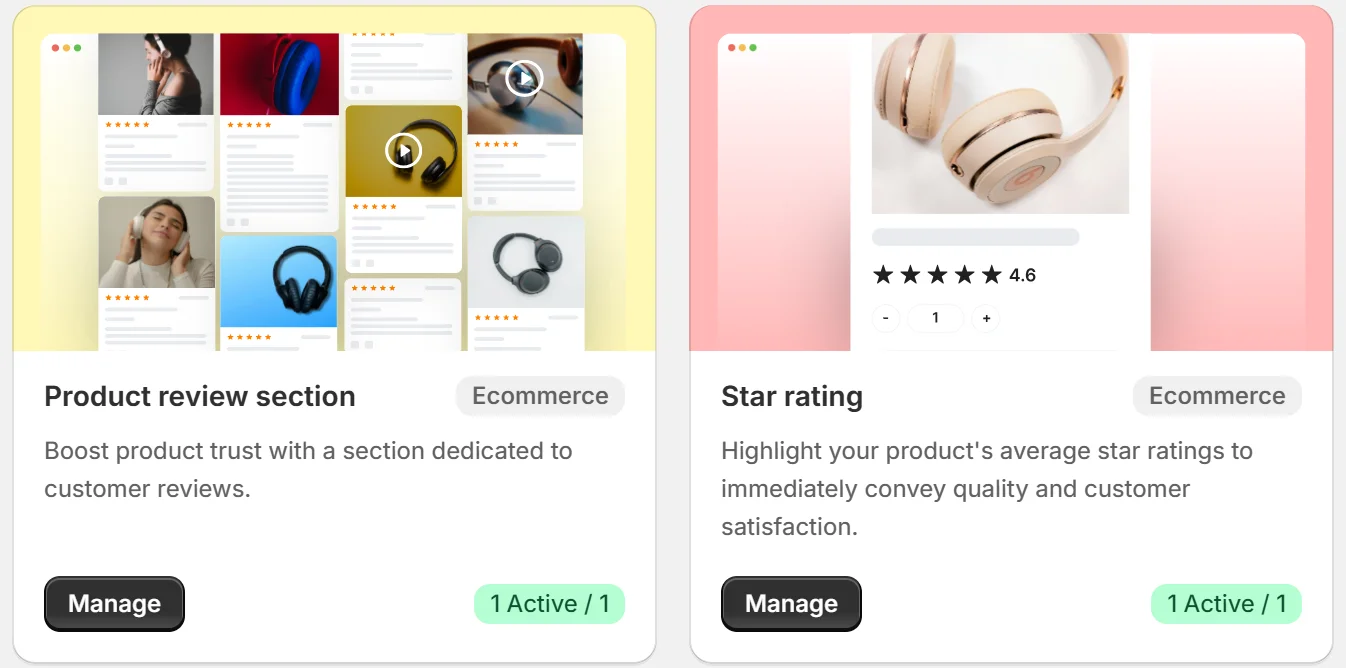
Different Types of Review Examples


All your reviews in one place
Collect reviews, manage every response, and display them where they matter most.
Common Mistakes to Avoid When Adding Reviews to Leadpages
Here are some common mistakes people make when adding reviews to Leadpages.
Fixing these can help you build more trust and keep visitors interested.
1. Embedding Reviews Below the Fold
One of the biggest missteps is hiding reviews at the bottom of the page. Many visitors never scroll that far. Instead, integrate your best review near the main CTA or offer introduction to maximize its influence.
2. Overloading Pages with Too Many Reviews
Trying to display every review you’ve collected can overwhelm users and slow down your landing page. Curate a handful of relevant, high-quality testimonials using WiserReviews’ filtering options to maintain clarity and focus.
3. Using Inconsistent Styles Across Pages
Your testimonials should blend into the design, not clash with it. Mismatched fonts or colors can make the reviews look unprofessional. Customize your WiserReviews widgets to align with the branding and visual tone of each Leadpages page.
Types of Reviews You Can Add on Leadpages
How to Add Google Reviews to Leadpages
How to Add Testimonials to Leadpages
How to Add Facebook Reviews to Leadpages
How to Add Capterra Reviews to Leadpages
How to Add Amazon Reviews to Leadpages
Wrap-Up
Adding reviews to Leadpages helps transform hesitant visitors into confident converters.
WiserReviews enables you to embed trust into every campaign variation without sacrificing speed or design.
Start building trust on every page. Add WiserReviews to your Leadpages campaigns and make your customer feedback the strongest part of your funnel.
Krunal Vaghasiya is a marketing tech expert who boosts e-commerce conversion rates with automated social proof and FOMO strategies. He loves to keep posting insightful posts on online marketing software, marketing automations, and improving conversion rates.