
How to Add an Announcement Bar to Duda (2026)
To add an announcement bar to Duda, paste the WiserNotify pixel into Settings, then Header HTML. Next, go to Widgets, click Add notification and pick an announcement template.
Write the message, set the dates and the pages, and publish. The pixel goes in once per site, and no other code is needed.
The steps below take you from the pixel to a live bar.
Does Duda Have an Announcement Bar?
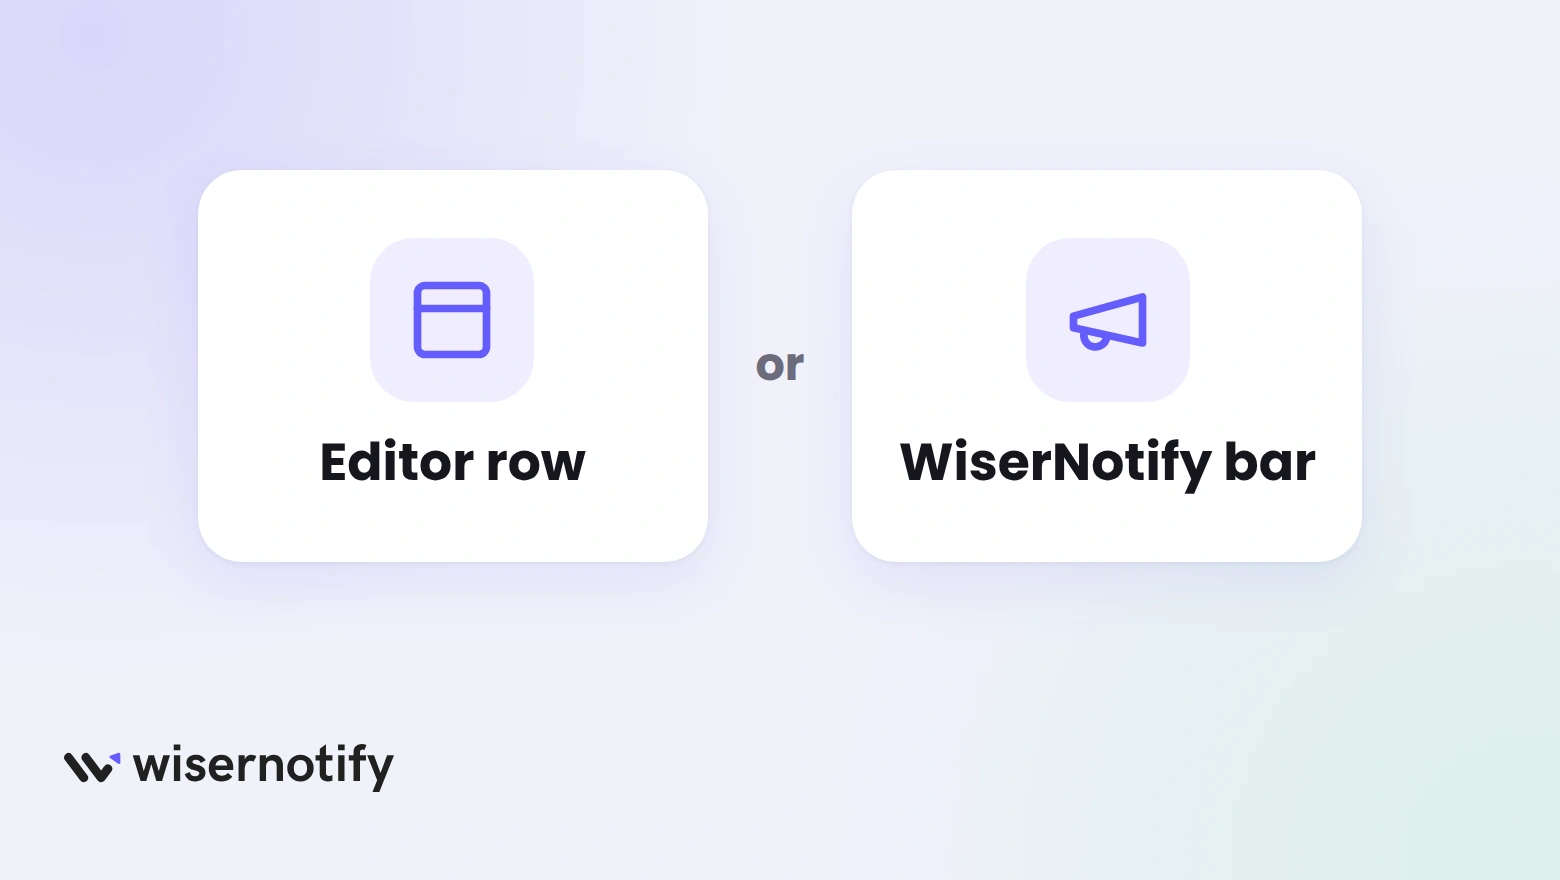
You can build one by hand. In Duda’s editor, a row or a text widget at the top of a page works as a bar, and Editor 2.0 can pin a widget in place.
- Editor row: part of the page layout you build it in, so you manage its text, dates and pages by hand.
- WiserNotify bar: one script runs the bar on the pages you pick. It adds start and expiry dates, page and visitor rules, a countdown and click reports.
For one message across a whole site, or a bar that switches itself off when a sale ends, the script route is easier to manage.
Which Announcement Bars Work on Duda?
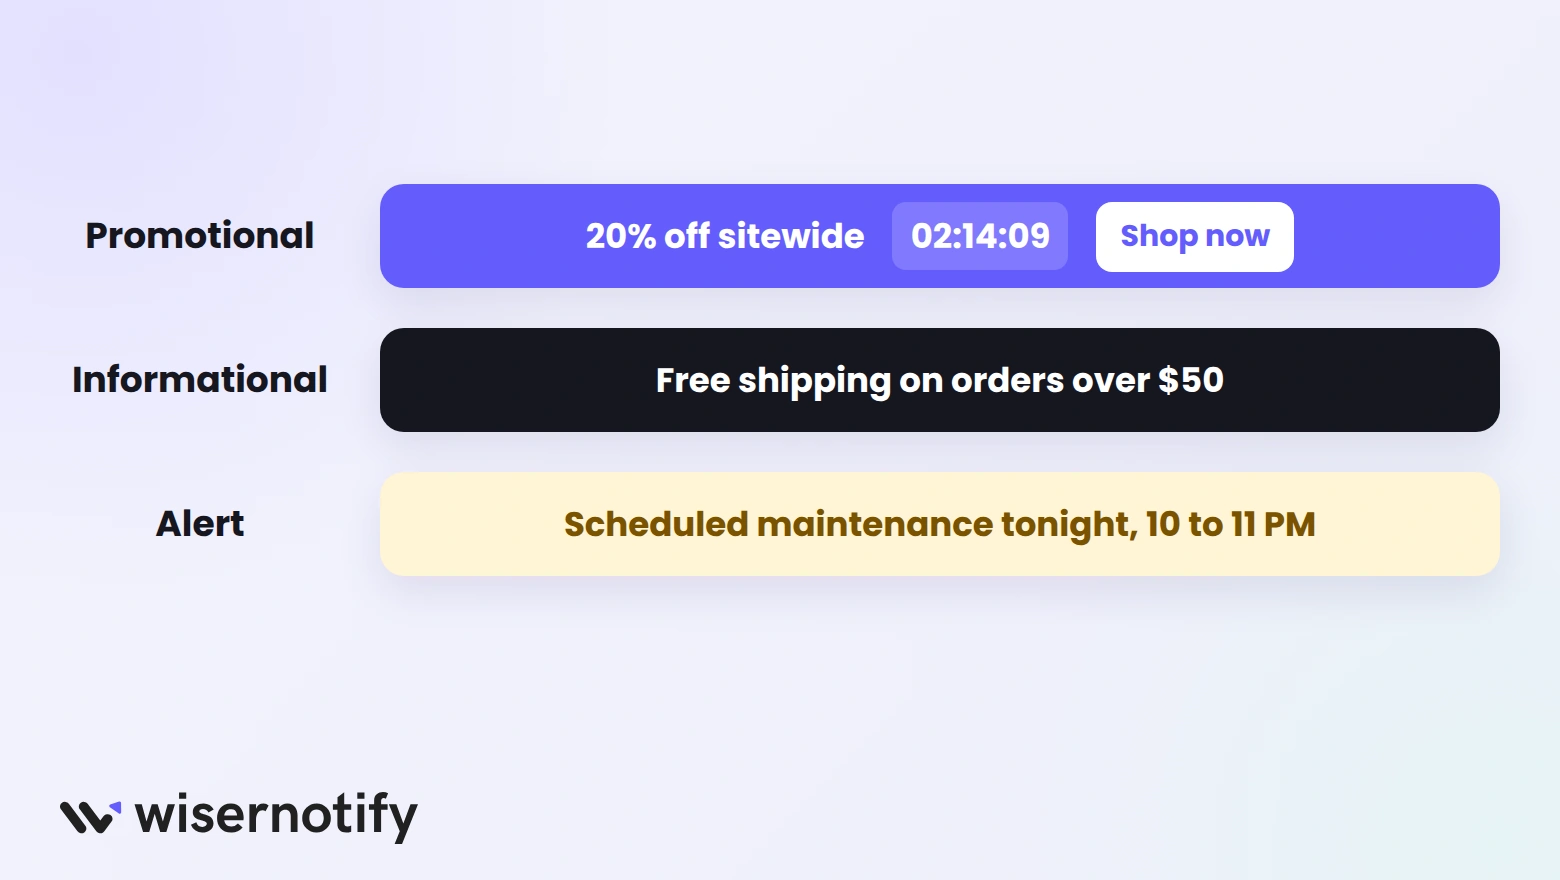
The right bar depends on what you want visitors to do. These five cover most Duda sites.
| Bar type | Example line | Add in WiserNotify |
| Promotional | Summer sale: 25% off with code SUMMER25 | A coupon code visitors can copy |
| Shipping | Free shipping on orders over $50 | A Shop now button |
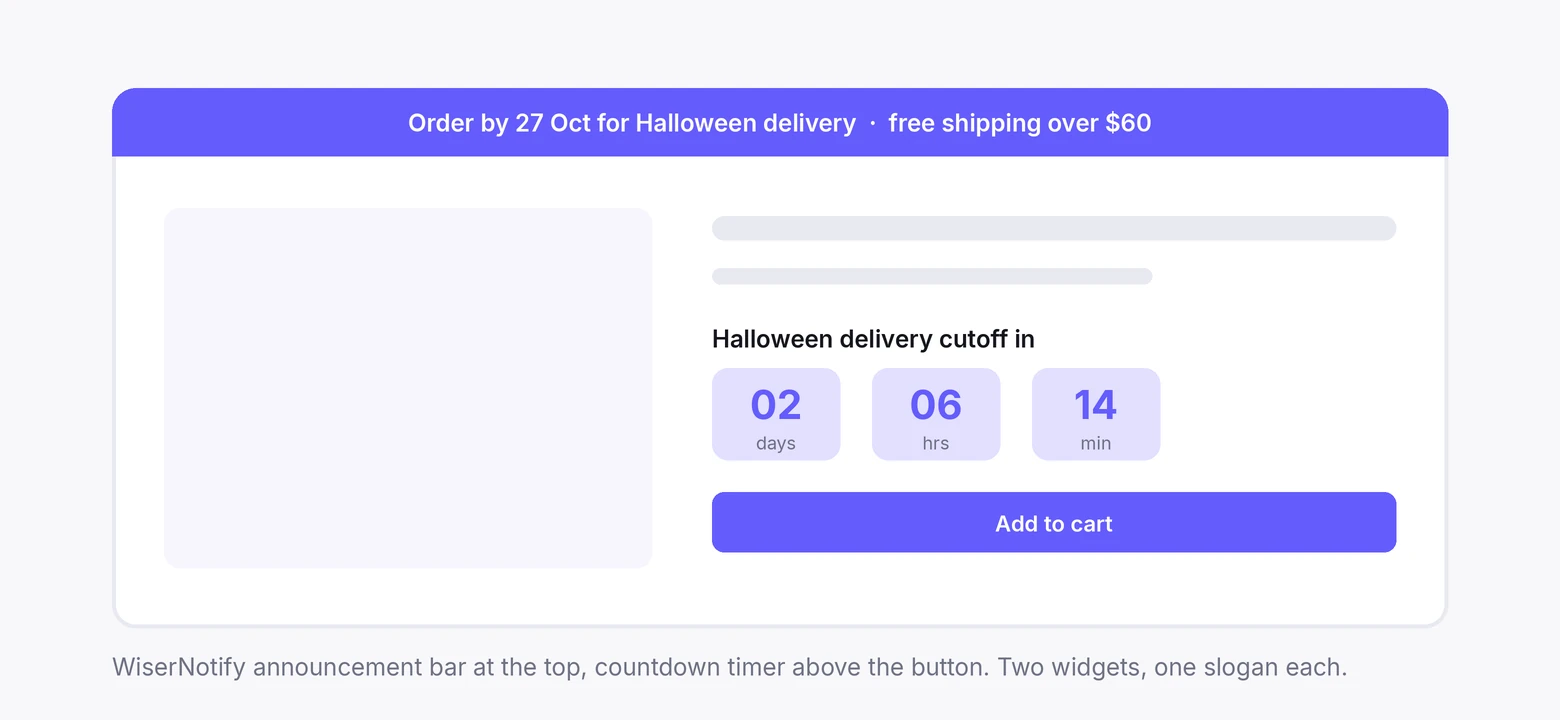
| Urgency | Sale ends in 02:14:36 | A countdown timer |
| Event | Join our live webinar Friday at 3 PM | A sign-up button and an expiry date |
| Policy update | We are now open on Sundays | An expiry date after the change week |
For real examples, see these announcement bar examples.
Build urgency
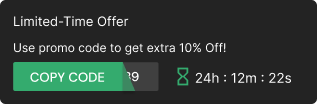
Add floating offers with countdown timer & coupon code.

How to Add an Announcement Bar to Duda
The video shows the bar being built in WiserNotify. The steps after it cover the Duda part first.
Step 1: Copy Your Pixel Code

- Sign up for WiserNotify and start the 7-day free trial, or log in if you already have an account.
- Open the Install Pixel page.
- Click Copy code.
Step 2: Open Your Duda Site
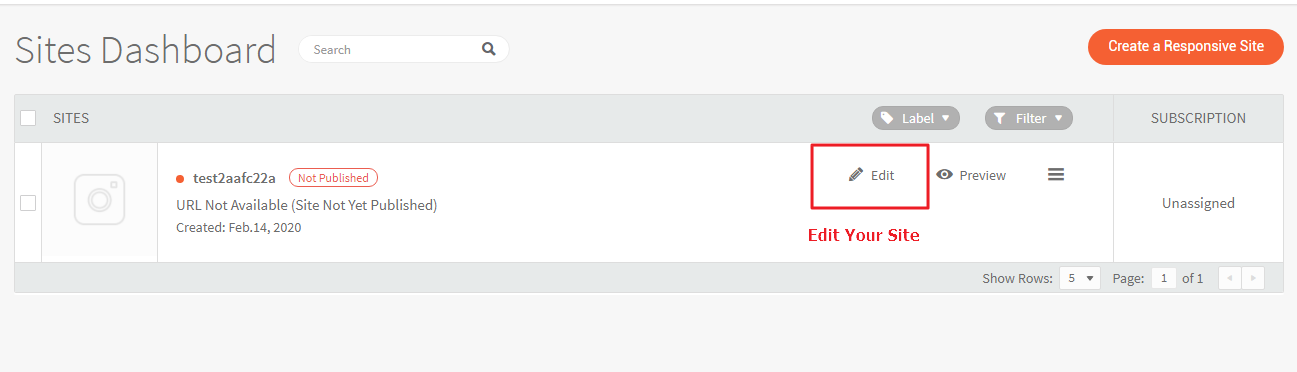
- Log in to Duda.
- In the Sites Dashboard, click Edit next to your site.
Step 3: Add the Pixel to Header HTML
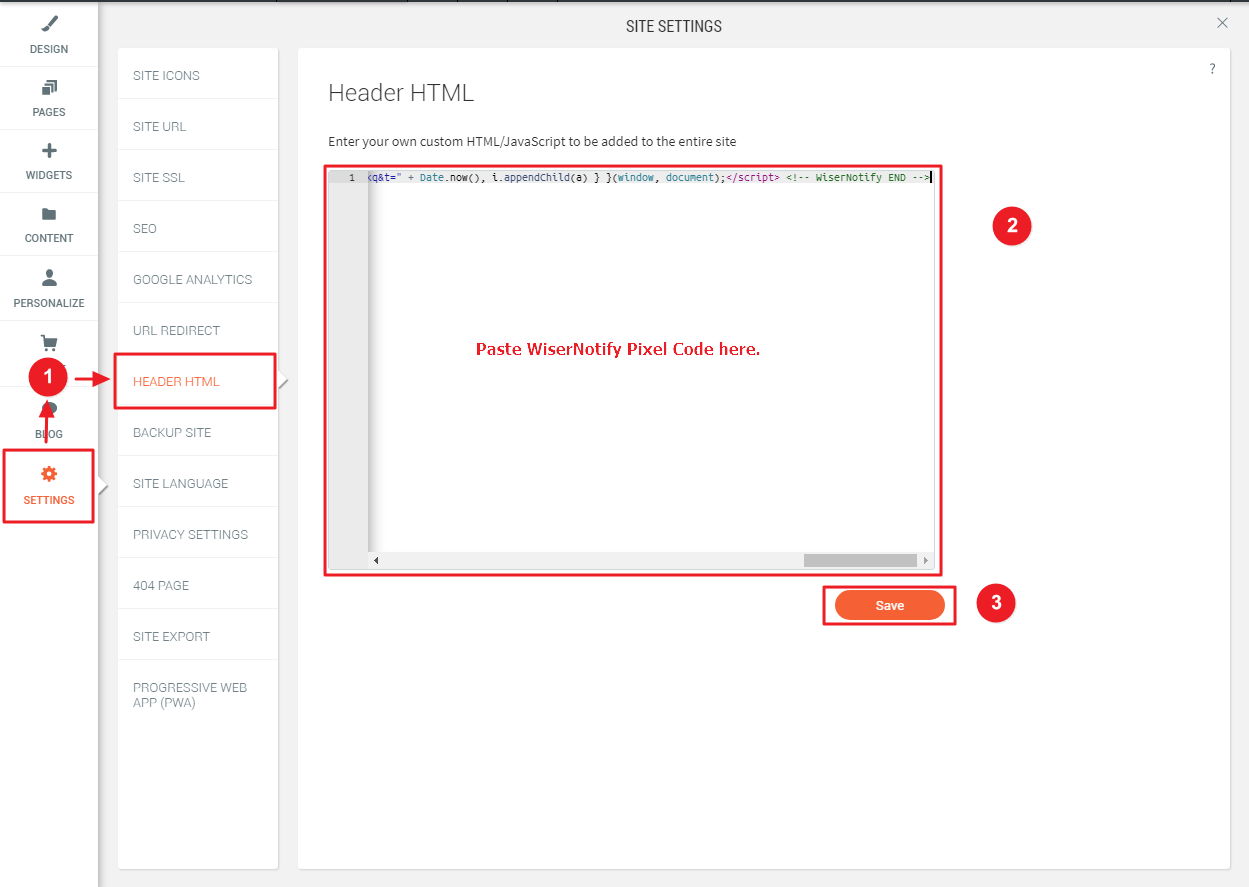
- In the left sidebar, click Settings to open Site Settings.
- Click Header HTML. Duda adds this code to the whole site.
- Paste your pixel into the box.
- Click Save, then publish your Duda site so the code goes live.
Building for clients? Repeat Steps 2 to 4 in each client site, since the pixel goes in once per site.
Step 4: Verify the Pixel

- Open your published Duda site once so the pixel loads.
- Go back to the Install Pixel page in WiserNotify.
- Click Verify pixel installation.
- Wait for the message that the pixel code was detected.
For more detail on this part, see the Duda pixel install guide.
Step 5: Pick an Announcement Template
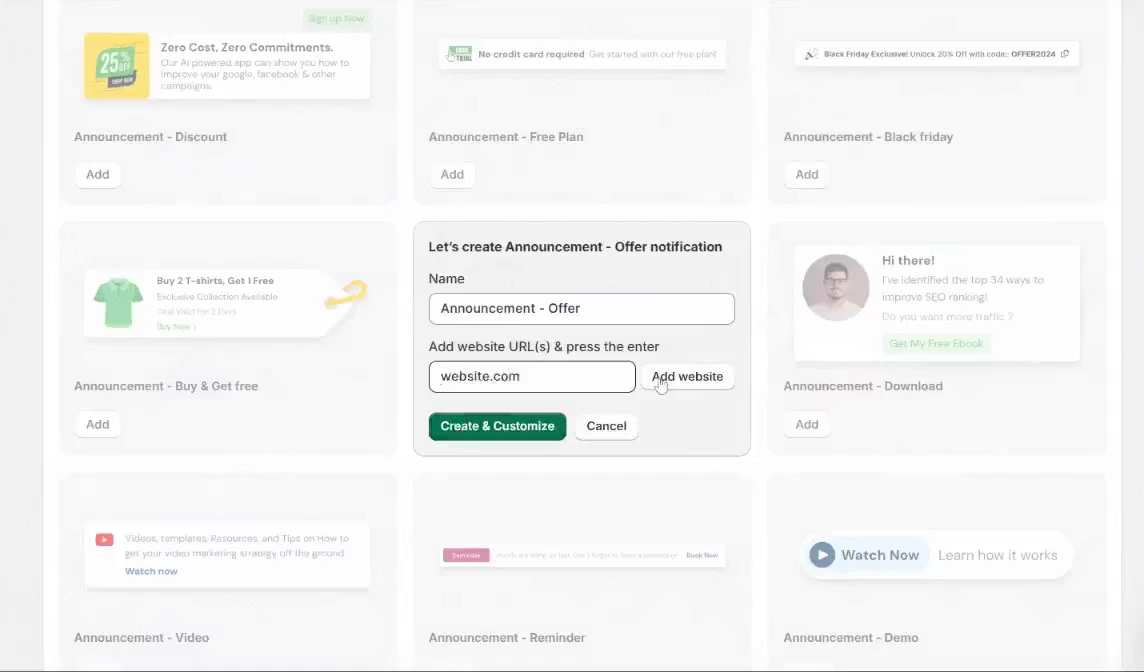
- In WiserNotify, go to Widgets and click Add notification.
- Open the Announcements tab.
- Choose a template, such as Discount, Offer, Free Shipping, Black Friday or Reminder, and click Add.
- Name the widget, enter your Duda site address and click Create and Customize.
Step 6: Write the Message
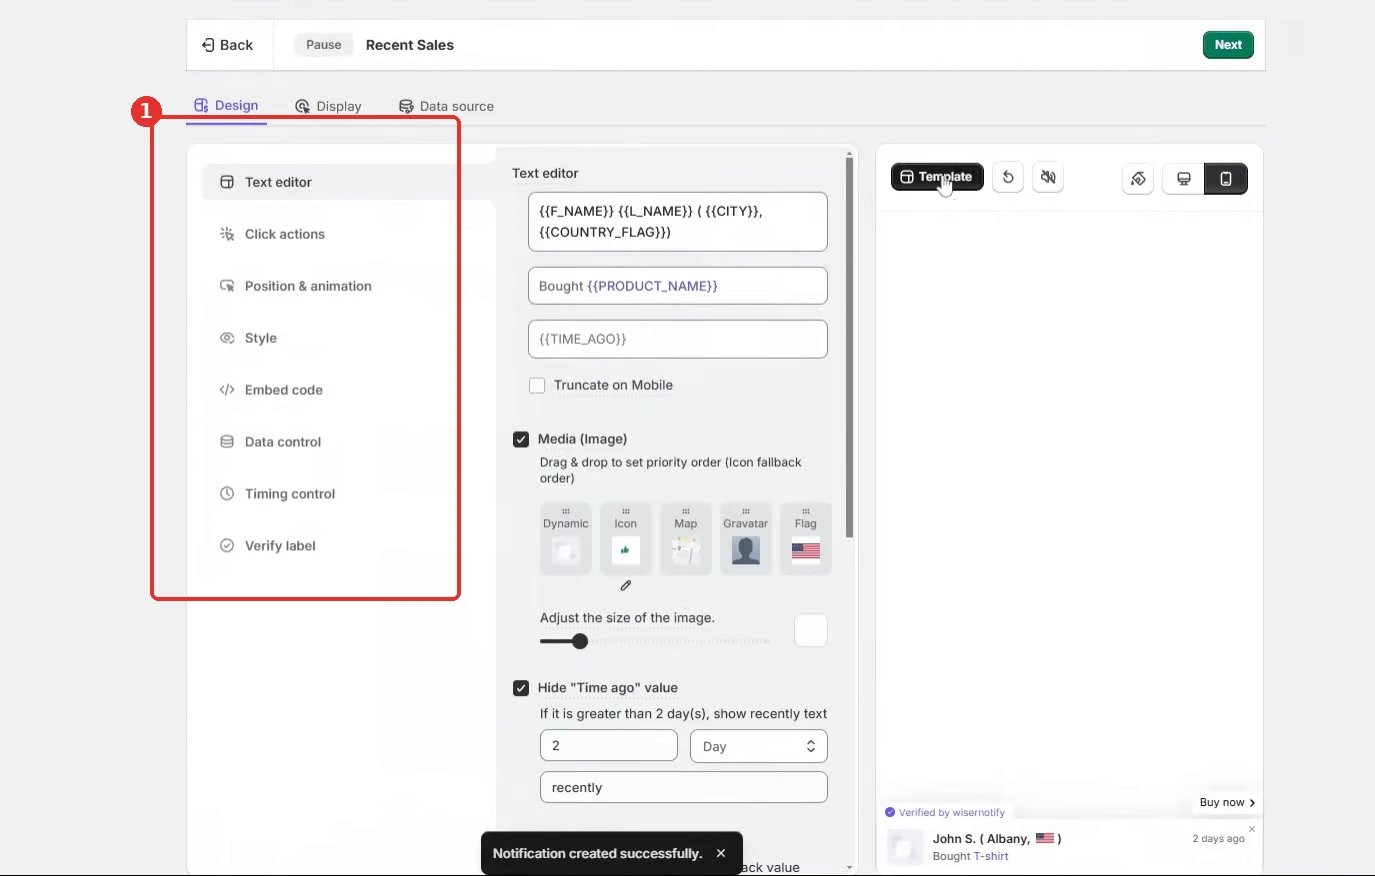
- In Text editor, write one short message.
- In Click actions, add a button such as Shop now, or a promo code, and set it to open a URL or copy the code.
- In Position and animation, place the bar at the top or bottom for desktop and mobile.
- In Style, match the colors and size to your Duda site.
Step 7: Set Dates and Timing
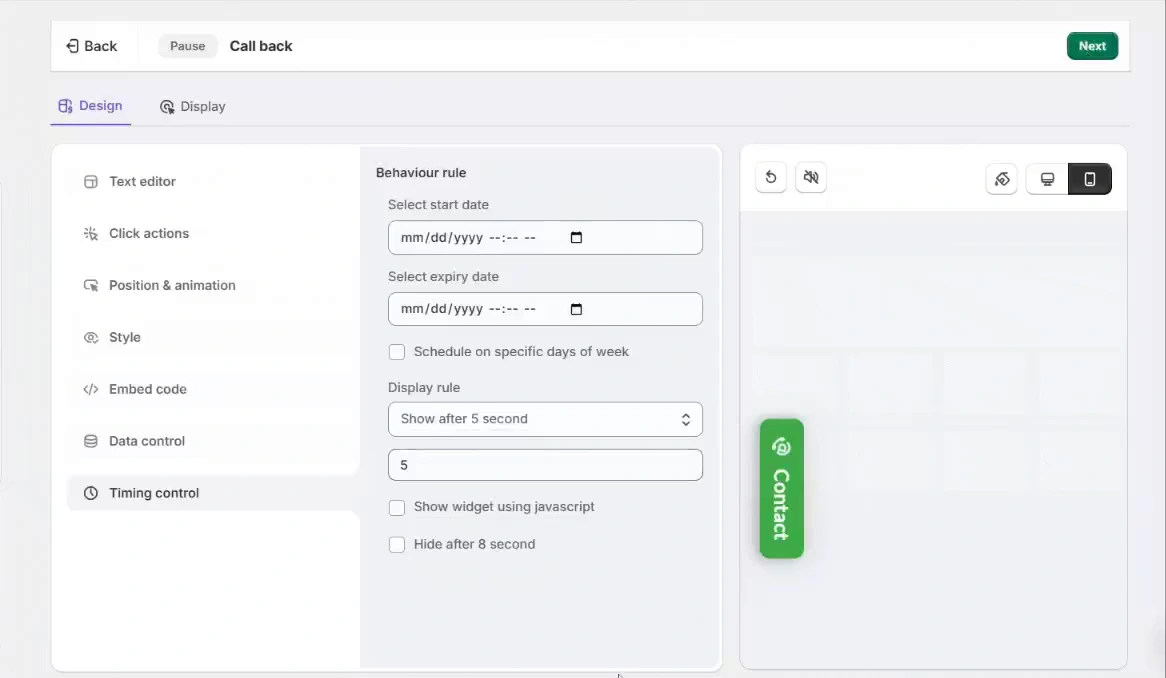
- Open Timing control.
- Pick a start date and an expiry date, so the bar switches itself off when the offer ends.
- Choose when it appears: on page load, after a delay, after a scroll percentage or on exit intent.
- Click Save, then Next.
Step 8: Choose Pages and Publish
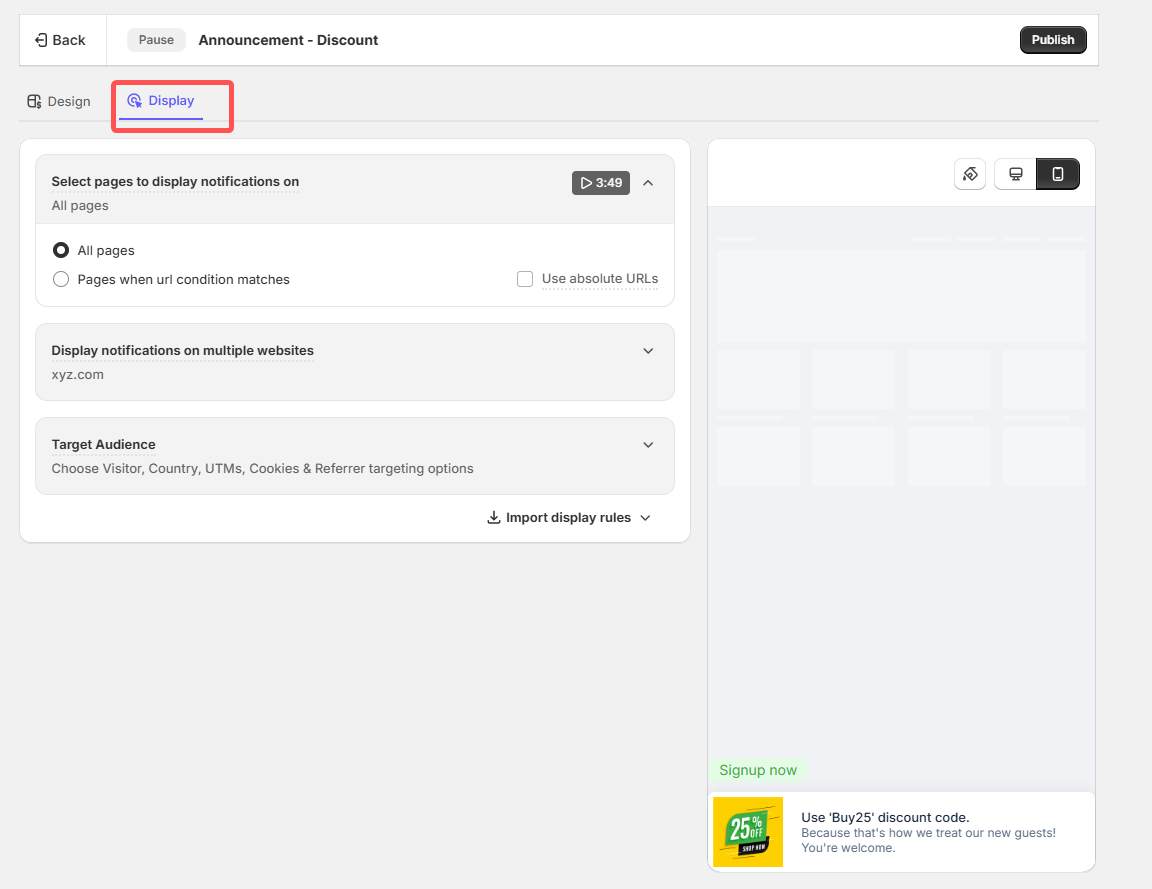
- Keep All pages, or pick Pages when URL condition matches to target specific pages.
- Add more domains under Display notifications on multiple websites if you need them.
- Use Advanced targeting to show the bar by country, UTM source, visitor type, cookie or referrer.
- Click Publish.
Step 9: Check It Live
- Open your Duda site in a private window.
- Refresh once or twice until the bar appears.
- Check it on a phone as well as on desktop.
Build trust & FOMO
Highlight real-time activities like reviews, sales & sign-ups.
When and Where to Show the Bar on Duda
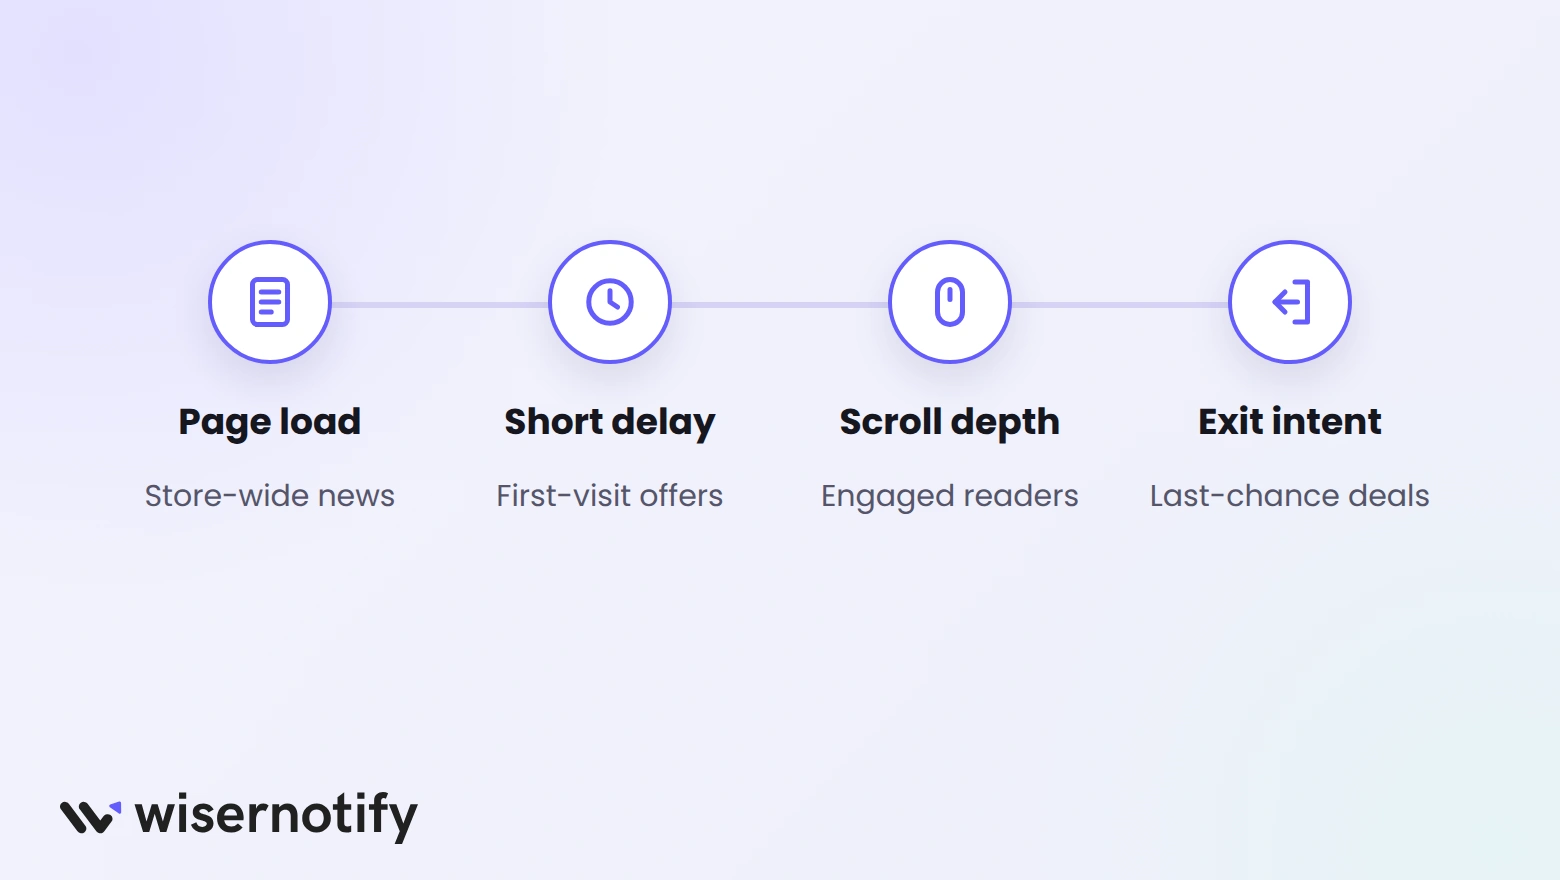
The timing and targeting settings decide whether a bar helps or interrupts.
- On page load: site-wide news like free shipping or holiday hours.
- After a short delay: first-visit offers, so the page loads before the bar appears.
- After a scroll percentage: offers for visitors who are reading, not bouncing.
- On exit intent: a last-chance discount when someone moves to leave.
- By country: different shipping or currency messages for each region.
- On set days: weekend sales or weekday-only offers.
Pair the bar with proof from real customers. Here is how to add Google reviews to Duda.
Announcement Bar Not Showing on Duda?
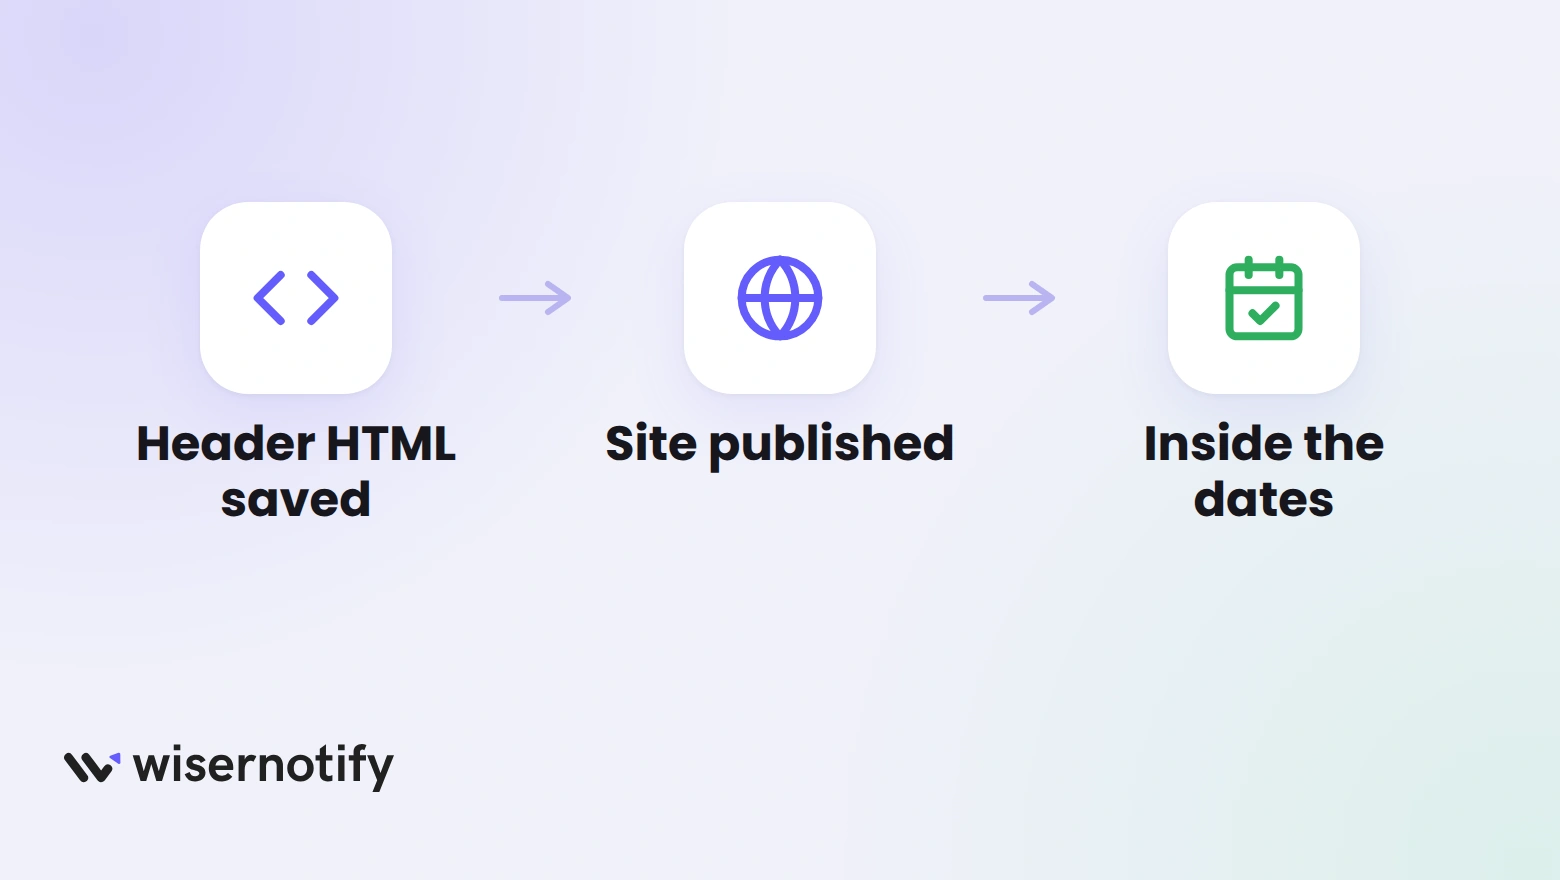
- Pixel not saved: reopen Settings, then Header HTML, and check the pixel is still in the box after you saved.
- Site not published: Header HTML code goes live only after you publish your Duda site.
- Page-level box: the code must sit in the site-wide Header HTML, not in the Header HTML of one page.
- Pixel not detected: open your published site once, then click Verify pixel installation again.
- Outside the dates: make sure today falls between the start and expiry dates.
- Wrong pages: check your URL conditions match the page you are viewing.
- Bar not published: saving the bar is not enough. Click Publish.
- Already seen: if skip seen is on, the bar hides for visitors who saw it, including you.
- Cached page: check in a private window.
Still stuck? Use the troubleshoot option in the dashboard or the live chat.
Common Mistakes to Avoid
- Same bar on every page: a free shipping message on the contact page is noise. Use URL conditions.
- Running several bars at once: stacked messages confuse visitors. Run one bar per page.
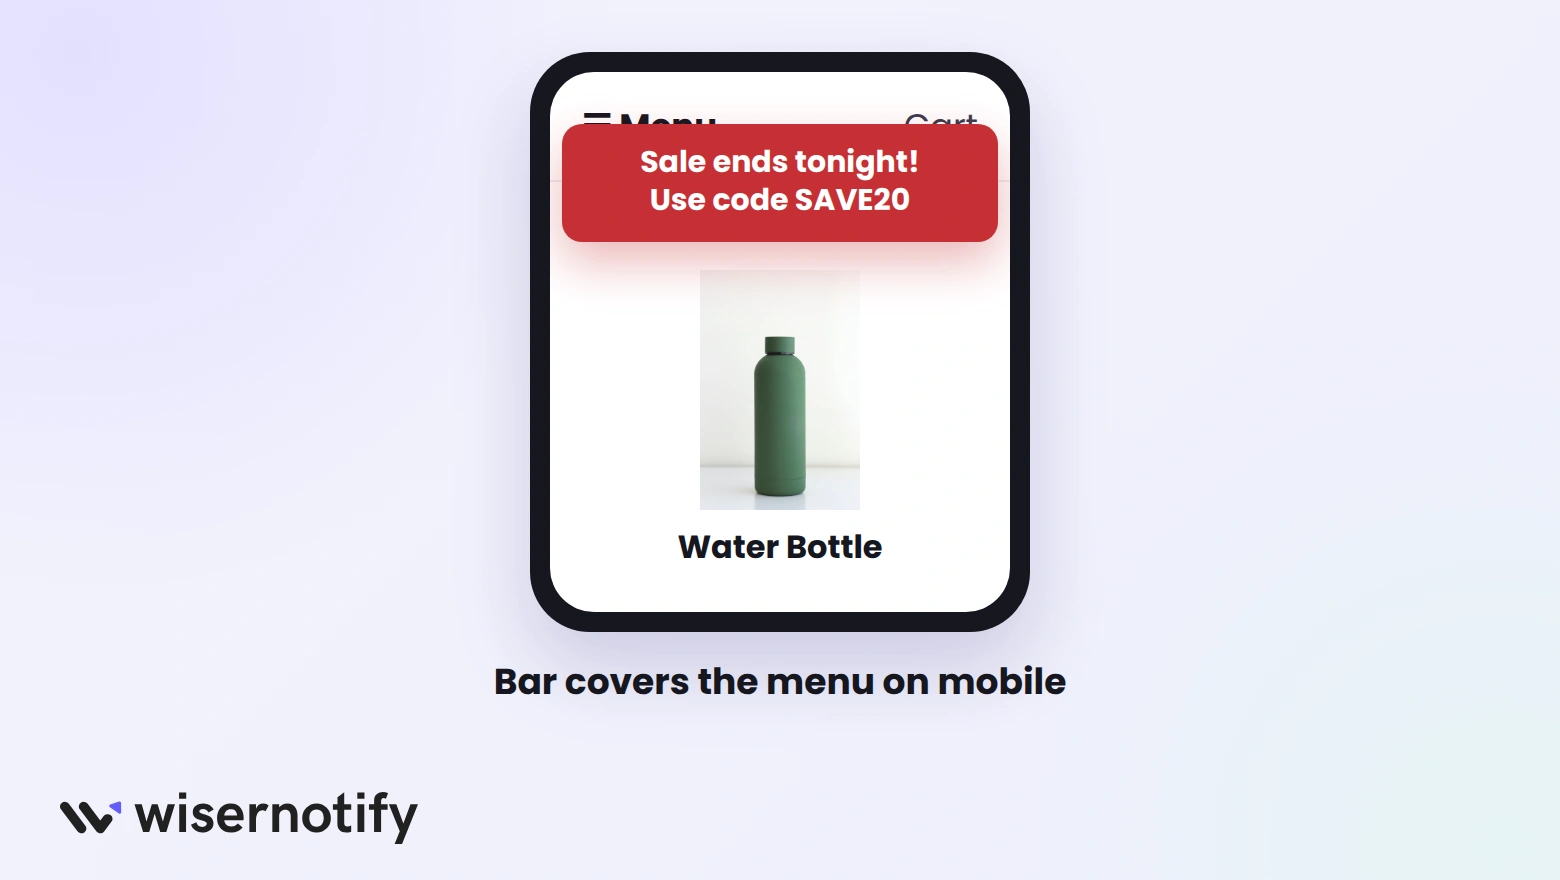
- Covering the menu: check on a phone that the bar does not hide navigation or a button.
- Expired messages: set an expiry date so old offers do not stay up.
- No clear next step: add a button in Click actions so the bar leads somewhere.
- No tracking: add UTM parameters to the button so clicks show up in your analytics.

Boost Conversion Instantly
Add Social Proof & Urgency to your website
Wrap Up
An announcement bar gives every visitor to your Duda site the same short message at the right moment. Add the pixel once, pick a template, and set the dates.
Start with one offer and one button, then check how visitors respond before you add more.
Related Posts
Frequently Asked Questions
Does Duda have a built-in announcement bar?
You can build one by hand from a row or text widget, and Editor 2.0 can pin it in place. WiserNotify adds dates, page rules and click reports on top.
Where do I paste the WiserNotify pixel in Duda?
Open your site in the editor, click Settings, then Header HTML. Paste the pixel, save, and publish your site.
Can I schedule the announcement bar?
Yes. Set a start and expiry date in Timing control, and the bar switches itself off when the offer ends.
Can the bar show on only some Duda pages?
Yes. In the Display tab, pick Pages when URL condition matches and add the page addresses.
Does the announcement bar work on mobile?
Yes. Pick the bar position for desktop and mobile in Position and animation, then check it on a phone.

Krunal Vaghasiya is a marketing tech expert who boosts e-commerce conversion rates with automated social proof and FOMO strategies. He loves to keep posting insightful posts on online marketing software, marketing automations, and improving conversion rates.




 Capterra