An announcement bar is a simple yet impactful feature for any e-commerce store. It allows you to highlight promotions, share news, or inform customers about critical updates right at the top of your website. For BigCommerce store owners, adding an announcement bar can help drive traffic, boost conversions, and engage customers effectively.
In this guide, we’ll explore the types of announcement bars you can create, how to add one to your BigCommerce site, and best practices to ensure maximum impact.
Types of Announcement Bars
BigCommerce store owners can leverage announcement bars in several ways:
Promotional Bars
- Showcase discounts or special offers to encourage purchases.
- Example: “Enjoy 20% off sitewide! Use Code: BIG20 at checkout.”
Shipping Announcements
- Highlight free shipping or delivery terms.
- Example: “Free shipping on all orders over $50!”
Urgency Bars
- Create urgency with countdowns or limited-time deals.
- Example: “Flash Sale! Ends in 2 hours.”
Event Announcements
- Promote upcoming events, sales, or new product launches.
- Example: “New collection drops this Friday—Shop the look!”
Holiday or Seasonal Announcements
- Add festive flair with seasonal promotions.
- Example: “Celebrate the holidays with 25% off everything!”
Add Announcement Bar to BigCommerce
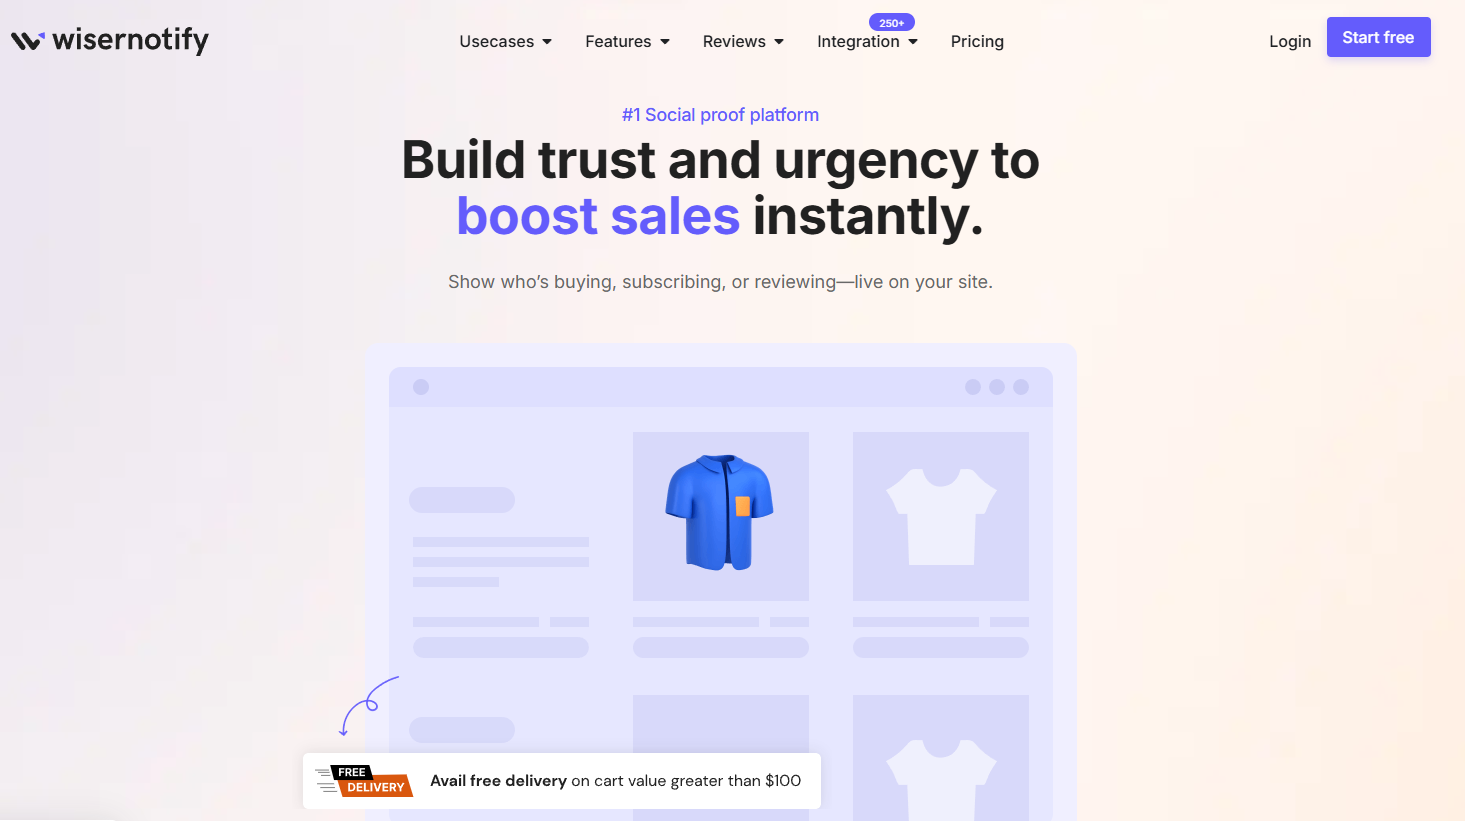
Adding an announcement bar to your BigCommerce website is incredibly easy and requires no coding knowledge. Many platforms offer plugins and tools with simple drag-and-drop interfaces to create and customize announcement bars effortlessly. Create Announcement Bars the Easy Way with WiserNotify.
Using WiserNotify, you can quickly add an announcement bar to your BigCommerce website to grab visitors’ attention and share essential updates, promotions, or calls to action.
With advanced features like A/B testing and analytics, WiserNotify allows you to create visually engaging and highly targeted announcement bars that boost user engagement and drive conversions. Key features include:
- Anncoment Bar Widgets

- Recent Activity Notifications
- Reviews and Ratings Widgets
- Countdown Timer Widgets
- Form Submission Notifications
- Inline Widgets
- Exit-Intent Pop-Ups
- Live Visitor Count Widgets

- Log in to the WiserNotify dashboard.
- Navigate to the Create Notification section and select the Announcement Bar template.

- Customize the design by:
- Adding a compelling message such as “Exclusive Discount! Limited Time Only.”
- Choosing the appropriate font, colors, and background to align with your branding.
- Including a clear Call-to-Action (CTA) button like “Shop Now” or “Learn More.”
- Preview the design to ensure it matches your preferences.
- Save the widget design and press Next.
- Configure display settings, such as showing the bar on specific pages or targeting users based on location or behavior.
- Schedule the announcement bar for a particular timeframe if needed.
Here’s a real-life example of how an announcement bar will look on a website.

Steps to Install WiserNotify on BigCommerce
- Log in to your WiserNotify dashboard. Start with the free plan to explore the platform’s features.
- Add your BigCommerce site, and copy the unique pixel code provided.
- Log in to your BigCommerce admin panel.
- Navigate to Plugins > Add New and search for “WiserNotify.”
- Install and activate the plugin.
- Paste the copied pixel code into the WiserNotify plugin settings.
Using WiserNotify, you can easily create and manage announcement bars on your BigCommerce website. This ensures that your key messages reach your audience effectively and drive the desired actions.
How to Add an Announcement Bar to BigCommerce Other Ways
There are two primary methods to add an announcement bar to your BigCommerce store:
BigCommerce themes often include built-in options for adding announcement bars.
- Log in to Your BigCommerce Dashboard
- Navigate to the store for which you want to add the announcement bar.
- Go to the Theme Editor
- Access Storefront > My Themes > Customize to open the theme editor.
- Enable the Announcement Bar
- Look for Header Settings or Banner Settings (depending on your theme).
- Enable the announcement bar option.
- Customize the Message
- Add your message, such as “Limited-Time Offer: 15% off all items!”
- Optionally, include a clickable link or button for specific promotions.
- Style the Bar
- Customize colors, fonts, and positioning to match your brand.
- Save and Publish
- Preview the changes and click Publish to make the announcement bar live.
Best Places to Display an Announcement Bar
Homepage Header
- Ideal for showcasing sitewide promotions or important announcements.
Product Pages
- Highlight discounts or special offers related to specific products.
Cart and Checkout Pages
- Reinforce urgency or highlight free shipping to reduce cart abandonment.
Landing Pages
- Use announcement bars to emphasize campaign-specific messages.
Mobile View
- Ensure the bar is optimized for mobile screens for a consistent user experience.
Common Mistakes to Avoid
- Keep your message clear and concise to ensure it’s easy to understand.
- Use fonts, colors, and styles that align with your store’s design for a professional look.
- Test the announcement bar on mobile devices to ensure it doesn’t obstruct navigation.
- Regularly update or remove expired announcements to maintain credibility.
- Avoid running multiple announcement bars simultaneously, which can overwhelm users.
Conclusion
Adding an announcement bar to your BigCommerce store is a quick and effective way to communicate key updates to your customers. Whether you’re promoting a sale, announcing free shipping, or sharing news, a well-designed announcement bar can capture attention and drive action.
By using BigCommerce’s built-in features or third-party apps, you can create customized bars tailored to your store’s goals. Follow these steps and best practices to make your announcement bar a valuable addition to your e-commerce strategy.
Related Post
