A website that doesn’t showcase visitor activity or demonstrate real-time customer engagement can appear inactive or unreliable.
This lack of visible social proof often discourages new visitors from taking action.
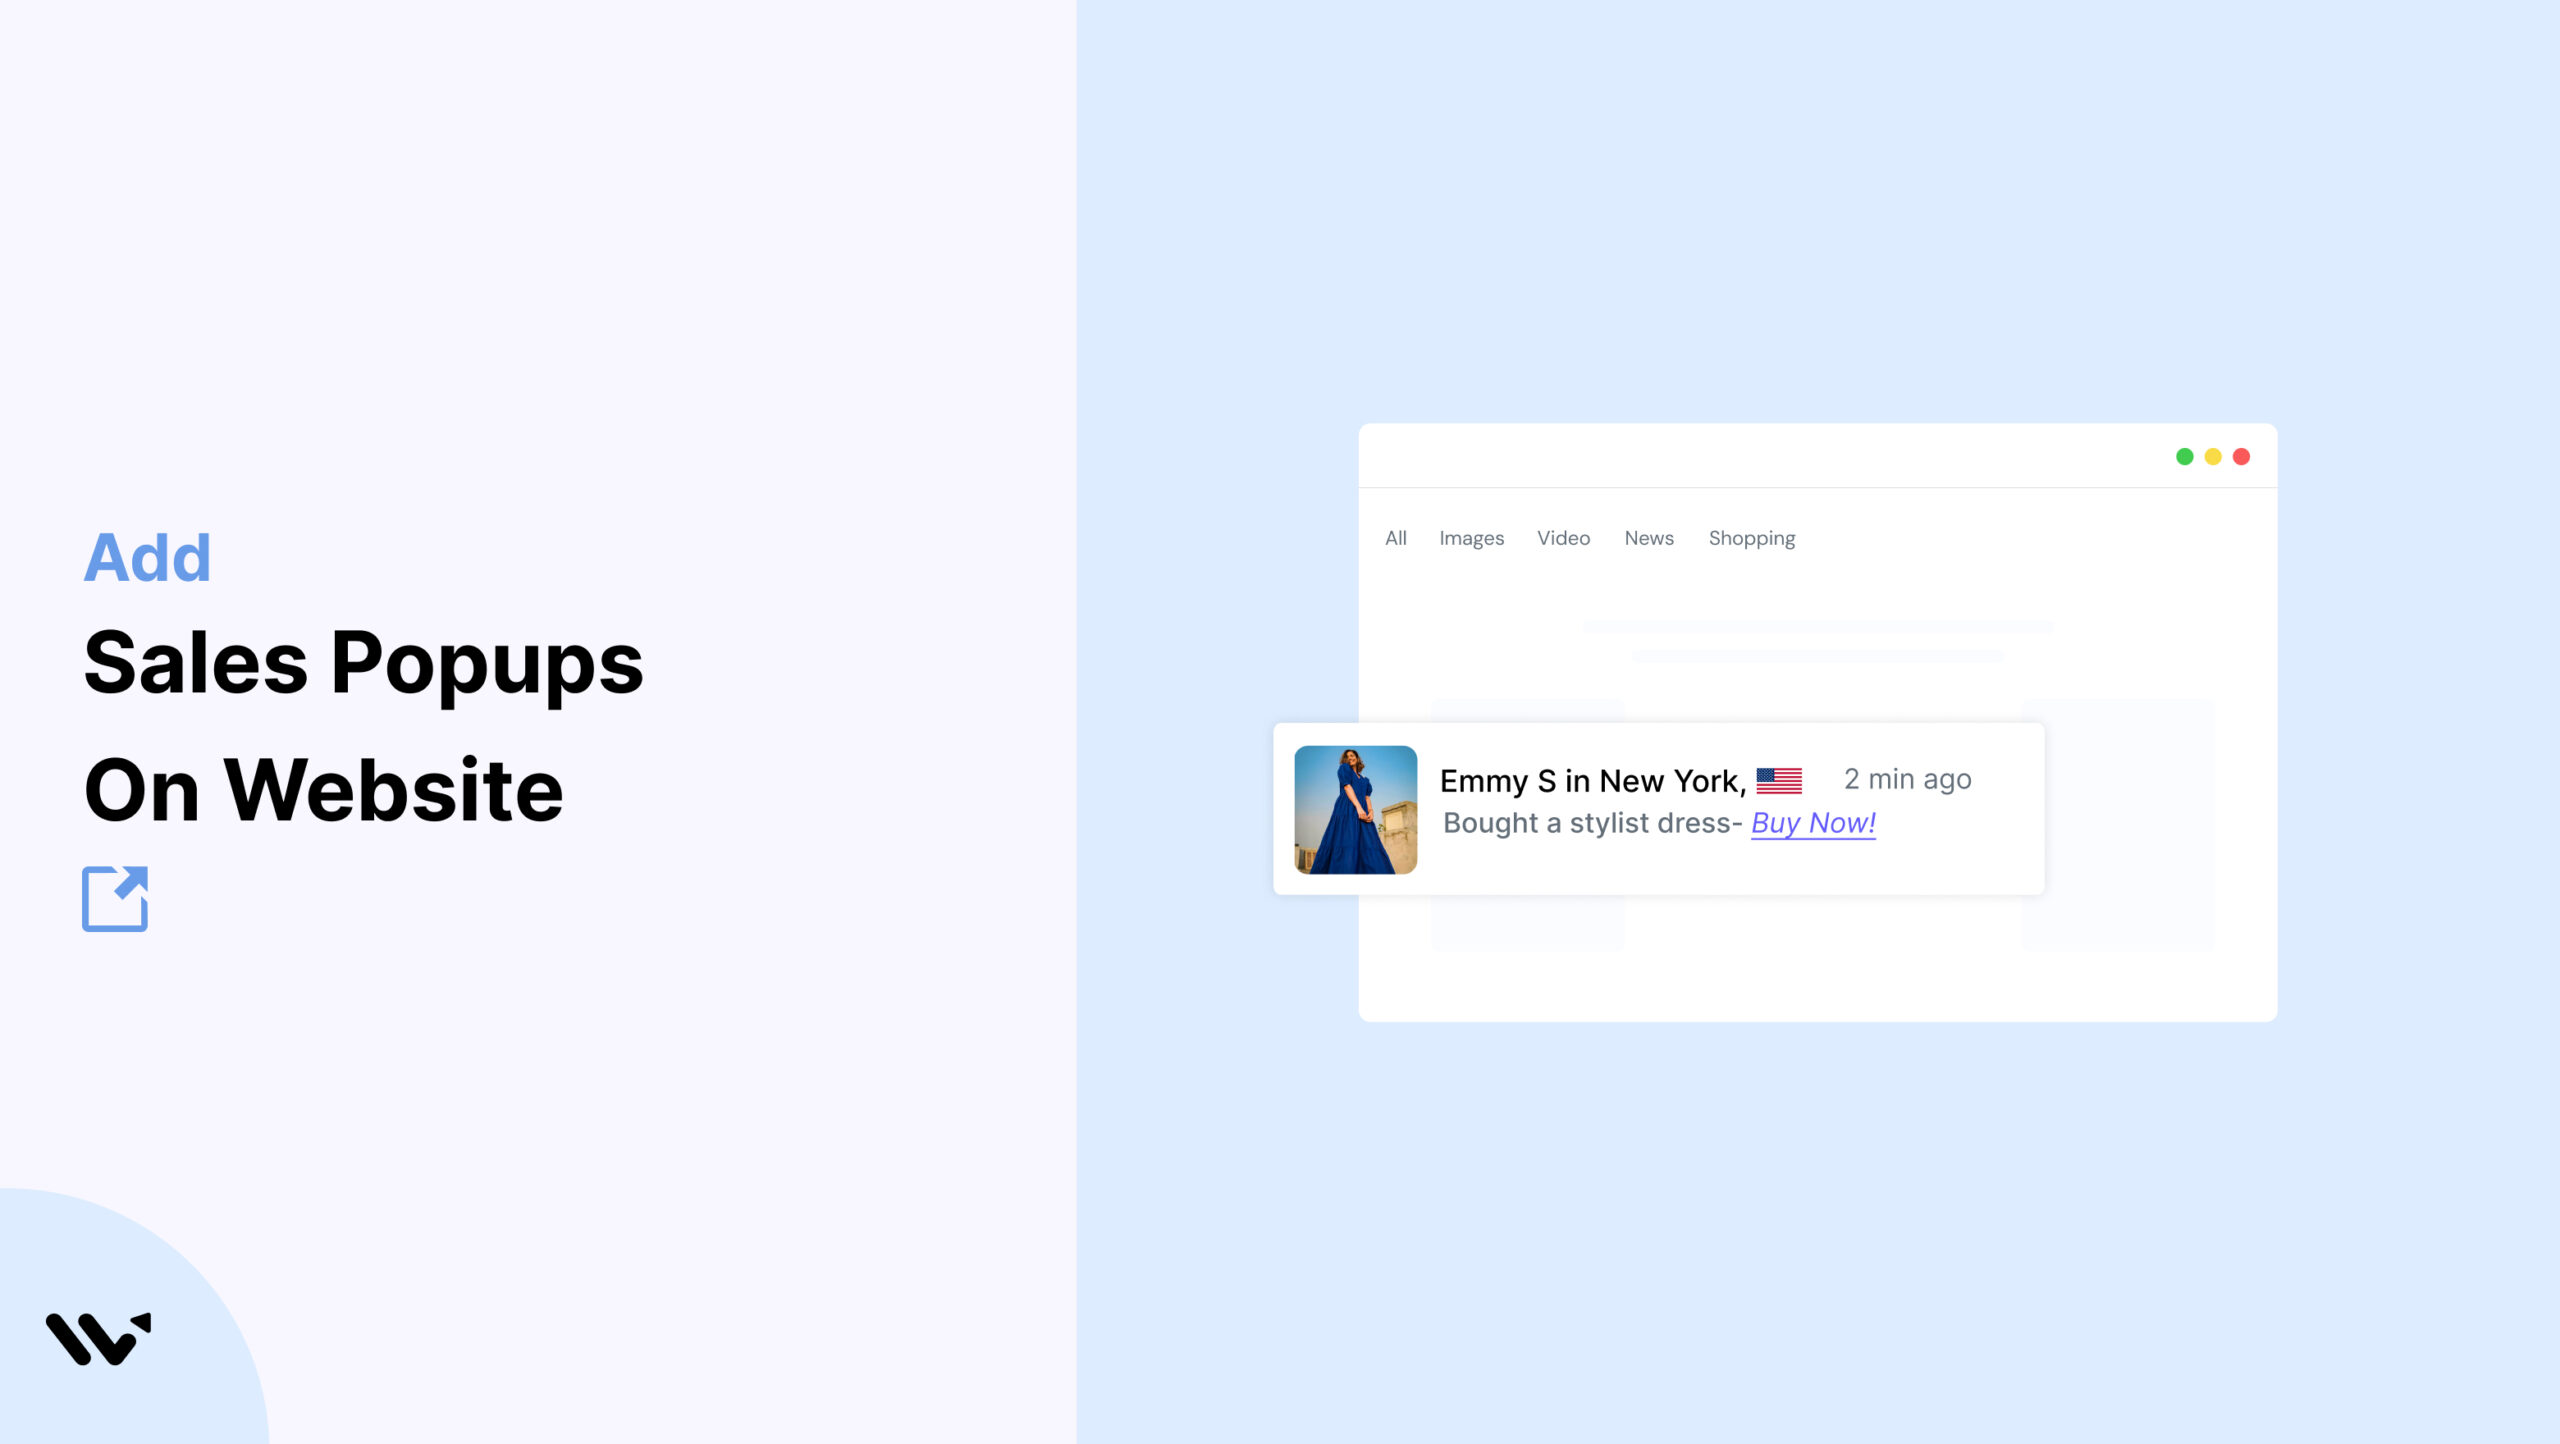
Whether you manage a blog, operate an online store, promote a service, or run a content-driven platform, adding a sales popup can dramatically boost your site’s credibility and user engagement.
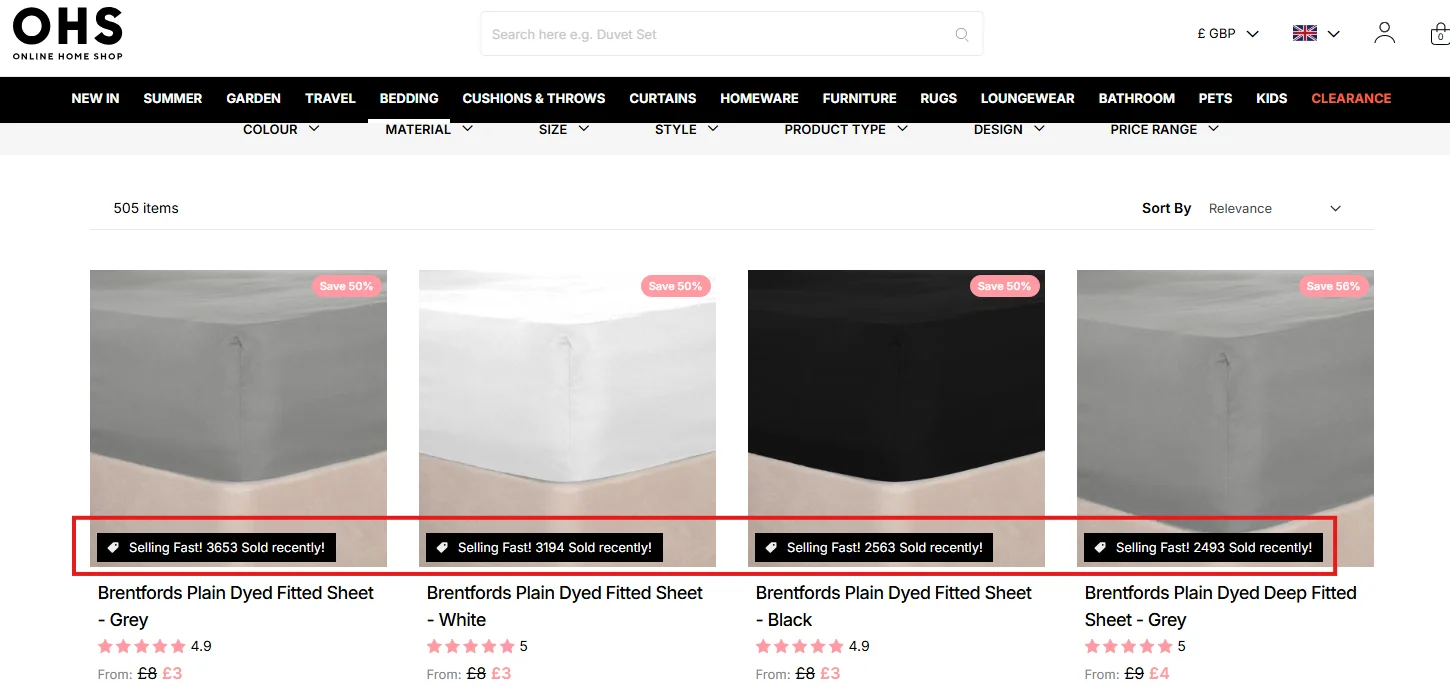
Sales popups are dynamic notifications that display real-time activities such as product purchases, email signups, or user interactions. They serve a dual purpose: creating a sense of urgency and building trust through transparency.
Wisernotify stands out as a highly effective and easy-to-use tool that works with virtually any website.
This guide explores why sales popups are essential, how they enhance performance, and how you can implement them seamlessly.
Let’s get started!
Boost Conversion Instantly
Add Social Proof & Urgency to your website
Why Add a Sales Notification Pop-up on a Website?

Sales popups bring a host of benefits that enhance user experience and drive conversions. They simulate a sense of activity and social proof that makes your site feel lively and trustworthy:
Increases credibility: Popups show that real people are engaging with your site, whether they’re buying products, signing up, or joining webinars. This visible activity acts as a trust signal to new visitors who may otherwise feel uncertain about your brand.
Encourages faster action: When visitors see that others are taking action, it triggers a fear of missing out (FOMO). This psychological cue is powerful—if someone sees a product being purchased live, they’re more likely to act quickly to avoid missing out.
Builds user trust: Transparent updates reinforce the perception that your site is reliable and frequently visited. This trust can lead to more time spent on-site and higher conversion rates.
Draws attention to key offers: Use popups to showcase bestsellers, limited-time offers, or popular content. This helps highlight what matters and directs user attention to your most valuable assets.
Improves conversions: The cumulative effect of urgency, credibility, and visibility leads to more sign-ups, purchases, or downloads. Popups act as silent salespeople that nudge visitors toward taking action.
Promotes popular content: By showing real-time engagement with content pieces like ebooks or courses, popups also help validate your informational products.
Example:
- “Daniel just signed up for the webinar from Los Angeles” adds social proof and hints at trending interest, which can encourage others to register.
How to Add a Sales Pop-up on a Website

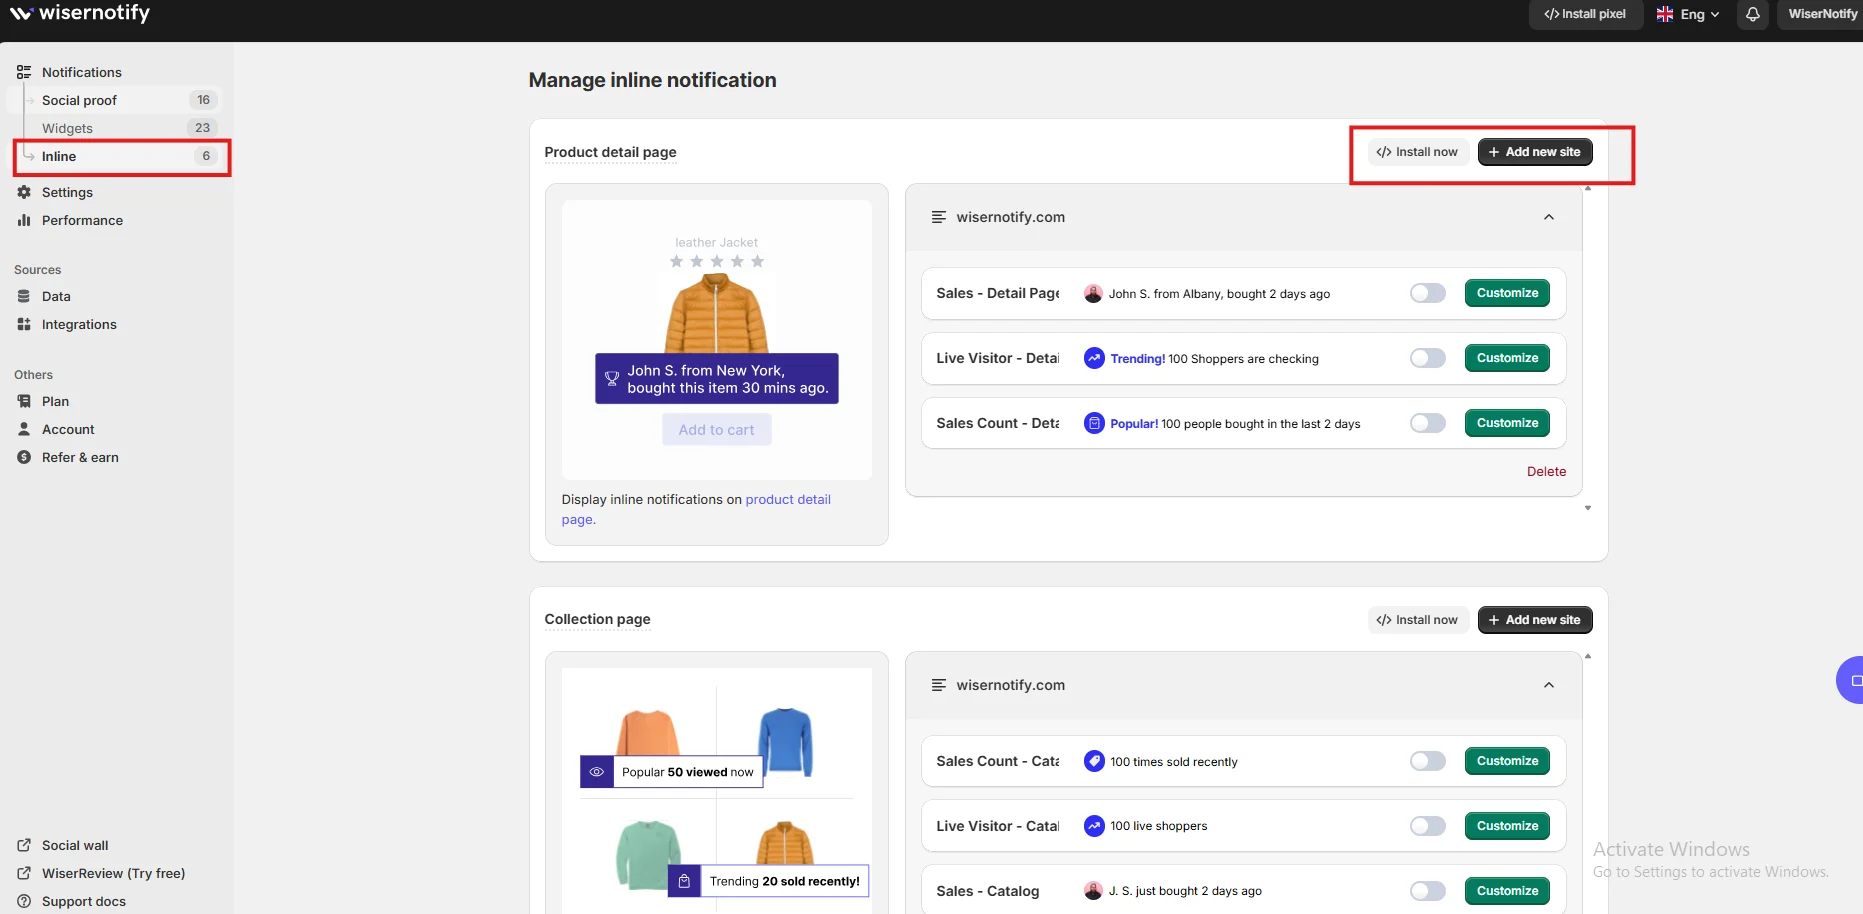
3 Best Sales Pop-up Examples

Build trust & FOMO
Highlight real-time activities like reviews, sales & sign-ups.


Sales Pop-up Tips for Websites

To make your sales popups as effective as possible, it’s important to apply strategic thinking around design, timing, content, and placement. Here’s how to do it right:
1. Design to match your site
Popups that visually clash with your website can feel intrusive.
Use Wisernotify to mirror your brand’s colors, fonts, and UI elements. A cohesive design keeps the user experience smooth and professional, and it avoids drawing attention for the wrong reasons.
When your popup blends naturally with your design, it feels like part of the user experience, not an interruption.
This ensures users are more likely to trust and engage with it.
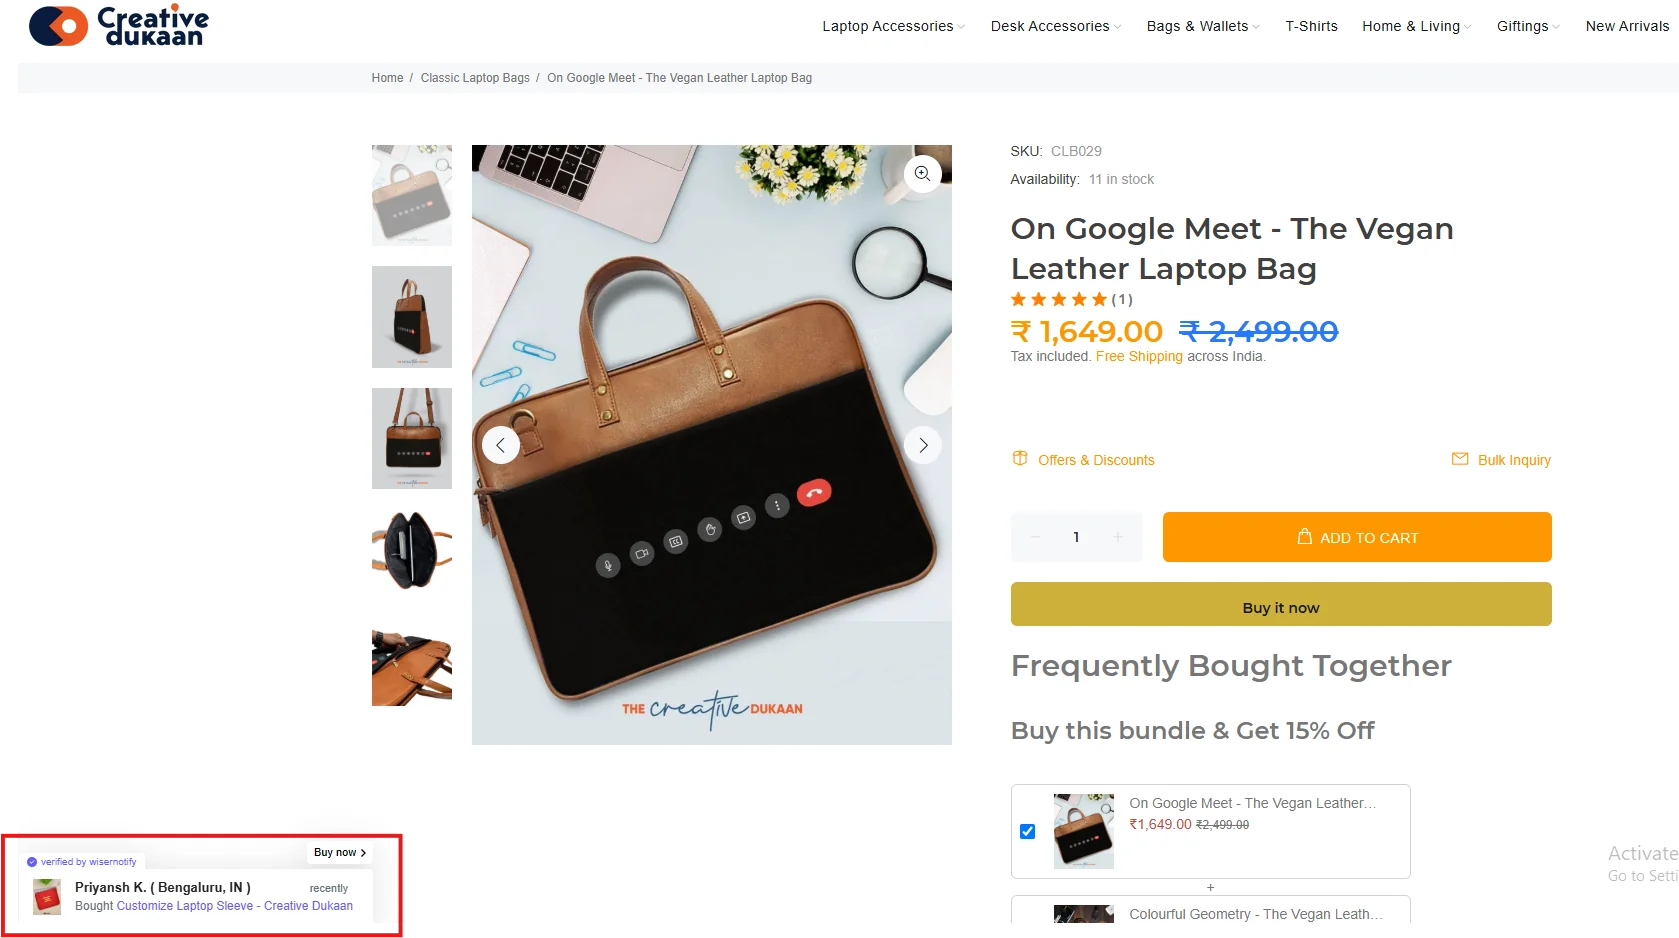
2. Write real, specific messages
Generic phrases like “Someone bought a product” lack impact.
Make your popups personal and believable by using names, cities, and actual item or service names.
A message like “Emily from Austin just booked a private yoga session” feels real and relatable.
Specific messages make visitors feel like part of a community, reducing skepticism and increasing their willingness to convert.
3. Time it right
Showing a popup immediately as a visitor lands can feel pushy and disrupt their browsing experience.
Instead, delay the popup by 10–20 seconds or trigger it when the user scrolls halfway down the page.
This ensures better engagement and relevance. The delay gives users time to explore your content before being prompted to act, which can lead to higher click-through and conversion rates.
4. Focus on high-impact pages
Not every page needs a popup.
Prioritize those with high conversion potential: your homepage, landing pages, product pages, and checkout.
These are the touchpoints where users make key decisions, and reinforcing them with popups can increase outcomes.
Avoid overuse on secondary pages like About or FAQ, where popups may seem out of place.
5. Monitor and tweak
Don’t just set and forget.
Use Wisernotify’s built-in analytics to measure popup impressions, clicks, and conversion rates.
Based on this data, adjust your messaging, display intervals, and trigger rules to continuously improve results and reduce bounce.
Regular analysis ensures your popups stay effective and aligned with changing user behaviors.
Sales Popup Mistakes to Avoid on Websites

Even the best tools can misfire when used incorrectly. Be mindful of these common errors that could make your popups less effective or even drive users away:
1. Showing too many popups
Bombarding visitors with frequent notifications can be annoying and disruptive.
Limit popups to one every 30 seconds and no more than three per visit.
Maintain a balance between visibility and user experience to avoid overwhelming your audience. Overusing popups leads to higher bounce rates and negative brand perception.
2. Using vague messages
Phrases like “Someone just made a purchase” sound automated and insincere.
They don’t foster trust. Instead, use authentic, data-driven messages with real customer names and details when possible to add credibility.
Visitors can often sense when a message lacks authenticity, so specificity helps build trust.
3. Blocking content
Improper placement of popups can obstruct important content, navigation, or call-to-action buttons.
This is especially problematic on mobile devices. Always preview and test your popup designs to ensure they enhance—not hinder—the user journey.
Consider positioning your popups in corners or using timers to control their presence.
4. Not testing before publishing
Assumptions can lead to poor user experience.
Use preview modes and A/B testing to validate how your popup looks and behaves on various screen sizes and browsers.
Make adjustments based on user behavior and engagement patterns.
Thorough testing ensures your popup performs well and doesn’t introduce bugs or distractions.
5. Ignoring performance
If you’re not monitoring how your popups are performing, you’re missing out on insights that can drive better results.
Use both Wisernotify and web analytics tools to track how popups influence visitor actions.
Regular analysis lets you iterate quickly and optimize for success. Without tracking, you risk continuing with ineffective setups and missing opportunities for improvement.
Wrap-Up
Sales popups are more than just flashy widgets—they are strategic tools that boost trust, enhance user engagement, and increase conversions.
When used with care and insight, they help tell your site’s story through real-time activity, showing visitors they’re in good company.
Wisernotify makes it easy to create, customize, and launch effective sales popups on any type of website.
Whether you’re running a shop, a lead generation site, or a personal blog, popups can add that essential layer of social proof.
Want to show your audience that your site is credible and active? Try Wisernotify today and start converting visitors into customers with real-time sales popups.
Boost Conversion Instantly
Add Social Proof & Urgency to your website
