
How to Add an Exit Popup to Flatsome (2026)
To add an exit popup to Flatsome, paste the WiserNotify pixel into Header Scripts under Flatsome > Advanced > Global Settings. Then build a popup in WiserNotify and set its Display rule to Exit intent. No theme file gets edited, so a Flatsome update cannot wipe it out.
Most visitors leave a Flatsome store without a word. A full cart or a half-filled form goes quiet, and the page never gets a last chance to speak up.
Below are the 7 steps with screenshots, what Flatsome’s own Lightbox can and cannot do, and where an exit popup earns its place on a store.
Does Flatsome Have an Exit Popup?
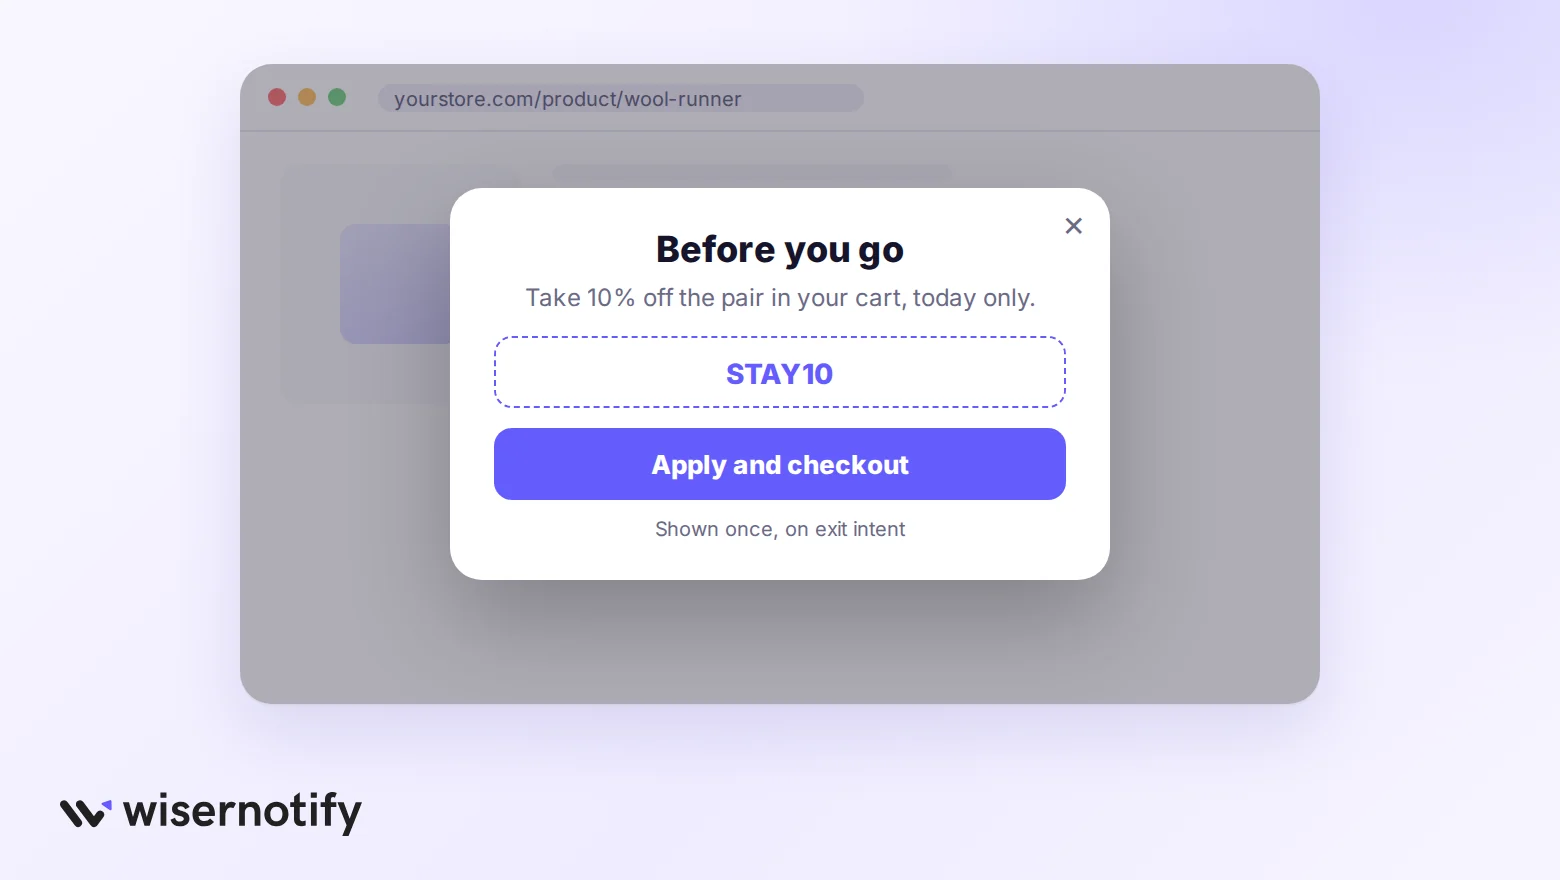
Not as a setting. Flatsome’s Lightbox opens from a click or after a set number of seconds, and it has no option that notices a visitor leaving.
- Flatsome Lightbox: a box you design in UX Builder. It suits offers a shopper opens on purpose, such as a size guide or a newsletter form.
- Exit popup: a popup built outside the theme that appears only when the cursor moves to leave. It carries the last offer, and page and audience rules decide who sees it.
The two work side by side. Keep the Lightbox for click-opened content, and use an exit popup for the moment a shopper is about to go.
How to Add an Exit Popup to Flatsome
The setup splits between Flatsome’s options and the WiserNotify dashboard. You add the pixel one time, and each popup you build afterward runs through it.
The video builds an offer widget and shows the Timing control setting that switches on exit intent, at about the two-minute mark. The steps below cover the Flatsome part and the exit popup.
Step 1: Copy Your WiserNotify Pixel

- Sign up for WiserNotify and start the 7-day free trial, or log in if you already have an account.
- Add your Flatsome store as a website and open the Install Pixel page.
- Click Copy code.
Step 2: Paste It in Header Scripts
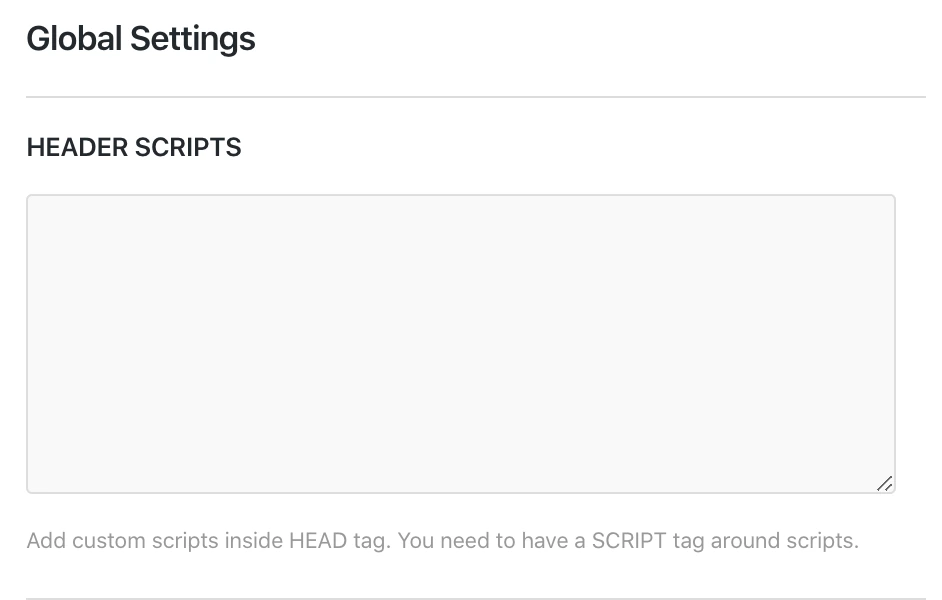
- In your WordPress admin, go to Flatsome > Advanced.
- Open Global Settings.
- Paste the full pixel, script tags included, into Header Scripts.
- Save your changes.
Whatever sits in Header Scripts loads in the head of every page, so the popup can run anywhere on your store.
Step 3: Verify the Pixel

- Visit your storefront once so the pixel can load.
- Go back to the Install Pixel page in WiserNotify.
- Click Verify pixel installation.
- Look for the green line that says the pixel code was detected.
Step 4: Create the Popup

- Go to Widgets and open the Announcements tab.
- Choose Discount, Offer or Lead Form to fit what the popup gives away.
- Name it, enter your Flatsome store address and click Create and Customize.
Step 5: Design the Popup
- In Text editor, keep it to a single line and a single offer, for example Leaving already? Here is 10% off your first order.
- In Click actions, add a button, plus a coupon code or an email box if the offer needs one.
- In Style, match the popup’s colors and font to your Flatsome theme so it looks native.
- Check the phone and desktop previews.
Step 6: Switch On Exit Intent

- In the left menu, open Timing control.
- Under Behavioral rules, open the Display rules dropdown and choose Exit intent.
- Skip the timer options. The popup then waits for the visitor to head for the exit.
Step 7: Choose Pages and Publish
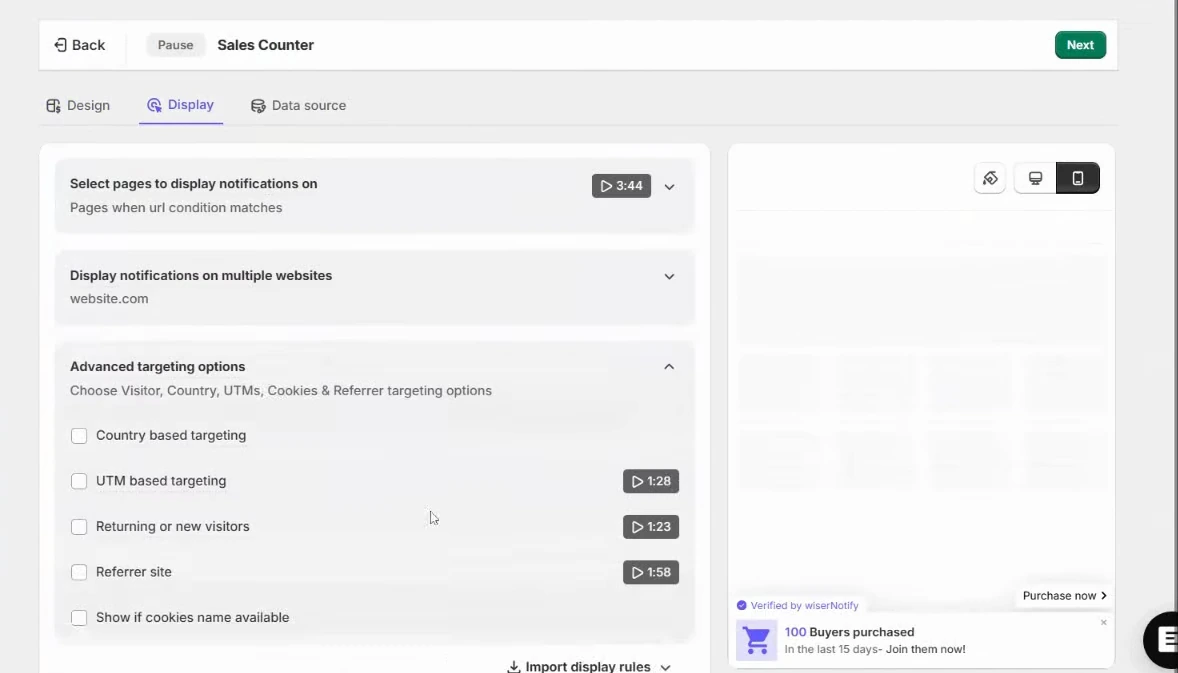
- In the Display tab, list the pages that get the popup. Add the cart page and your product pages first.
- Use Advanced targeting options if you want to narrow it by country, UTM, new or returning visitors or referrer.
- Click Save, then Publish.
- To test it, open one of those pages in a private window and move the cursor up toward the browser tabs.
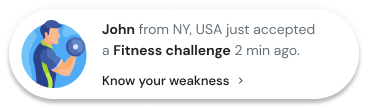
Build trust & FOMO
Highlight real-time activities like reviews, sales & sign-ups.

Header Scripts, UX Builder or footer.php?
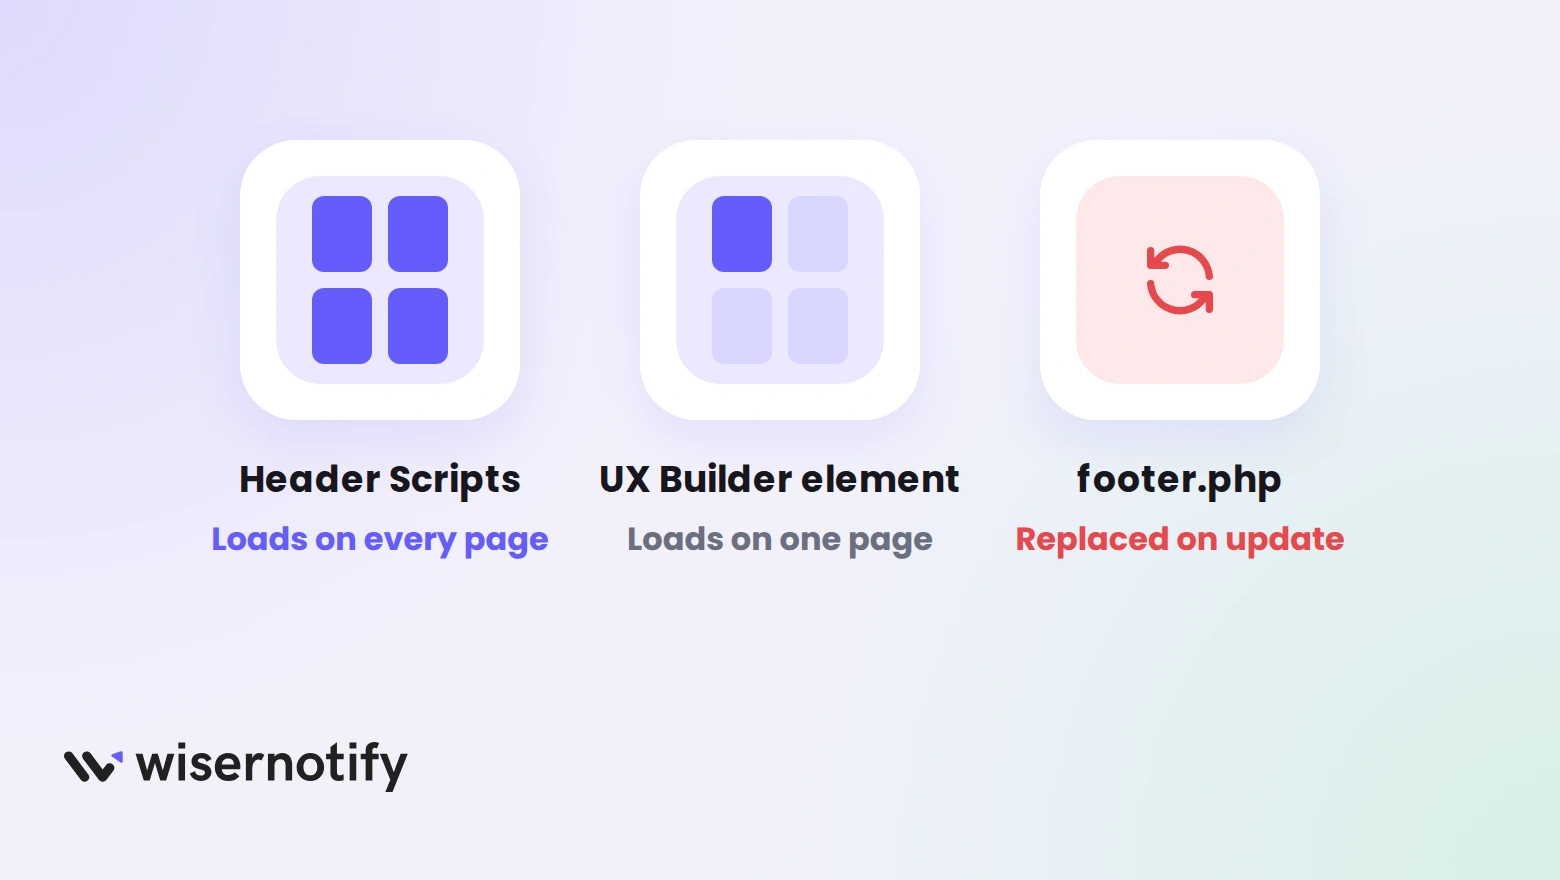
Flatsome gives you three places to put a script. Only one of them is built for this job.
- Header Scripts: sits in Flatsome’s options, loads on every page and stays in place when the theme updates. Use this one.
- A UX Builder HTML element: loads only on the page that holds it, so the popup would show on that one page.
- footer.php in the Theme Editor: works until the next theme update replaces the file, and a small typo there can break the whole store.
If your scripts already live in Google Tag Manager, there is a separate WiserNotify guide for Google Tag Manager.
What to Say in a Flatsome Exit Popup
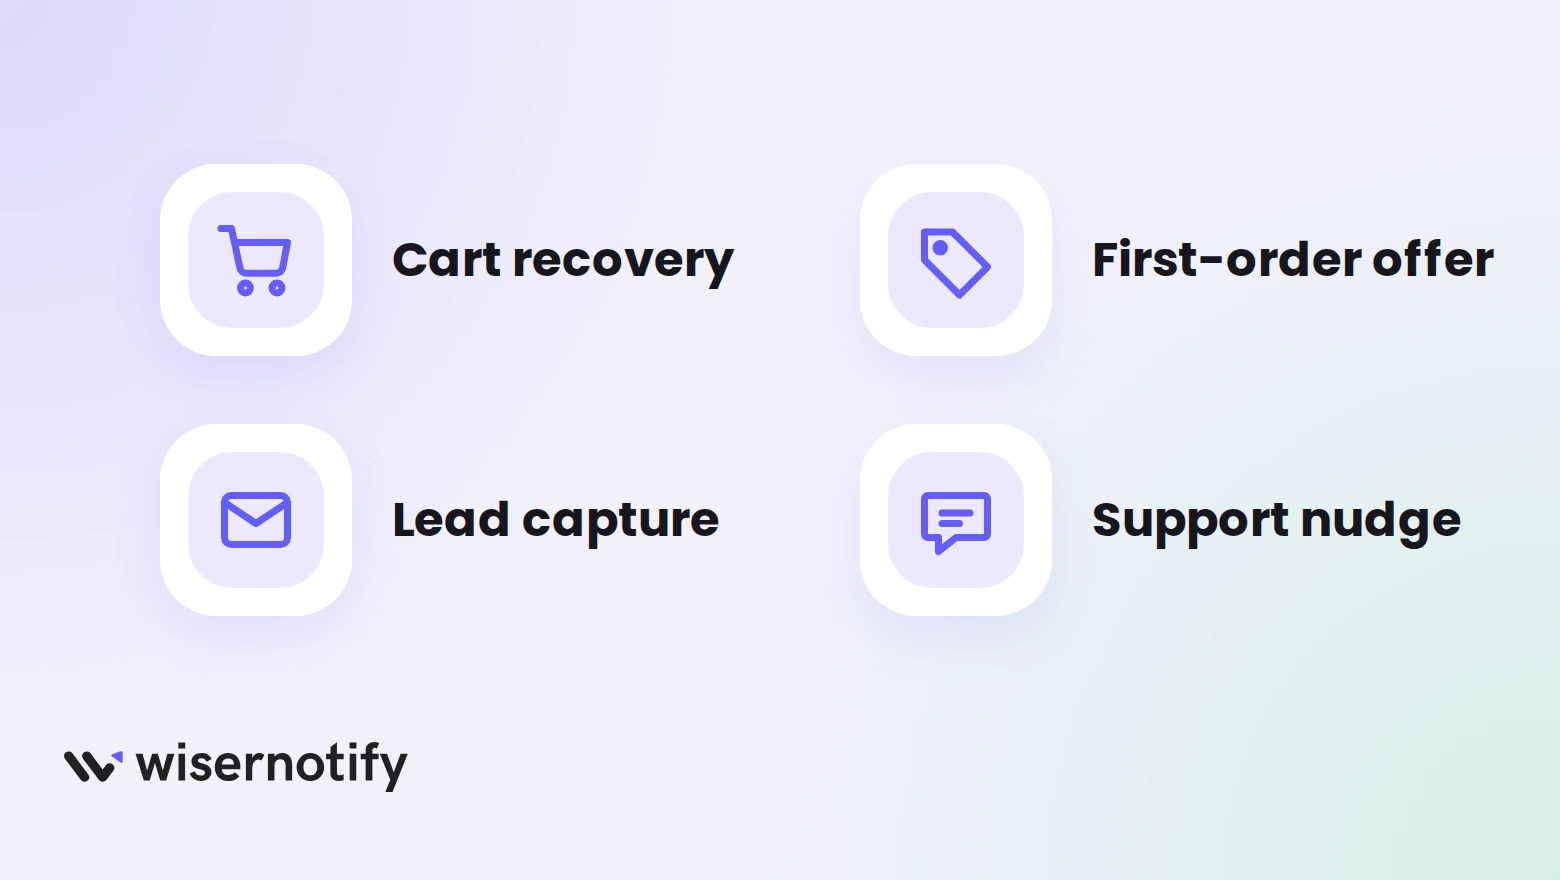
Match the line to the page, and keep it to one offer and one button. Here are lines that fit a Flatsome store.
- Cart recovery: “Your order is saved. Complete it now for free shipping.”
- First order: “Leaving already? Here is 10% off your first order.”
- Lead capture: “Get our new lookbook before you go.”
- Support: “Not sure about the size? Chat with us first.”
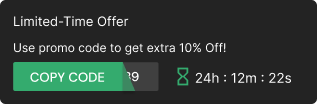
- Deadline: “This price ends tonight.” Pair it with a countdown timer.
Asking for three fields before the offer costs you the visitor. One email box is plenty.
Build urgency
Add floating offers with countdown timer & coupon code.
Where an Exit Popup Works on Flatsome
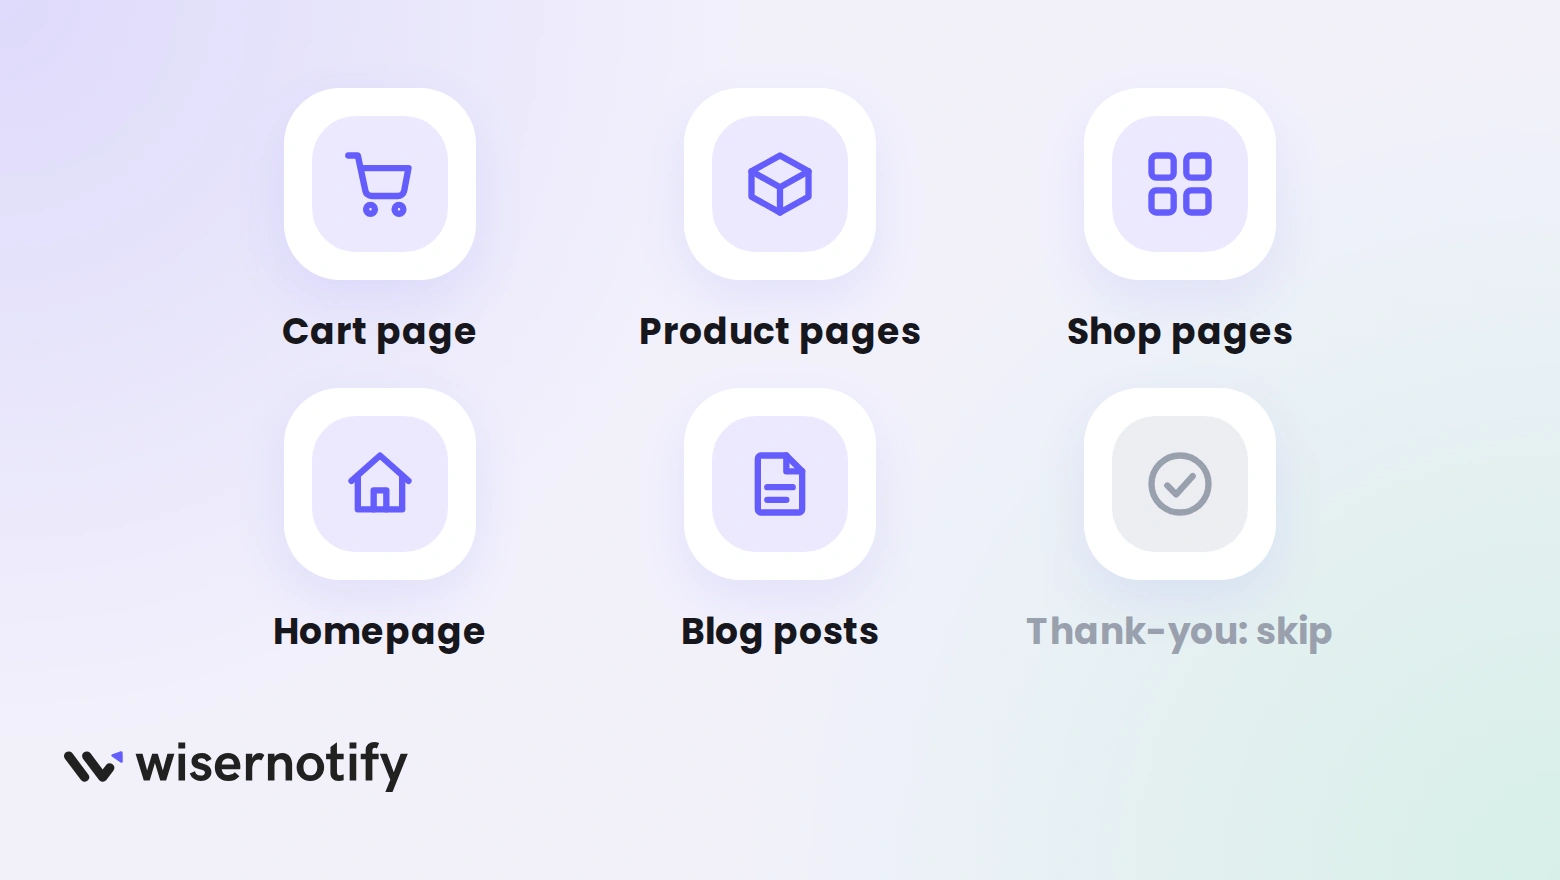
Give each page at most one popup, and skip pages where the shopper is busy with something else.
- Cart page: a reminder with a button back to checkout, or free shipping.
- Product pages: a first-order code, or a line about delivery and returns.
- Shop and category pages: a lead form for the new collection.
- Homepage, first visit: a welcome offer for people who came to look.
- Blog posts: one email field in return for a guide or a size chart.
- 404 page: a link to your best-selling category.
- Thank-you page: nothing. The shopper just converted.
On the cart page, pair it with a countdown timer on Flatsome, or show proof first with a sales popup on Flatsome.
Exit Popup Not Showing on Flatsome?
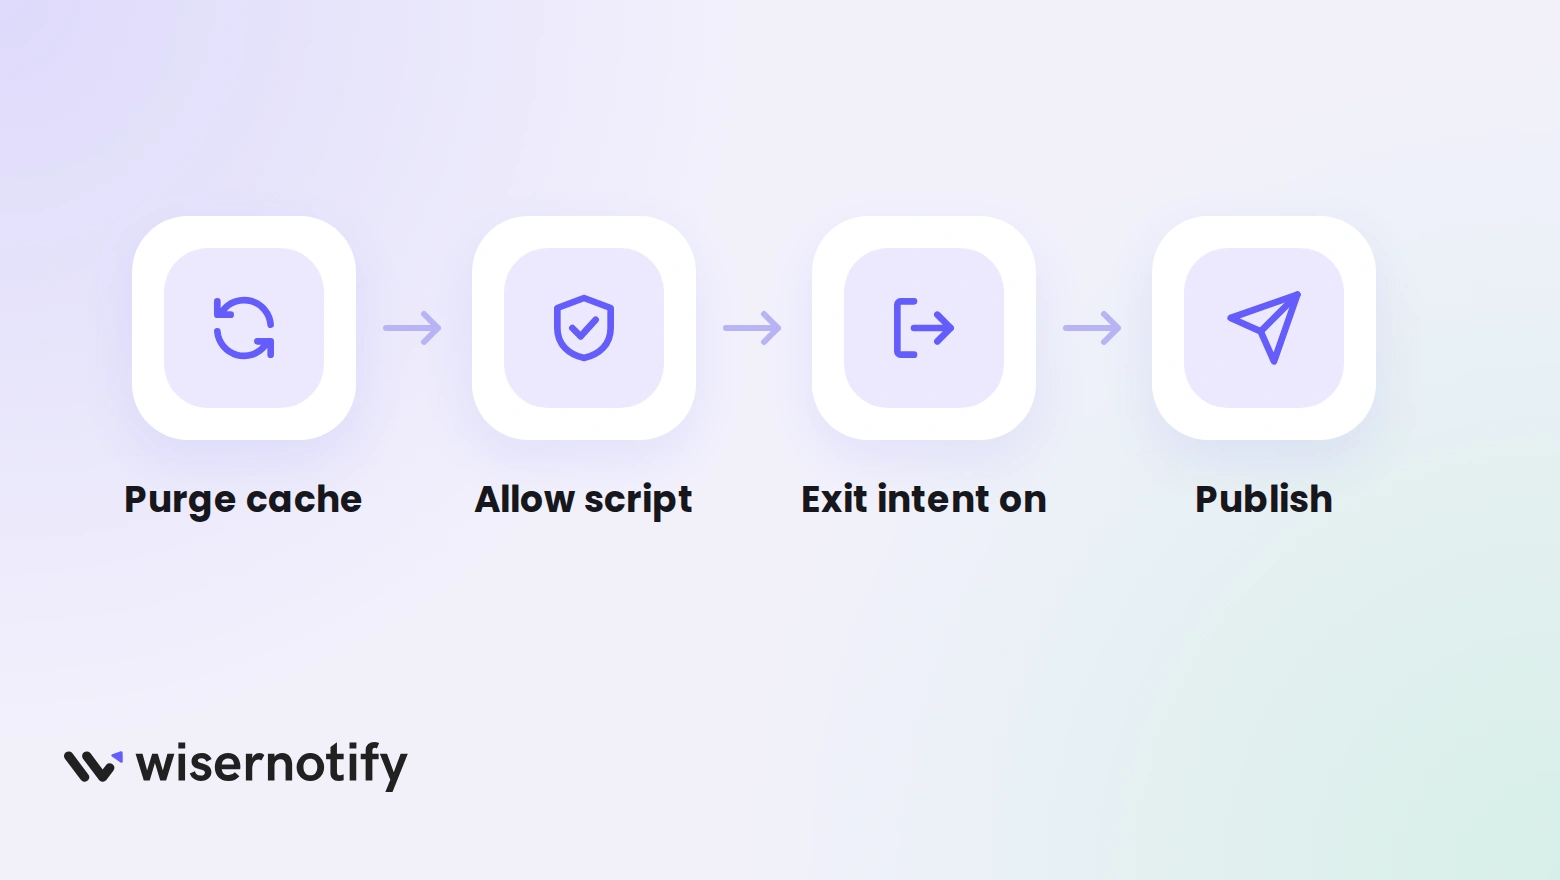
- Old page still cached: a caching plugin such as LiteSpeed Cache may keep serving the version without the pixel. Purge it after saving Header Scripts.
- Security plugin in the way: Wordfence and similar tools can block outside scripts. Allow WiserNotify, then purge the cache once more.
- Half a snippet: Header Scripts expects the whole pixel, script tags included, exactly as WiserNotify gave it to you.
- Pixel in a UX Builder element: it loads only on that page. Move it to Header Scripts.
- Pixel not verified: load the storefront, then run Verify pixel installation again.
- Exit intent switched off: until Display rules in Timing control reads Exit intent, the popup simply follows the standard timer.
- Testing the wrong way: exit intent reads cursor movement, so test it on a desktop browser first.
- Already seen: if skip seen is on in Data control, the popup stays hidden for visitors who saw it, including you. Test in a private window.
- Page not in the rule: check that the page you are testing matches the Display settings.
- Not published: saving is not enough. Click Publish.
Still stuck? Use the troubleshoot option in the dashboard, or ask live chat to look at your setup.
Exit Popup Mistakes to Avoid on Flatsome
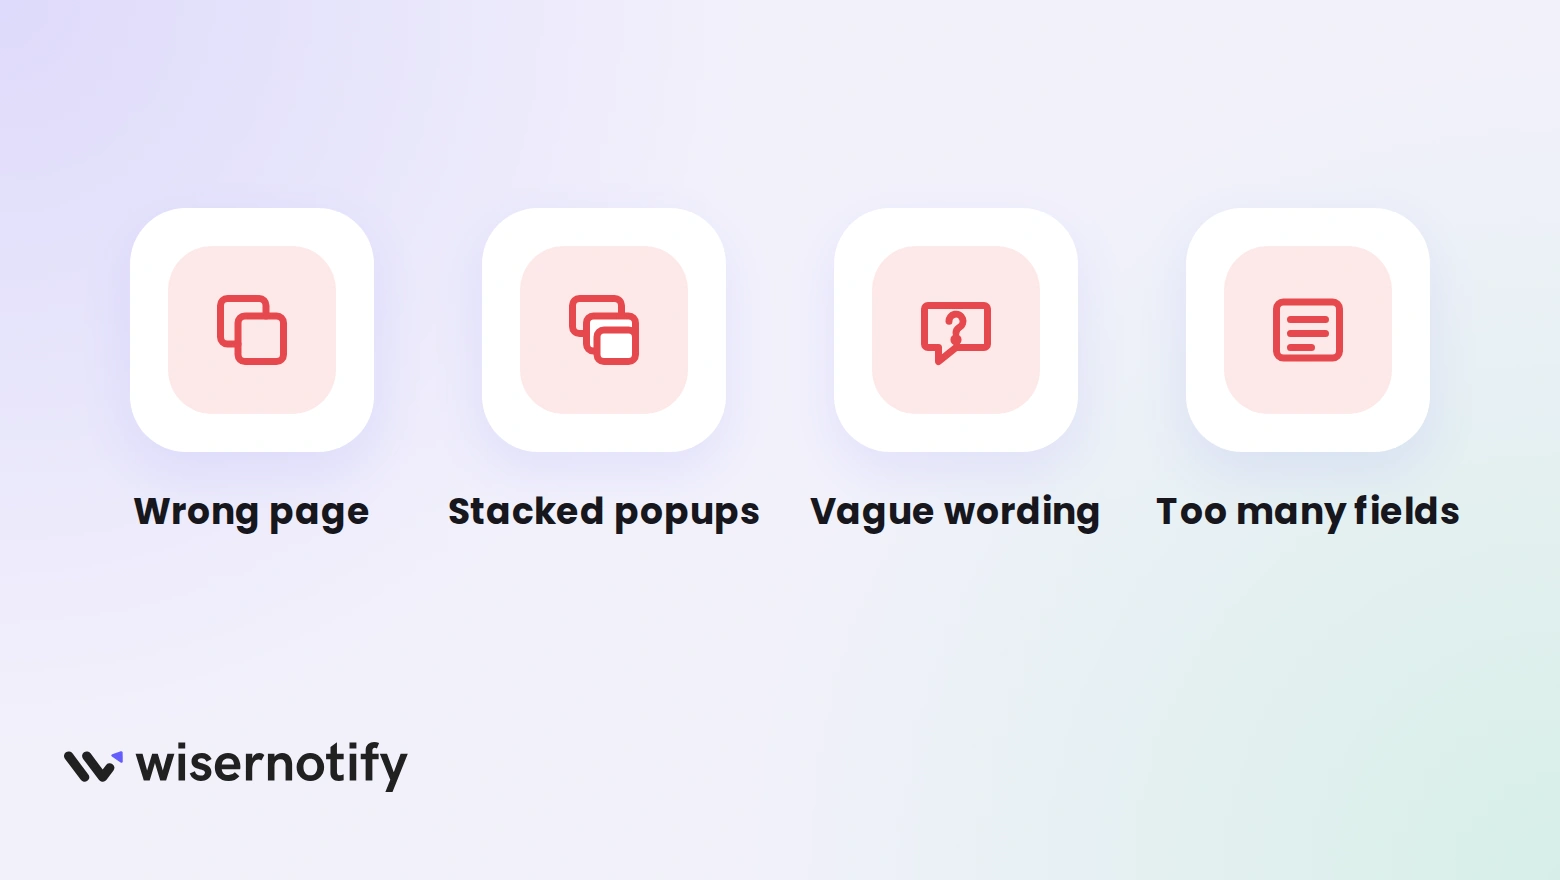
- Showing it on every page: a cart reminder on a blog post confuses readers. Match the offer to the page.
- Stacking popups: an exit popup on top of a Lightbox or a cookie banner feels like a wall. Pick one at a time.
- Vague wording: “Don’t go!” says nothing. Name the offer, such as free shipping or 10% off.
- Too many fields: every extra box costs you the visitor.
- No phone check: Flatsome stores get plenty of phone visitors, so preview the popup on a small screen before you publish.
- Setting it and leaving it: check views and clicks, then change the offer.
How to Measure the Results
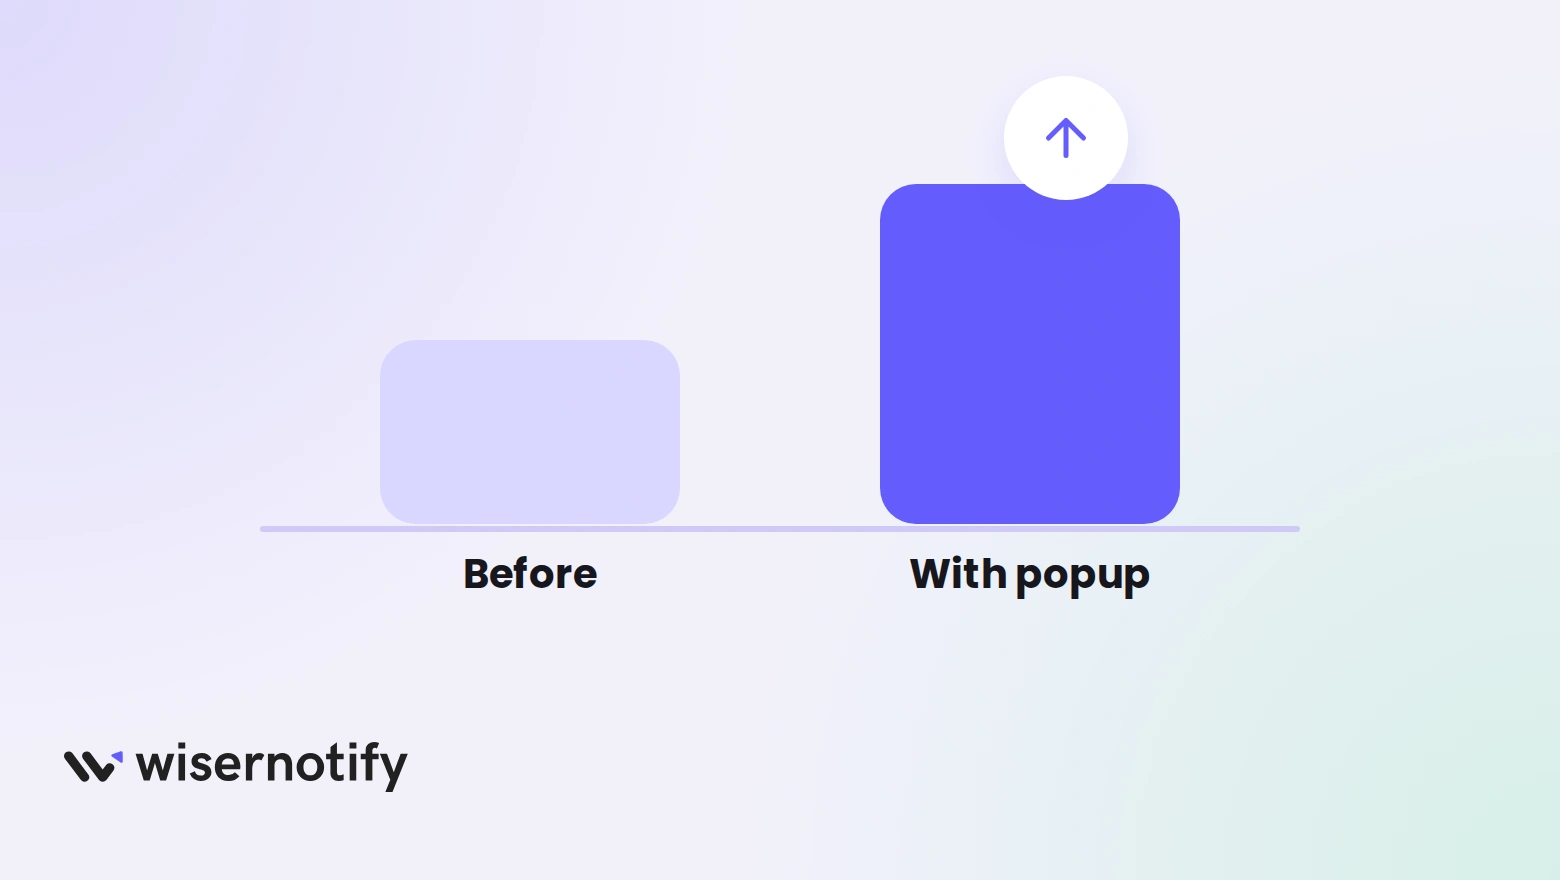
- Check views and clicks for the popup in your WiserNotify dashboard.
- Track the cart-to-order rate on the cart page across a few weeks, once without the popup and once with it.
- Run two offers against each other with A/B testing, changing one thing at a time.
- Look at the offer that wins, then roll it out to product pages.
For more ideas on wording and layout, browse these exit intent popup examples.
Build trust & FOMO
Highlight real-time activities like reviews, sales & sign-ups.
Wrap Up
Flatsome handles how your store looks. An exit popup handles the shopper who is about to leave it. Add the pixel in Header Scripts, switch on exit intent, and publish.
Begin on the cart page with a simple reminder. When you see what it brings back, add a first-order offer to your product pages.
Related Posts
Frequently Asked Questions
Does Flatsome have a built-in exit intent popup?
No. Flatsome’s Lightbox opens on a click or after a timer, so exit intent needs a tool like WiserNotify added through Header Scripts.
Where do I paste the WiserNotify pixel in Flatsome?
Go to Flatsome, then Advanced, then Global Settings, and paste the full pixel into Header Scripts. Save your changes.
Do I need to edit footer.php for an exit popup?
No. Header Scripts does the same job from Flatsome’s options, and it is not lost when the theme updates.
How do I switch on exit intent in WiserNotify?
Open Timing control, go to Behavioral rules and pick Exit intent in the Display rules dropdown. Then publish the popup.
Which Flatsome pages should show the popup?
Start with the cart page and your product pages. Leave the thank-you page without one.
Will the exit popup slow down my Flatsome store?
No. The pixel loads after the page finishes, so images and the Add to cart button do not wait on it.

Krunal Vaghasiya is a marketing tech expert who boosts e-commerce conversion rates with automated social proof and FOMO strategies. He loves to keep posting insightful posts on online marketing software, marketing automations, and improving conversion rates.




 Capterra