Many Framer projects fail to establish immediate trust with users, leading to lower engagement and conversions.
Without trust, even the most visually stunning designs may fail to resonate with users. This lack of trust can drive potential collaborators or clients to competitors.
By integrating testimonials, you can establish credibility, enhance your portfolio’s impact, and build trust—ultimately boosting user engagement and driving conversions.
Why Add Testimonials to Framer?
Testimonials in Framer aren’t just decorative; they serve as pivotal trust builders for your designs and interactive prototypes. Here’s why:
Showcase User Impact: Framer is known for delivering immersive, interactive designs. By adding testimonials, you highlight real-world success and user impact.
Humanize Your Portfolio: Testimonials lend authenticity to your work, transforming your designs from static visuals to proven solutions.
Enhance Conversion: User-generated testimonials boost trust, which is proven to increase conversions by up to 34%.
Competitive Edge: Stand out by showcasing endorsements from high-profile clients or collaborators.
Build trust & FOMO
Highlight real-time activities like reviews, sales & sign-ups.
How to Add Testimonials to Framer
Now let’s get into how to embed a testimonial on your site or store, whether it’s text, photo, or video.
First, sign up for WiserReview. There is a free plan if you are just starting, but there are also upgrades available for SMBs and enterprise businesses.

Once you sign up for your account, you can see the WiserReview dashboard.
This dashboard is your control center, where you can manage all aspects of your testimonial management. It provides a clear overview of your testimonial collection, moderation, and display processes.

Don’t be overwhelmed. WiserReview is a comprehensive testimonial management software that not only helps you add testimonials but also collects and moderates them.
And the best part? It’s designed to be user-friendly, so you’ll find it easy to navigate and use.
From the dashboard:
Go to → Manage reviews section and click on the “Import” button.

From there, you have many options to import testimonials from; select any of them.

Once done, you have a testimonial showing in the manage reviews section.
Now let’s go to the “Widget” section.
Here, you have a wide range of widgets to choose from. Simply click on “configure” for any widget you need.
Each one is designed to build trust, credibility, and drive more conversions and sales through immediate consumer decision-making.

For example, we chose the “Review wall” widget for our second product.
This widget displays a dynamic wall of your testimonials, creating a visually appealing and trustworthy display for your potential customers. And yes, we use Wiserreview’s testimonial widget for this purpose.
Once you click on configure, you can see the widget customization dashboard. In it, click on “Filter”.
In it, select the Review source.

Now your testimonial appears on the widget, and you can easily customize the widget to match your brand’s style.
It’s a straightforward process, and we’re confident you’ll find it intuitive and user-friendly.
Now, once it’s done, click on “Install” and choose from any of the three options.
- JavaScript – Insert this script where you want the testimonial widget to appear on your website.
- Iframe – Use this iframe code to embed the testimonial widget in a specific section of your site.
- URL – Share this URL to display the testimonial widget on a separate page.
Now the widget is live and ready to build trust and drive conversions.
We are also using this on our site, WiserReview, and Wisernotify.
Here is an example of it:

And wait, that’s just the tip of the iceberg of what Wiserreview can do for testimonial management.
WiserReview can:
Automated testimonial collection
Create a smart testimonial form with the following setup:
- Set up your testimonial submission link.
- Add buttons for easy interaction.
Display a star rating or feedback question on the first screen to assess intent. If the feedback is low, prompt for detailed comments. If the feedback is positive, direct the user to submit their testimonial.
WiserReview simplifies the process of requesting testimonials, automating personalized requests via email, SMS, or other messaging channels, making it easier for businesses to collect testimonials.
Integrate the testimonial form link with your existing POS, email, and SMS systems.
You can also post new sales data to the WiserNotify webhook API to automate the process. This streamlines testimonial requests and enhances customer engagement through your existing channels.
Centralized Testimonial Management

Testimonial Aggregation: WiserReview aggregates testimonials from various platforms (emails, forms, social, etc.), bringing them into one central dashboard. This helps businesses track their testimonials and gain real-time insights.
Testimonial Monitoring: The platform notifies businesses whenever a new testimonial is submitted, allowing them to stay up-to-date with feedback.
AI reply: WiserReview helps businesses respond to customer testimonials automatically with AI.
AI-powered testimonial display and sharing

- Automatically select positive sentiment testimonials.
- Publish them live on your site.
- Convert these testimonials into graphics and post them on your social media channels.
This enhances customer trust and promotes positive feedback across platforms.
Embed Testimonials on Framer
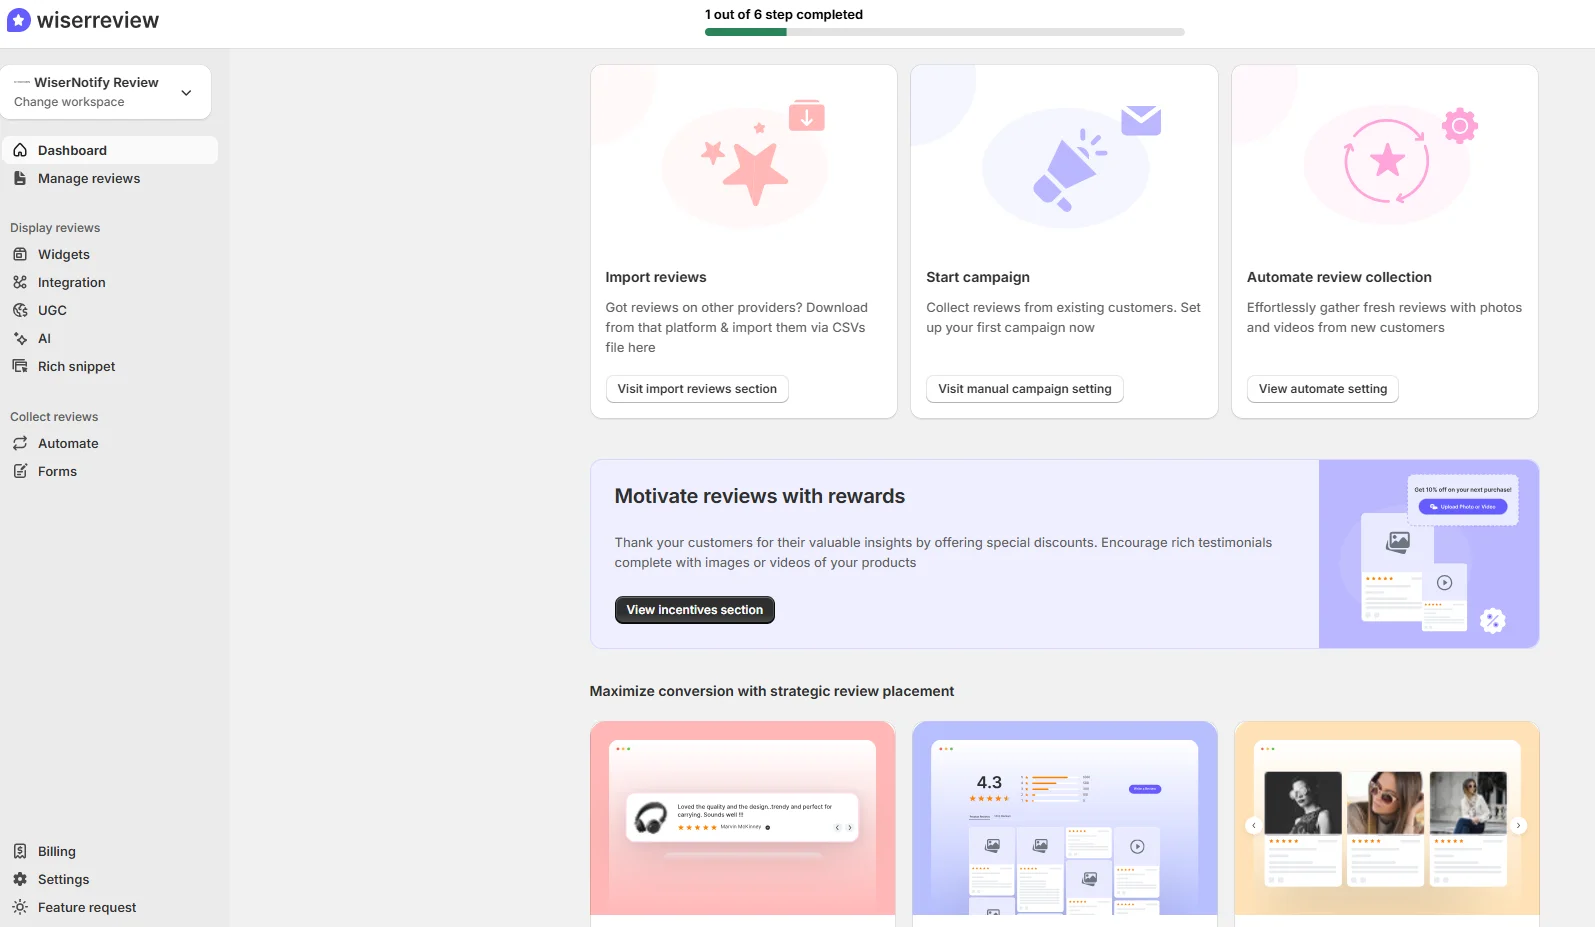
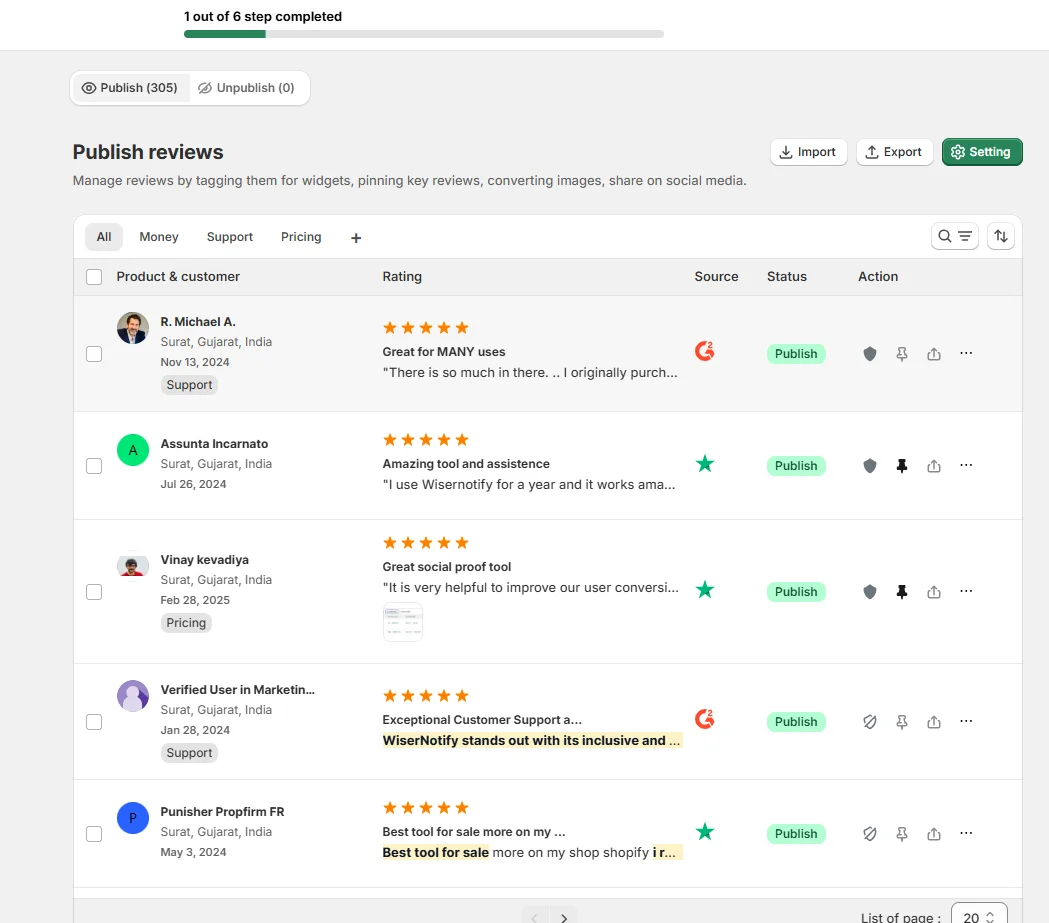
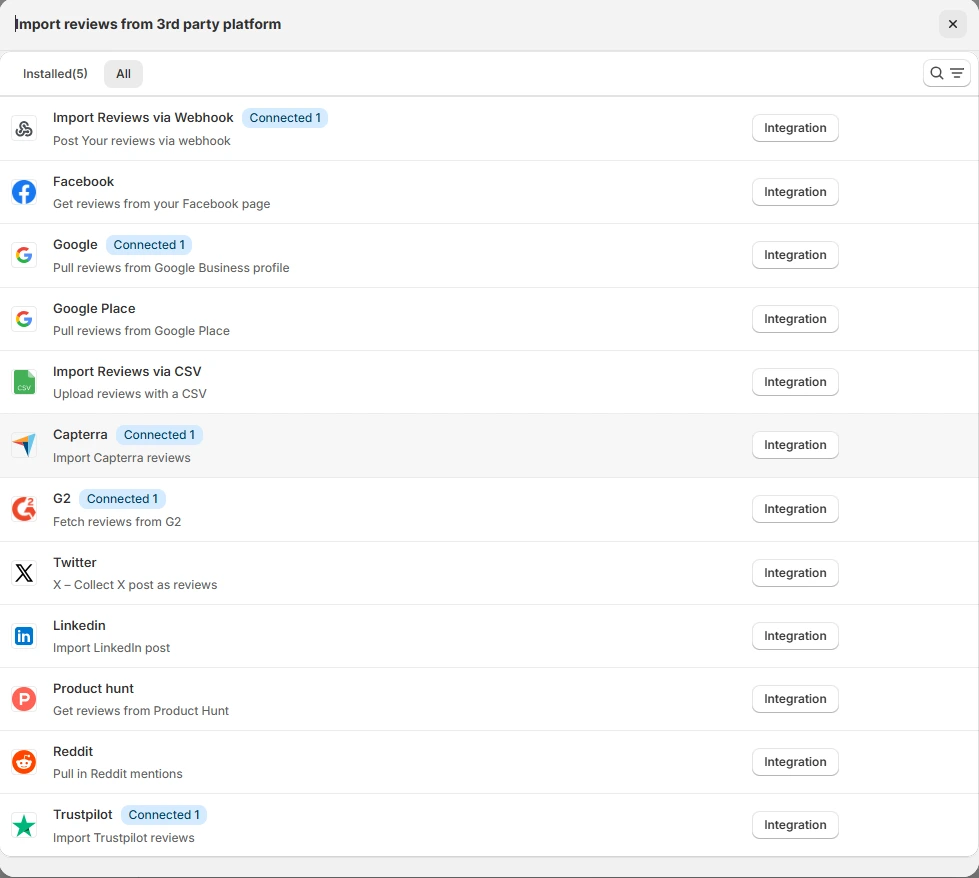
1. Start with a Widget Integration
- Use Framer’s embed tool to integrate third-party testimonial widgets like WiserNotify.
- Copy the widget’s script (provided by WiserNotify) and paste it into your Framer project under the “Embed Code” section.
2. Design Your Own Testimonial Section
- Use Framer’s drag-and-drop components to create a visually engaging testimonial section.
- Include design elements like sliders for rotating testimonials or static sections for high-impact quotes.
3. Ensure Responsiveness
- Framer projects are optimized for interactivity; ensure that testimonial layouts are responsive across desktop, tablet, and mobile.
3 Testimonial Optimization Tips for Framer
Highlight Key Metrics: Showcase quantifiable success stories like “Increased user engagement by 72%.”
Use Visual Cues: Incorporate profile pictures or logos of endorsers to add authenticity.
Leverage Interactivity: Add hover states or animations to testimonials for dynamic user engagement.
Best Places to Show Testimonials on Framer
Landing Pages
- Display testimonials prominently above the fold to make an immediate impact.
Project Showcases
- Integrate testimonials within case studies to emphasize the user benefits of your designs.
Call-to-Action (CTA) Sections
- Place testimonials near CTAs to reduce user hesitancy and boost conversions.
Other Ways to Add Testimonials to Framer
Video Testimonials
- Embed video files or YouTube links for a more engaging presentation.
Rotating Carousels
- Use Framer’s interactive capabilities to create scrolling testimonial sections.
Animated Quotes
- Bring testimonials to life with subtle animations, showcasing Framer’s design power.
3 Testimonial Mistakes on Framer
Overcrowding Testimonials
- Avoid cluttering your design; focus on quality over quantity.
Neglecting Context
- Always provide enough context about the testimonial source to build credibility.
Ignoring Visual Harmony
- Ensure testimonial designs align with the overall aesthetic of your project.
Wrap-Up
Incorporating testimonials into your Framer projects isn’t just about filling space—it’s about creating a seamless trust-building experience. With strategic placements and thoughtful design integration, testimonials can transform your Framer prototypes into tools of persuasion.
Related Posts: