The Fastest Way to Display Reviews on Thinkific
 Krunal Vaghasiya|May 15, 2025
Thinkific is a go-to platform for course creators, but one of its big limitations is the lack of integrated customer reviews.
You might have a fantastic curriculum and expert delivery, but without social proof, new visitors often hesitate. This hesitation can lead to lower enrollments and missed opportunities.
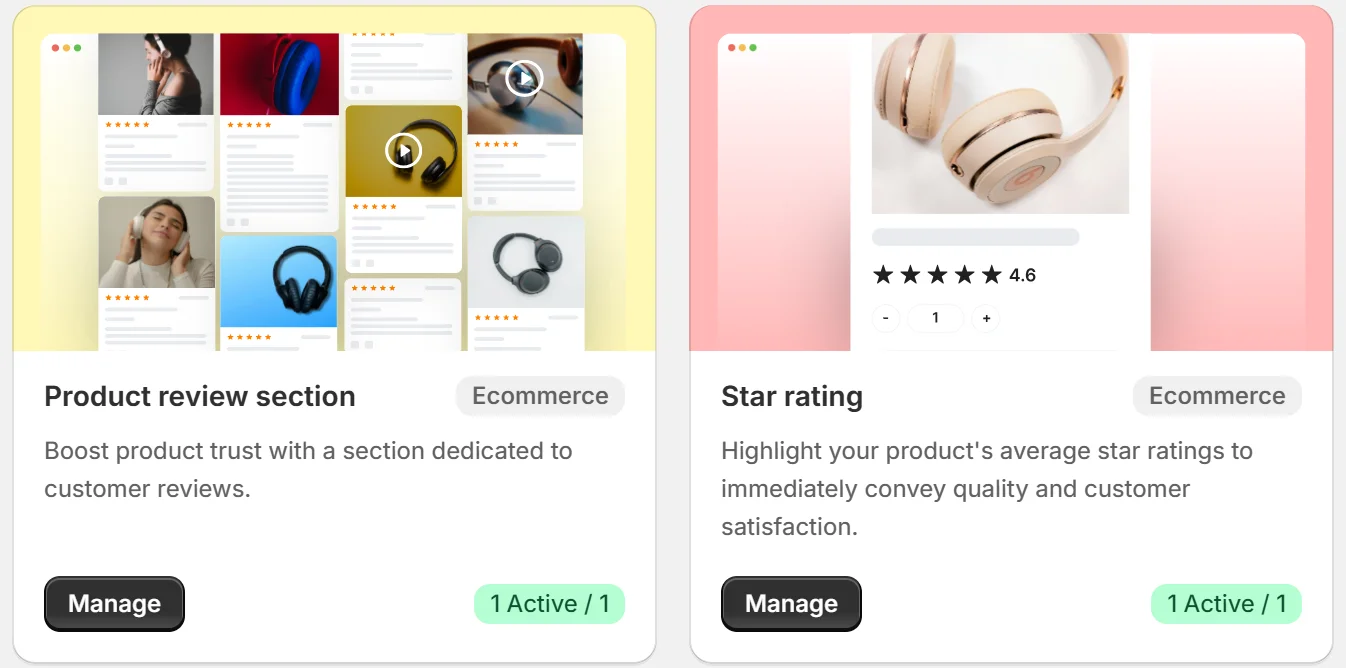
WiserReviews helps you change that. It lets you collect and embed powerful testimonials, star ratings, and video reviews directly on your Thinkific course pages.
No coding, no extra tools—just clear, trustworthy feedback to build instant credibility.
This blog explains how to add WiserReviews to Thinkific, why it’s crucial for course creators, and how to showcase your reviews for maximum conversions.
Why Add Reviews on Thinkific?
Boost Course Enrollments with Real FeedbackReviews give potential students reassurance. Seeing others succeed with your course can motivate new visitors to enroll. Over 90% of consumers trust user-generated content over traditional marketing.
Build Trust for High-Ticket ProgramsIf you offer premium coaching or certifications, testimonials can validate your offer’s value. This is especially useful for first-time visitors unfamiliar with your brand.
Support Your Authority as a Course CreatorThinkific lets you create amazing courses, but reviews turn them into social proof engines. WiserReviews displays these reviews in styles that suit educational platforms.

All your reviews in one place
Collect reviews, manage every response, and display them where they matter most.
What makes WiserReviews’ Reviews special?
WiserReviews is designed to enhance platforms like Thinkific with minimal friction. You can collect feedback automatically after course completion or module completion.
Then display that feedback using responsive widgets that match your branding.
Its tagging system allows you to link specific reviews to specific courses, helping you show only relevant feedback per page.
The platform also supports video reviews, floating popups, and full-width sliders—perfect for both desktop and mobile Thinkific layouts. It requires no plugins and integrates via simple embed codes.
How to Add Reviews on Thinkific


How to Embed Reviews on Thinkific
1. Log into your Thinkific admin and go to “Design Your Site.”
2. Navigate to the page (course landing page or custom page) where you want the reviews.
3. Add a Text or Custom Code block to the section.
4. Paste the embed code from WiserReviews into that block.
5. Save and preview your changes. Reviews will render live.
Related Post: How to Add Reviews to Your Website in Minutes
Best Practices for Showcasing Reviews on Thinkific
Here are smart ways to place and style reviews in Thinkific that boost trust and help increase conversions.
1. Position Reviews Near Enrollment Buttons
Strategic placement is crucial for conversions.
Display reviews close to your CTA or enrollment buttons so students can see validation just before making a decision. This positioning removes doubts and reinforces credibility at the most influential moment.
2. Use Tags to Match Reviews with Courses
Avoid displaying unrelated testimonials. Tag reviews based on course names or categories and use separate widgets for each offering.
This ensures that each course page displays only the most relevant and persuasive testimonials.
3. Add Video Testimonials on Landing Pages
Video adds a human touch that builds emotional connection.
Use video feedback from past students alongside written reviews to give your audience multiple formats of proof. This caters to different learning and decision-making styles.
Different Types of Review Examples


All your reviews in one place
Collect reviews, manage every response, and display them where they matter most.
Common Mistakes to Avoid When Adding Reviews to Thinkific
Here are common review display mistakes on Thinkific that can hurt trust or confuse visitors—plus how to fix them.
1. Using the Same Widget on All Course Pages
Each course has its own audience and learning outcomes. Reusing a generic widget reduces the perceived authenticity of your content.
Customize your widgets using tags so that reviews shown are highly relevant to the specific course being promoted.
2. Not Formatting Widgets for Mobile Users
Many Thinkific learners access your platform via smartphones. If your widget isn’t mobile-optimized, it can disrupt the layout and lower credibility.
Always test your review display on various screen sizes and make responsive adjustments.
3. Skipping Automation in Review Collection
Manually asking for reviews isn’t scalable. WiserReviews allows you to trigger requests after a student completes a course or a lesson.
This automation ensures consistent review collection and increases the chances of capturing authentic feedback.
Types of Reviews You Can Add on Thinkific
How to Add Google Reviews to Thinkific
How to Add Testimonials to Thinkific
How to Add Facebook Reviews to Thinkific
How to Add Capterra Reviews to Thinkific
How to Add Amazon Reviews to Thinkific
Wrap-Up
Adding reviews on Thinkific is one of the smartest ways to boost student trust and increase course conversions.
WiserReviews simplifies the process with automation, tagging, and beautiful, easy-to-embed widgets.
Ready to turn social proof into enrollments? Start with WiserReviews today and make your Thinkific course pages work harder for you.
Krunal Vaghasiya is a marketing tech expert who boosts e-commerce conversion rates with automated social proof and FOMO strategies. He loves to keep posting insightful posts on online marketing software, marketing automations, and improving conversion rates.