The Fastest Way to Display Reviews on Teachable
 Krunal Vaghasiya|May 16, 2025
Teachable offers a streamlined way to launch and sell online courses, but it lacks robust review features.
Without testimonials or ratings, your course pages miss the critical trust signals that help new students feel confident. That gap can directly impact your enrollment and completion rates.
WiserReviews bridges this gap. It lets you collect and embed detailed reviews text, star ratings, or videos on any Teachable page.
With easy setup and customization, you can highlight social proof where it matters most: right where your potential students are deciding.
Learn how to integrate WiserReviews with Teachable, boost course conversions through reviews, and avoid common display mistakes with strategic best practices.
Why Add Reviews on Teachable?
Build Instant Credibility with Course Shoppers: Reviews work as trust accelerators. First-time visitors don’t know you yet, but strong feedback from previous students gives them confidence to enroll.
Encourage More Conversions for Premium Offers: For high-ticket courses or coaching programs, student success stories and testimonials help justify the investment. Reviews add weight and authenticity.
Boost Content Engagement and Completion Rates: When students see others raving about your content, they’re more likely to start and finish the course. Reviews build anticipation and enhance perceived value.

All your reviews in one place
Collect reviews, manage every response, and display them where they matter most.
What Makes WiserReviews’ Reviews Special?
WiserReviews brings rich functionality that complements Teachable’s static content editor.
You can collect reviews automatically after a course milestone, assign tags per course, and display only relevant testimonials on each page.
Widgets like sliders, floating popups, and full-width walls are all mobile-optimized.
You can embed video reviews, trigger automated requests, and edit the appearance to match your course branding. No complex code or plugins needed just embed and go.
How to Add Reviews on Teachable


How to Embed Reviews on Teachable
1. Go to your Teachable admin > Site > Pages and choose the course or sales page you want.
2. In the page editor, add a “Custom Code” block.
3. Paste the Wiserreview provided embed code into the HTML box.
4. Save and preview your page. Your reviews are now live.
Related Post: How to Add Reviews to Your Website in Minutes
Best Practices for Showcasing Reviews on Teachable
Here are smart ways to place and style reviews in Teachable that boost trust and help increase conversions.
1. Place Reviews Below the Enrollment Section
Position your review widgets where they make the most impact. Placing testimonials immediately after your CTA button or pricing table helps reinforce a user’s confidence to purchase.
Students often scroll for last-minute validation, and having a visible review block at that point helps seal the decision.
2. Use Tags to Filter Reviews by Course
If you offer several courses, don’t display mixed reviews across all course pages. Instead, use WiserReviews’ tagging feature to ensure each course page shows only feedback from students who took that course.
This keeps the content relevant and improves conversion by reinforcing specific value.
3. Highlight Visual Testimonials for Higher Conversions
Students resonate with relatable stories. Combining video clips, star ratings, and written comments ensures you engage both emotional and analytical decision-makers.
Highlight video reviews above the fold or near registration buttons for maximum visibility.
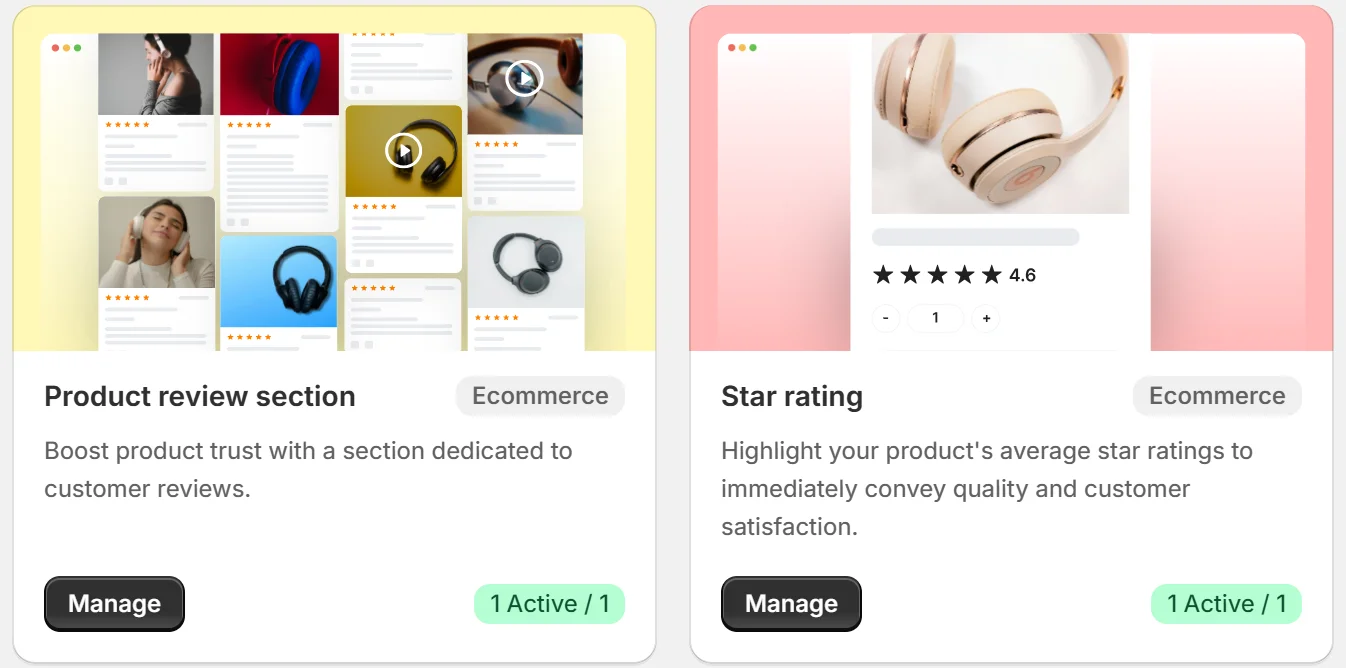
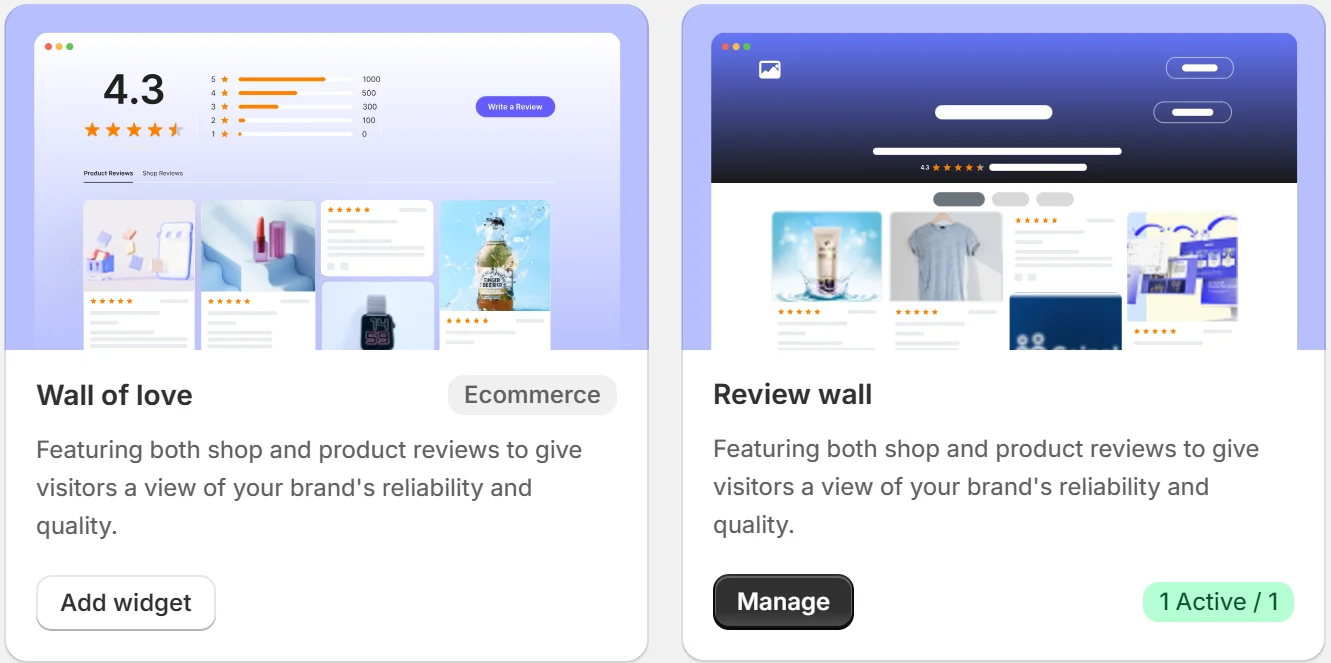
Different Types of Review Examples

All your reviews in one place
Collect reviews, manage every response, and display them where they matter most.
Common Mistakes to Avoid When Adding Reviews to Teachable
Here are common review display mistakes on Teachable that can hurt trust or confuse visitors plus how to fix them.
1. Using One Review Widget for All Courses
Avoid displaying the same testimonials across multiple courses. This reduces trust and creates confusion.
Instead, set up course-specific widgets using tags in WiserReviews. Personalized feedback shows that the course is active and produces real results.
2. Forgetting to Test on Mobile Devices
More than half of your audience likely browses your Teachable pages on mobile.
Review widgets must be mobile-friendly, or they’ll break the layout or look unreadable. Always test across screen sizes and use responsive designs within WiserReviews.
3. Delaying Review Collection Until Course Ends
Waiting until students complete a full course can result in missed feedback. Students may drop off or forget their experience.
Use automation triggers after module completion or mid-course milestones to collect fresh, enthusiastic reviews in real time.
Types of Reviews You Can Add on Teachable
How to Add Google Reviews to Teachable
How to Add Testimonials to Teachable
How to Add Facebook Reviews to Teachable
How to Add Capterra Reviews to Teachable
How to Add Amazon Reviews to Teachable
Wrap-Up
Adding reviews to Teachable helps you stand out in a crowded course market and build trust with new students.
WiserReviews provides the tools to collect, automate, and showcase feedback that drives enrollments.
Ready to let your students do the selling for you? Start using WiserReviews on Teachable and turn feedback into your most persuasive sales tool.
Krunal Vaghasiya is a marketing tech expert who boosts e-commerce conversion rates with automated social proof and FOMO strategies. He loves to keep posting insightful posts on online marketing software, marketing automations, and improving conversion rates.