Jimdo is a user-friendly platform that helps businesses create professional websites and online stores with ease. Adding offers to your Jimdo website is a powerful way to engage visitors, increase sales, and build customer loyalty. Whether it’s a discount, a limited-time deal, or a referral incentive, Jimdo provides tools to create and display high-converting promotions.
This guide will show you how to add offers to your Jimdo website, explore various types of promotions, and optimize them for success.
Types of Offers You Can Add to Your Jimdo Website
Here are some effective offer ideas to drive engagement and boost conversions:
Limited-Time Discounts
Encourage urgency by offering time-sensitive discounts.
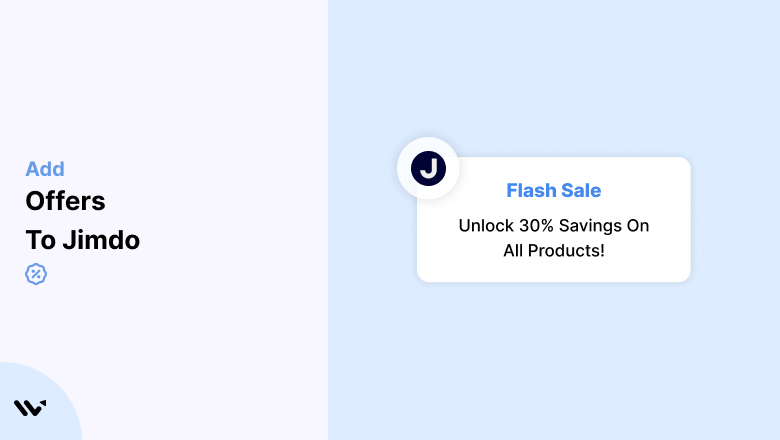
- Example: “Flash Sale – Save 30% for the Next 24 Hours!”
- When to Use: Seasonal promotions, product launches, or clearance events.
- Best Practice: Use countdown timers or banners to emphasize urgency.
Bundled Offers
Encourage larger purchases by offering discounts on bundled products or services.
- Example: “Buy 3 for $50 (Save $20)!”
- When to Use: To promote related or complementary products.
- Best Practice: Highlight the total savings and added value.
Free Shipping Offers
Remove barriers to purchase by providing free shipping on qualifying orders.
- Example: “Free Shipping on Orders Over $75!”
- When to Use: As a standard incentive or during special promotions.
- Best Practice: Display the free shipping threshold prominently on your homepage and checkout pages.
First-Time Visitor Discounts
Attract new customers by offering exclusive discounts for their first purchase.
- Example: “Welcome Offer – Get 10% Off Your First Order!”
- When to Use: As an ongoing promotion for new visitors or subscribers.
- Best Practice: Use pop-ups or banners to showcase this offer prominently.
Referral Incentives
Motivate customers to refer friends by offering mutual rewards.
- Example: “Refer a Friend and You Both Get $10 Off!”
- When to Use: To grow your customer base organically.
- Best Practice: Automate referral tracking with third-party integrations.
Event-Specific Promotions
Tie offers to holidays, milestones, or special events to create excitement.
- Example: “Celebrate Our Anniversary – 20% Off Storewide This Weekend!”
- When to Use: Seasonal events, product launches, or anniversaries.
- Best Practice: Use themed visuals to align the promotion with the event.
Steps to Add Offers to Jimdo
Jimdo’s tools and integrations make it easy to add and manage offers on your website. Follow these steps to get started:


How to Add Offers on Jimdo (Other Methods)
1. Add a Promotional Section
Log in to Jimdo
- Open your website in the Jimdo editor.
Add a New Section
- Click Add Content Block and choose a section template, such as text + image or featured product.
Customize the Section
- Add your promotional message, such as “Save 20% Today Only!”
- Include a CTA button linking to the product page or checkout.
Style the Section
- Customize colors, fonts, and visuals to match your branding.
2. Use the Header for Announcements
Edit the Header Section
- Go to the header and add a short announcement, such as “Free Shipping on Orders Over $50!”
Include a CTA Button
- Add a button linking to your offers or product pages.
Make It Visible
- Display the header announcement on all pages for maximum visibility.
3. Add Countdown Timers for Urgency
Use Third-Party Tools
- Embed countdown timers from tools like Countdown Timer Pro or TickCounter.
Embed the Timer
- Copy the timer embed code and paste it into a Custom HTML Block in Jimdo.
Position the Timer
- Place the timer near your promotional section to emphasize urgency.
4. Create Discount Codes
Go to Your Store Settings
- Navigate to Store > Discounts in your Jimdo dashboard.
Create a New Discount Code
- Set the discount type (percentage, fixed amount, or free shipping) and expiration date.
Share the Code
- Promote the discount code via email campaigns, social media, or banners on your website.
5. Use Pop-Ups for Promotions
Integrate Pop-Up Tools
- Use third-party tools like Privy or OptinMonster for pop-ups.
Design Your Pop-Up
- Add promotional text, such as “Subscribe Now for 15% Off!”
- Include a form or CTA button to capture leads or drive sales.
Set Triggers
- Configure the pop-up to appear based on visitor behavior, such as exit intent or time spent on the page.
6. Highlight Offers on Product Pages
Edit Product Descriptions
- Add promotional text to product descriptions, such as “Limited-Time Offer – Buy 1, Get 1 Free!”
Use Product Badges
- Label discounted items with tags like “On Sale” or “Limited Offer.”
Include CTAs
- Add a “Shop Now” button to encourage immediate action.
Common Mistakes to Avoid
- Overloading Offers: Focus on one or two key promotions to avoid overwhelming visitors.
- Unclear CTAs: Ensure your buttons and links are direct and actionable.
- Expired Promotions: Regularly update or remove outdated offers to maintain credibility.
- Ignoring Mobile Optimization: Test your offers on mobile devices to ensure they display properly.
Conclusion
Adding offers to your Jimdo website is a powerful way to engage visitors, increase sales, and grow your business. With tools like promotional sections, discount codes, and pop-ups, Jimdo makes it easy to showcase compelling offers that capture your audience’s attention.
Start implementing these strategies today to elevate your Jimdo website and achieve your business goals!
Related Posts:
