
Joomla Countdown Timer: Step-by-Step Setup (2026)
A countdown timer on your Joomla site gives visitors a live clock for a sale, launch, or event. You can add one with a Joomla module or plugin, or with WiserNotify, which builds the timer without code.
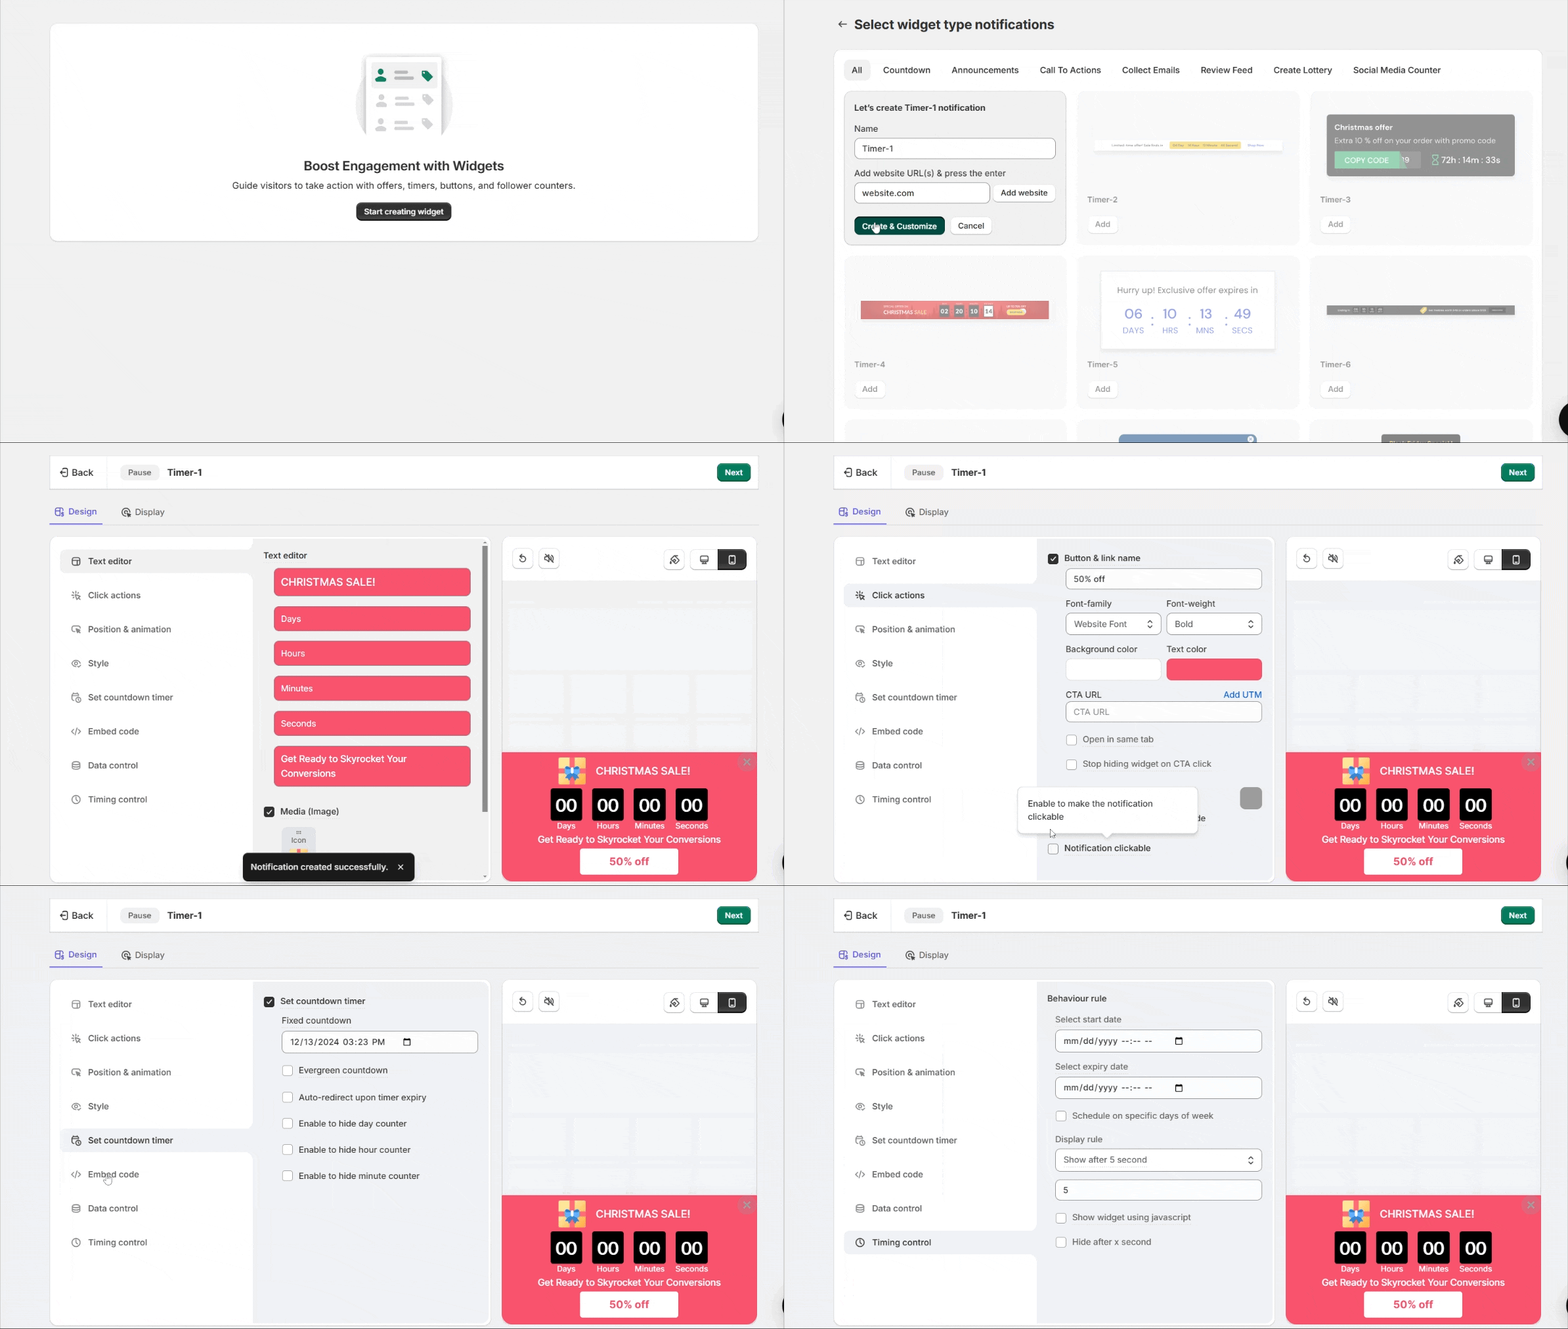
This guide covers the WiserNotify route. You add its tracking pixel to Joomla once, then design the timer in the dashboard. Every step has its own screenshot.
There’s a 7-day free trial, which is enough to build the timer and see it live before you pay.
How to Add a Countdown Timer to Joomla
The pixel is a short script that loads WiserNotify on your pages. The WiserNotify Joomla guide places it with Shack Analytics Pro, a Joomlashack extension for tracking code.
After that, you build the timer inside WiserNotify. The video below walks through the widget-building part.
Step 1: Copy Your Pixel Code
- Sign up for WiserNotify and start the 7-day free trial, or log in if you already have an account.
- Open the Install Pixel page.
- Click Copy Code.

Step 2: Open Shack Analytics Pro
- Install Shack Analytics Pro from Joomlashack if you haven’t yet.
- Log in to your Joomla administrator panel.
- Click Components, then Shack Analytics Pro.

Step 3: Create a New Tracking Tag
- On the Tracking Tags page, click New in the top left corner.

Step 4: Paste the Pixel and Save
- Enter a title for the tag, such as WiserNotify.
- Put the pixel code in the Header Script box. That box asks you to leave out script tags, so delete the opening
<script>tag and the closing</script>tag first. - Click Save or Save & Close.
- Open the Shack Analytics Configuration screen, click inside Global Tracking Tag, and pick your new tag. This makes it load on every page.

Step 5: Verify the Install
- Reload your Joomla site once.
- Go back to WiserNotify’s Install Pixel page and press Verify pixel installation.
- A message saying your pixel code has been detected means the pixel is active.
- Need more detail? See the Joomla pixel guide.

Step 6: Add a New Notification
- In WiserNotify, click Notifications, then Widgets.
- Click Add notification.

Step 7: Pick a Countdown Design
- Select the Countdown tab and scroll through the timer designs.
- Click Add under the design you like.
- Enter a name and the URL of your Joomla site, then click Create and Customize.

Step 8: Customize the Timer
- Text Editor: type your offer, for example “Flash sale ends in 3 hours”.
- Click Actions: switch on the button, name it, and point it at your sale page.
- Position and Animation: pick the spot on screen and the entrance effect.
- Style: adjust colors, size, and shape, separately for desktop and mobile.
- Set Countdown Timer: choose fixed or evergreen and enter the time (the next section explains both).
- Timing Control: set a start and expiry date, limit the timer to certain days, or delay it by a few seconds.
- Embed Code and Data Control can stay untouched for a basic timer.
- Click Next.
Step 9: Set Display and Publish
- In the Display tab, show the timer on all pages or select specific pages.
- Using more than one domain? Select the sites in the multiple websites section.
- Layer on targeting if it helps, for example by country, UTM parameters, new or returning visitors, or referrer site.
- Click Save and then Publish.
- Check your live Joomla site in a private browser window.
- The full list of options is in the countdown timer widget guide.
Choose a Fixed or Evergreen Timer
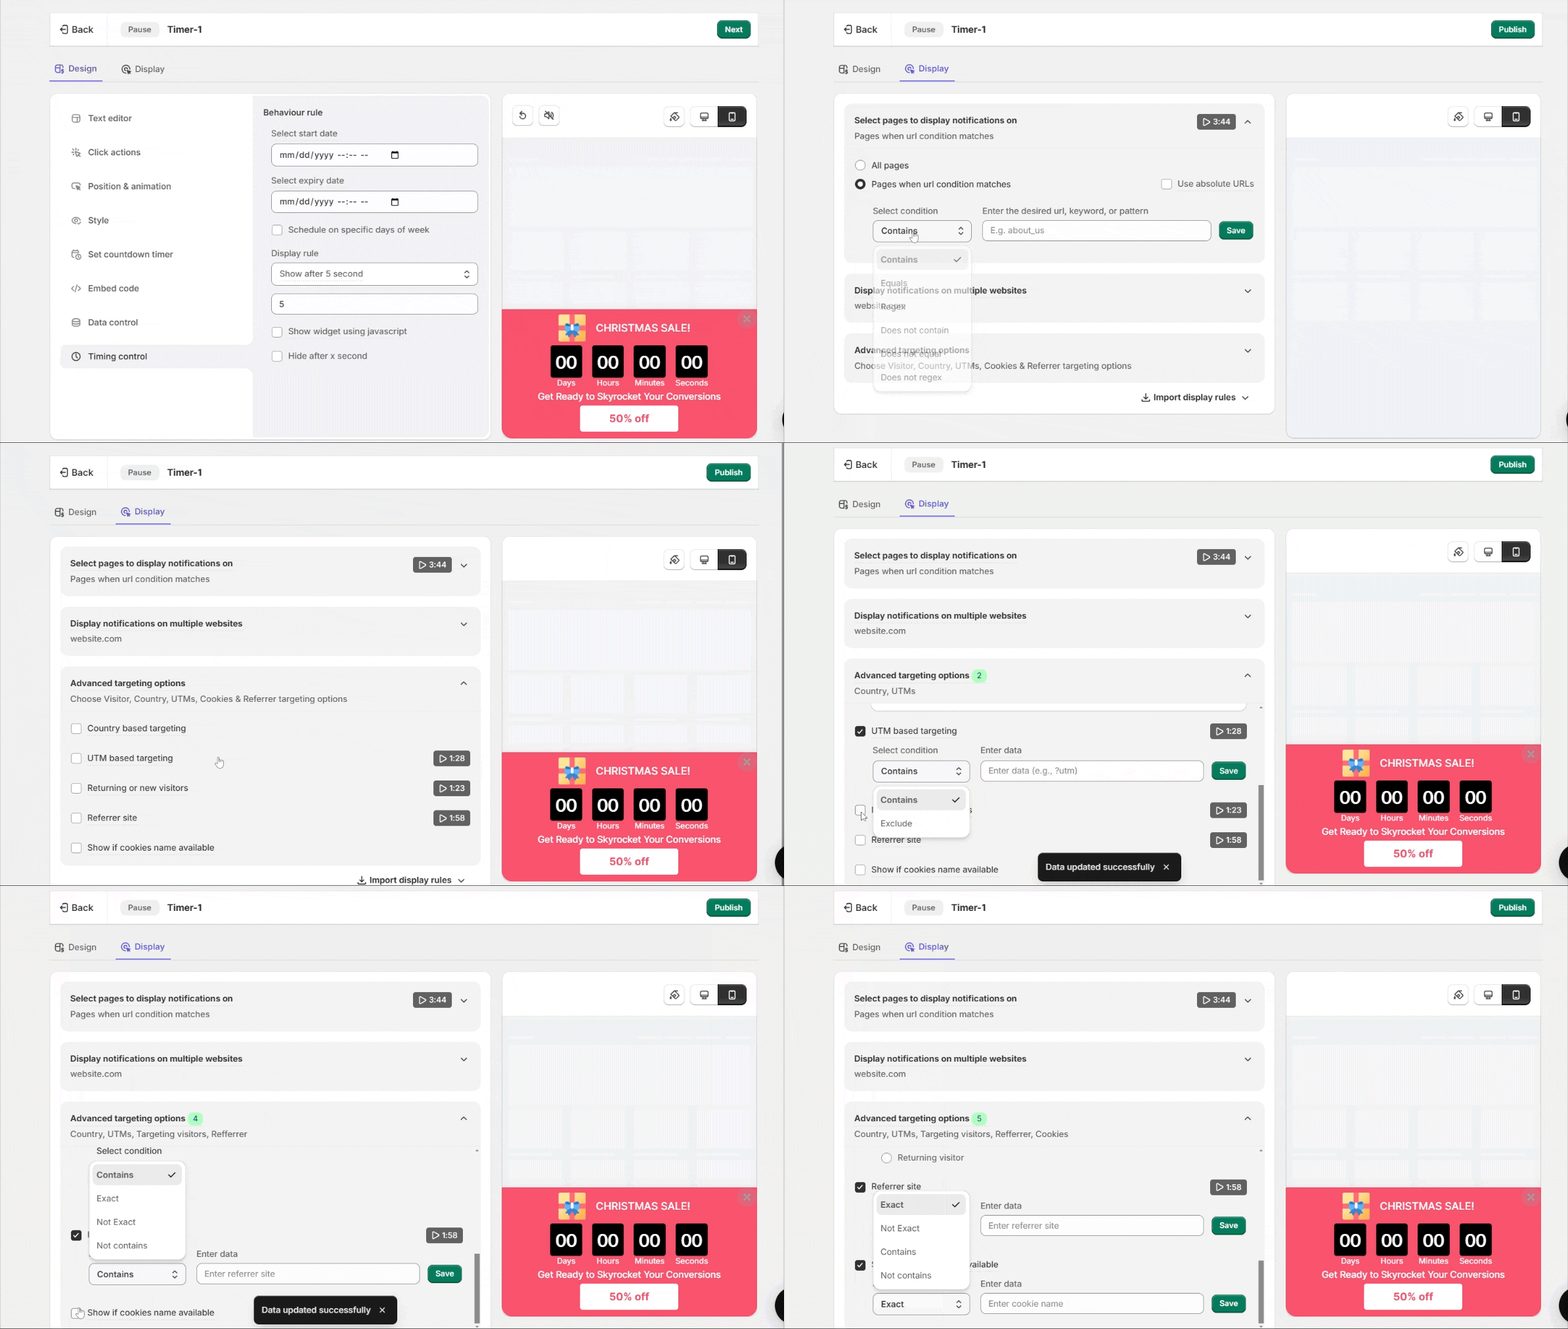
Pick fixed for a dated sale or a launch. Pick evergreen for a rolling offer, where every visitor gets their own clock.
Set Countdown Timer can also redirect visitors when the timer ends, or hide days, hours, or minutes. Each setting is described in the countdown timer options guide.
Timer Not Showing Up on Joomla?
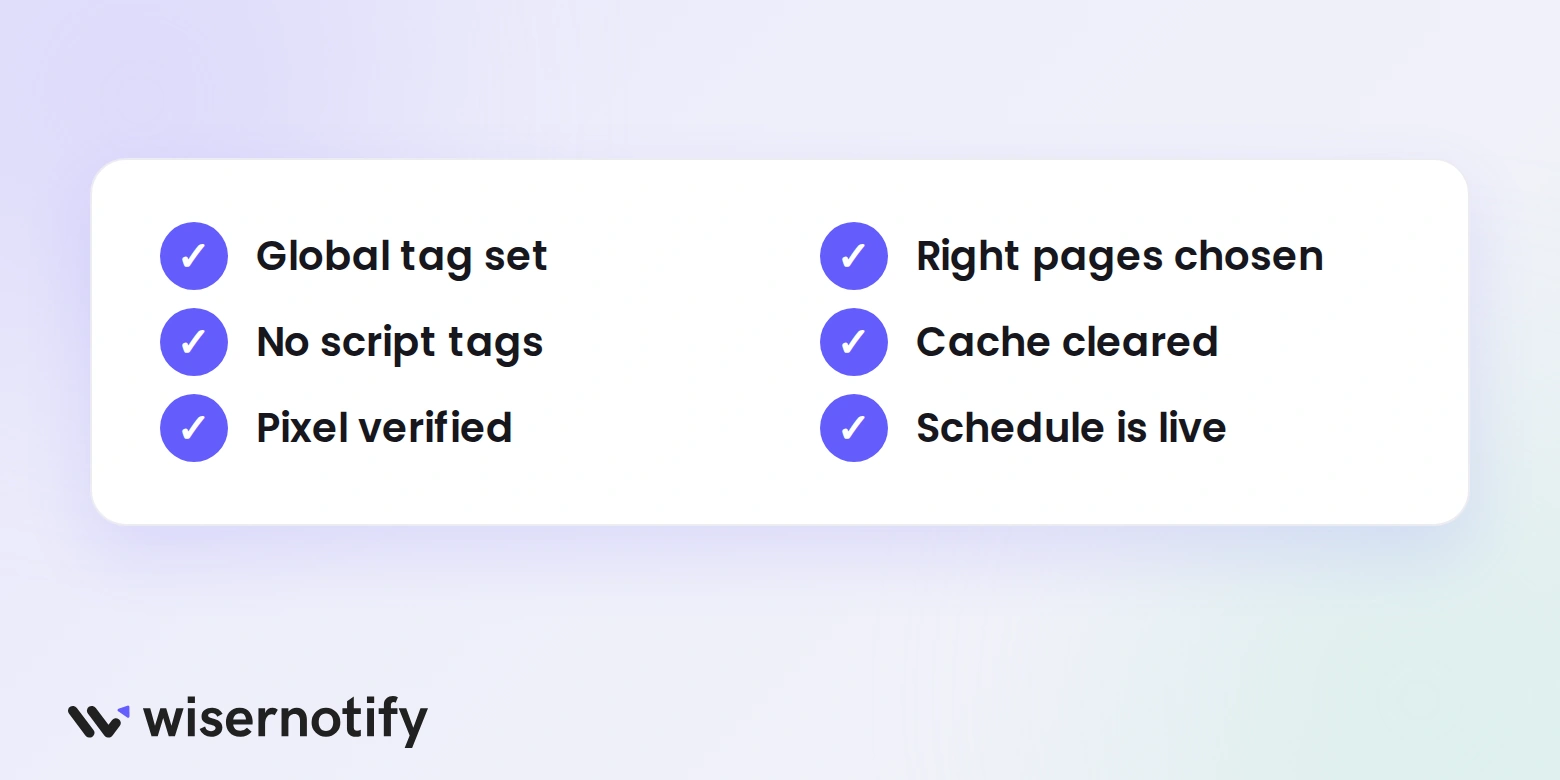
Run through these checks in order. Easy to miss: a tag that was created but never set as the Global Tracking Tag.
Still stuck? Use Troubleshoot in your widget list or ask live chat.
When and Where to Use a Countdown Timer
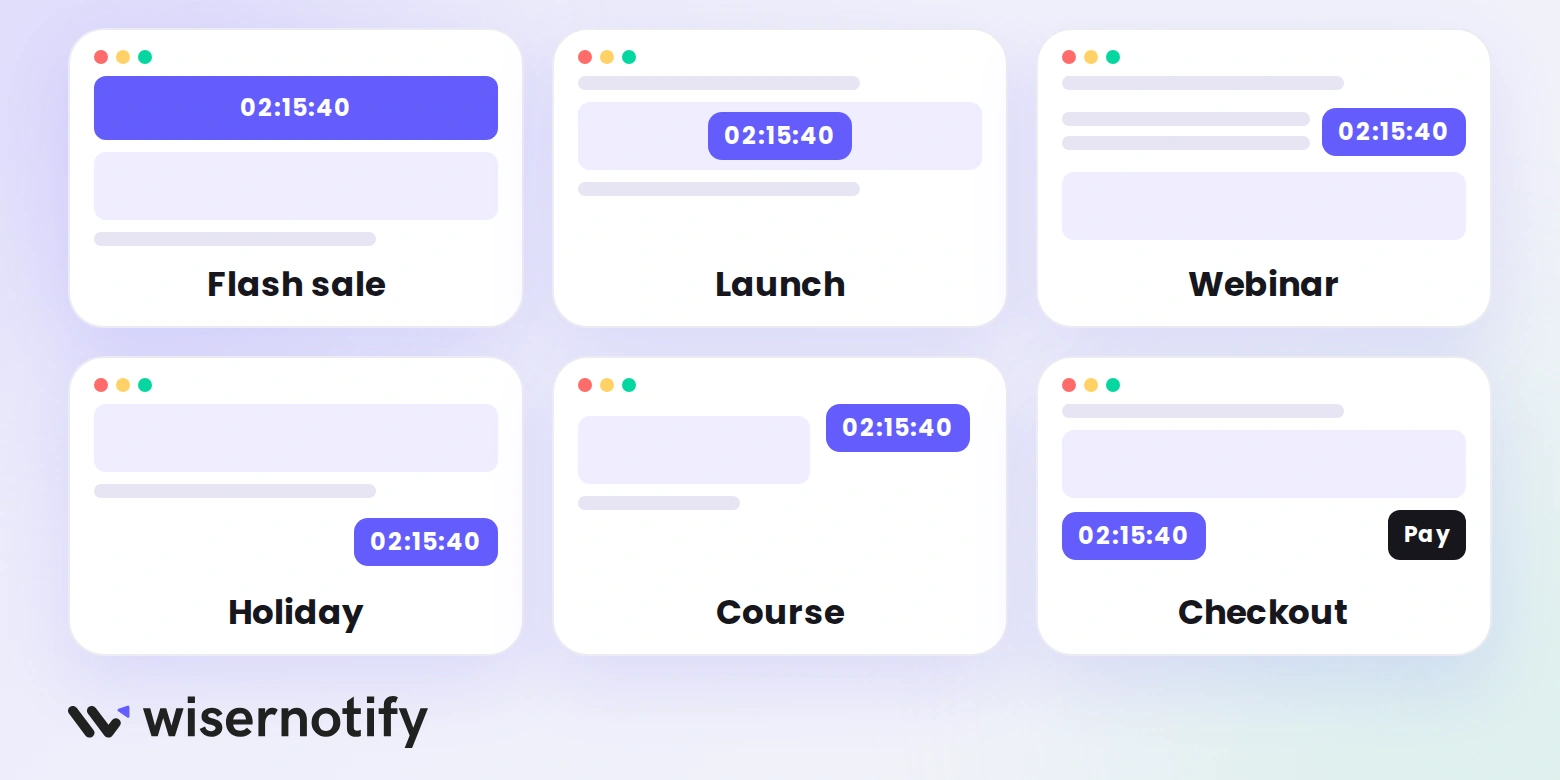
Put the timer where a deadline helps people decide: sales, launches, webinars, seasonal campaigns, course enrollment, and checkout.
On a different platform? Our guide to how to add a countdown timer widget to any website covers it.
Build trust & FOMO
Highlight real-time activities like reviews, sales & sign-ups.

Common Mistakes to Avoid
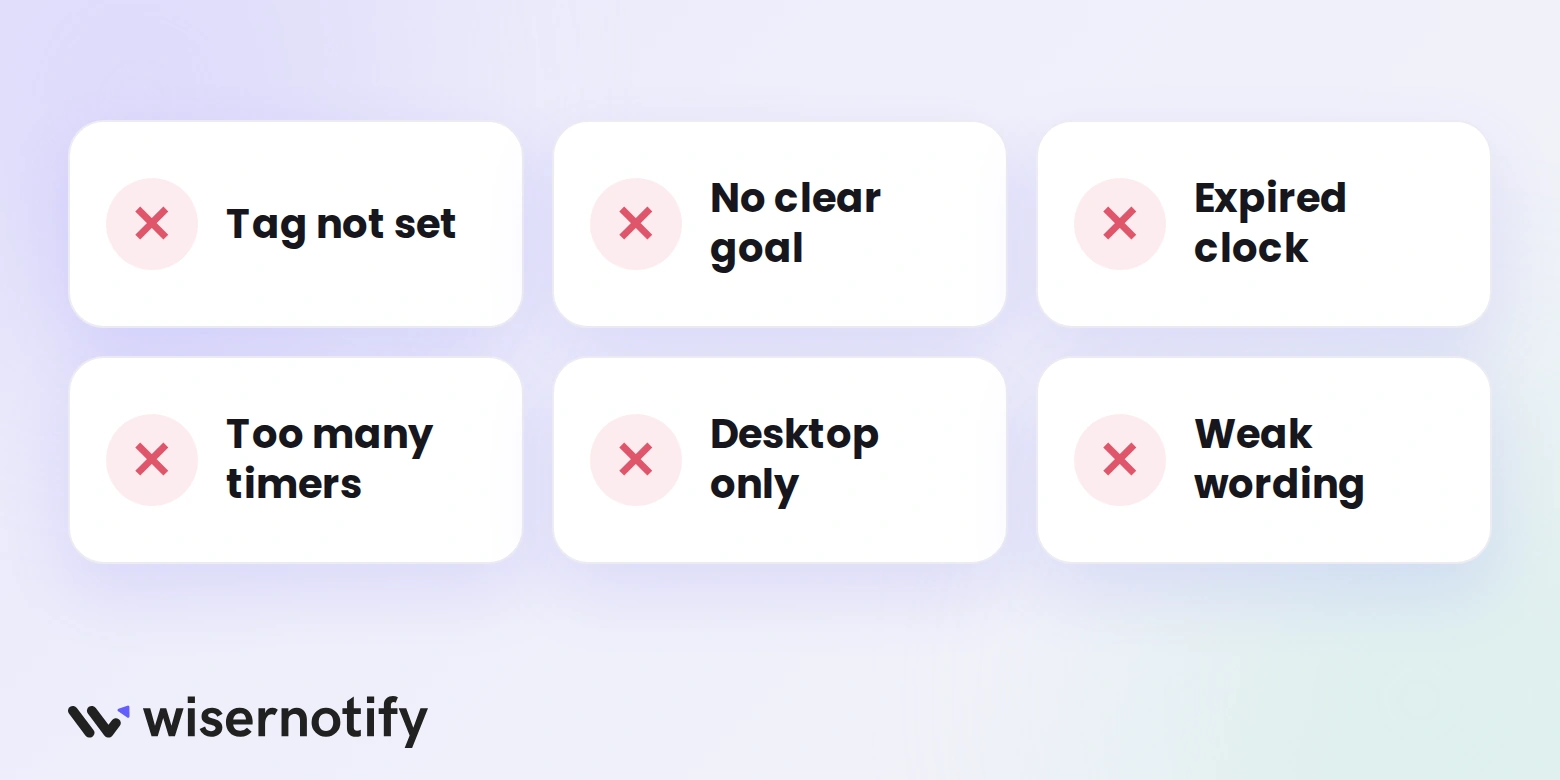
The big one is skipping the Global Tracking Tag, because the timer never loads without it.
The rest are easy to avoid. Set a clear goal, retire expired clocks, use one timer per page, check phones, and write a direct call to action.
How to Measure the Impact
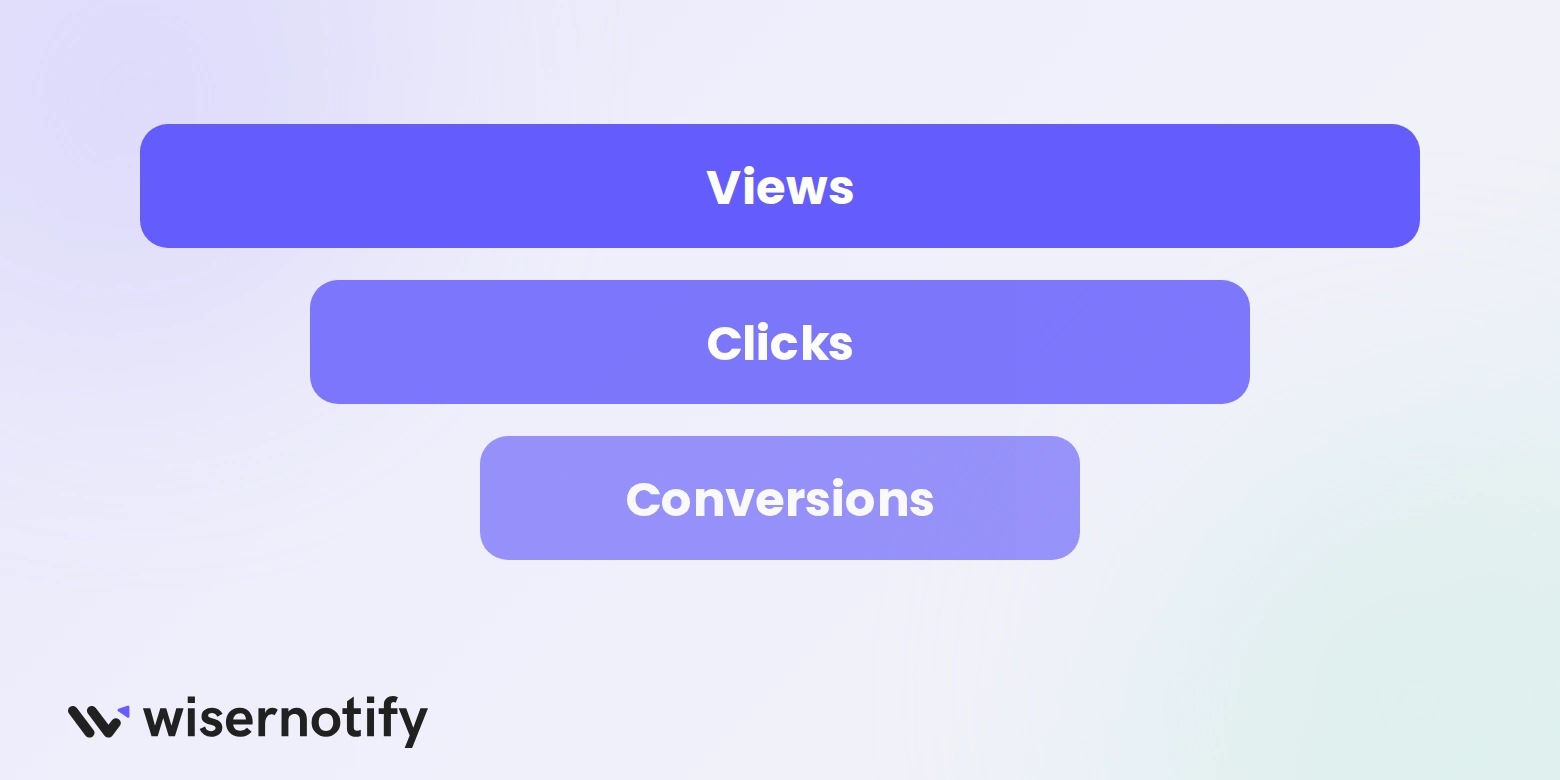
Check views, clicks, and conversions in the WiserNotify dashboard. Then compare a page with the timer to a similar page without one during the same campaign.
More Widgets for Your Joomla Site
The same dashboard holds other urgency widgets, including announcement bars, video popups, a WhatsApp button, and multi-offer boxes.

It also has social proof widgets that show reviews, live visitor counts, recently viewed counts, and social media activity.

Conclusion
A countdown timer gives Joomla visitors a deadline they can see. A tracking pixel and a short session in the WiserNotify dashboard get one live.
With the pixel verified, every future campaign is a new timer in the dashboard, with no more changes to your Joomla setup.
Related Posts:
Frequently Asked Questions
Should I use a Joomla module, a plugin, or WiserNotify?
A Joomla module or plugin usually shows a date-based timer from inside Joomla, set up per module position or article. WiserNotify adds a timer through one pixel and also offers evergreen timers, page targeting, and click reports.
Is there a free countdown timer for Joomla?
Joomla’s extension directory lists free countdown modules and plugins. WiserNotify has no free plan, but its 7-day free trial lets you build and test a timer first.
Do I need an extension to install the WiserNotify pixel on Joomla?
The WiserNotify guide uses Shack Analytics Pro to add the pixel to your site’s head. Any other way of adding the code to the head of every page works too.
Which Joomla versions work with this guide?
The WiserNotify pixel is plain JavaScript, so it doesn’t depend on your Joomla version. Check the Shack Analytics Pro page to confirm it supports yours.
What is the difference between a fixed and an evergreen timer?
A fixed timer ends at one set date and time for everyone. An evergreen timer restarts for each visitor.
Will the countdown timer work on mobile?
Yes. The Style settings let you set the size and look separately for desktop and mobile, so check it on a phone after publishing.

Krunal Vaghasiya is a marketing tech expert who boosts e-commerce conversion rates with automated social proof and FOMO strategies. He loves to keep posting insightful posts on online marketing software, marketing automations, and improving conversion rates.




 Capterra