

Elementor is a leading website builder for WordPress, offering unparalleled customization options with its drag-and-drop editor.
While its design features are exceptional, you need to go beyond aesthetics to build trust and engagement. Testimonials provide the social proof needed to convince visitors and turn them into loyal customers.
This guide will explore why testimonials are essential for Elementor sites, how to integrate them seamlessly, and the best practices for optimizing their impact.
Why Add Testimonials to Elementor?
Build Trust Through Social Proof: Testimonials are one of the most reliable ways to build trust. Research shows that 88% of consumers trust online testimonials as much as personal recommendations. For Elementor sites, this trust factor is vital for driving conversions and fostering loyalty.
Increase Conversion Rates: Strategically placed testimonials can boost conversions by up to 34% on sales pages. Elementor’s flexibility allows you to position testimonials exactly where they’ll have the most impact.
Improve SEO Rankings: When testimonials include customer keywords, they enhance your site’s SEO performance. Adding schema markup to testimonials on Elementor also enables rich snippets in search results, improving visibility and click-through rates.
Showcase Your Unique Selling Points (USPs): Testimonials can emphasize what makes your brand unique, whether it’s exceptional service, quality, or reliability. These reviews serve as real-world validations of your USPs.
Enhance User Experience: Elementor offers an array of testimonial widgets and design tools that make it easy to create visually appealing testimonial sections, enhancing the overall user experience.
Build trust & FOMO
Highlight real-time activities like reviews, sales & sign-ups.


How to Add Testimonials to Elementor


Using Elementor’s Testimonial Widget
1. Open the Elementor Editor
- Navigate to the page or post where you want to add testimonials and click “Edit with Elementor.”
2. Drag and Drop the Testimonial Widget
- Search for “Testimonial” in the Elementor widgets panel.
- Drag the widget to your desired section on the page.
3. Customize Content
- Add customer quotes, names, and designations.
- Use customer photos or logos to enhance authenticity.
4. Style the Widget
- Customize typography, colors, and spacing to align with your brand identity.
- Add animations or hover effects for visual appeal.
Integrating WiserNotify Testimonials
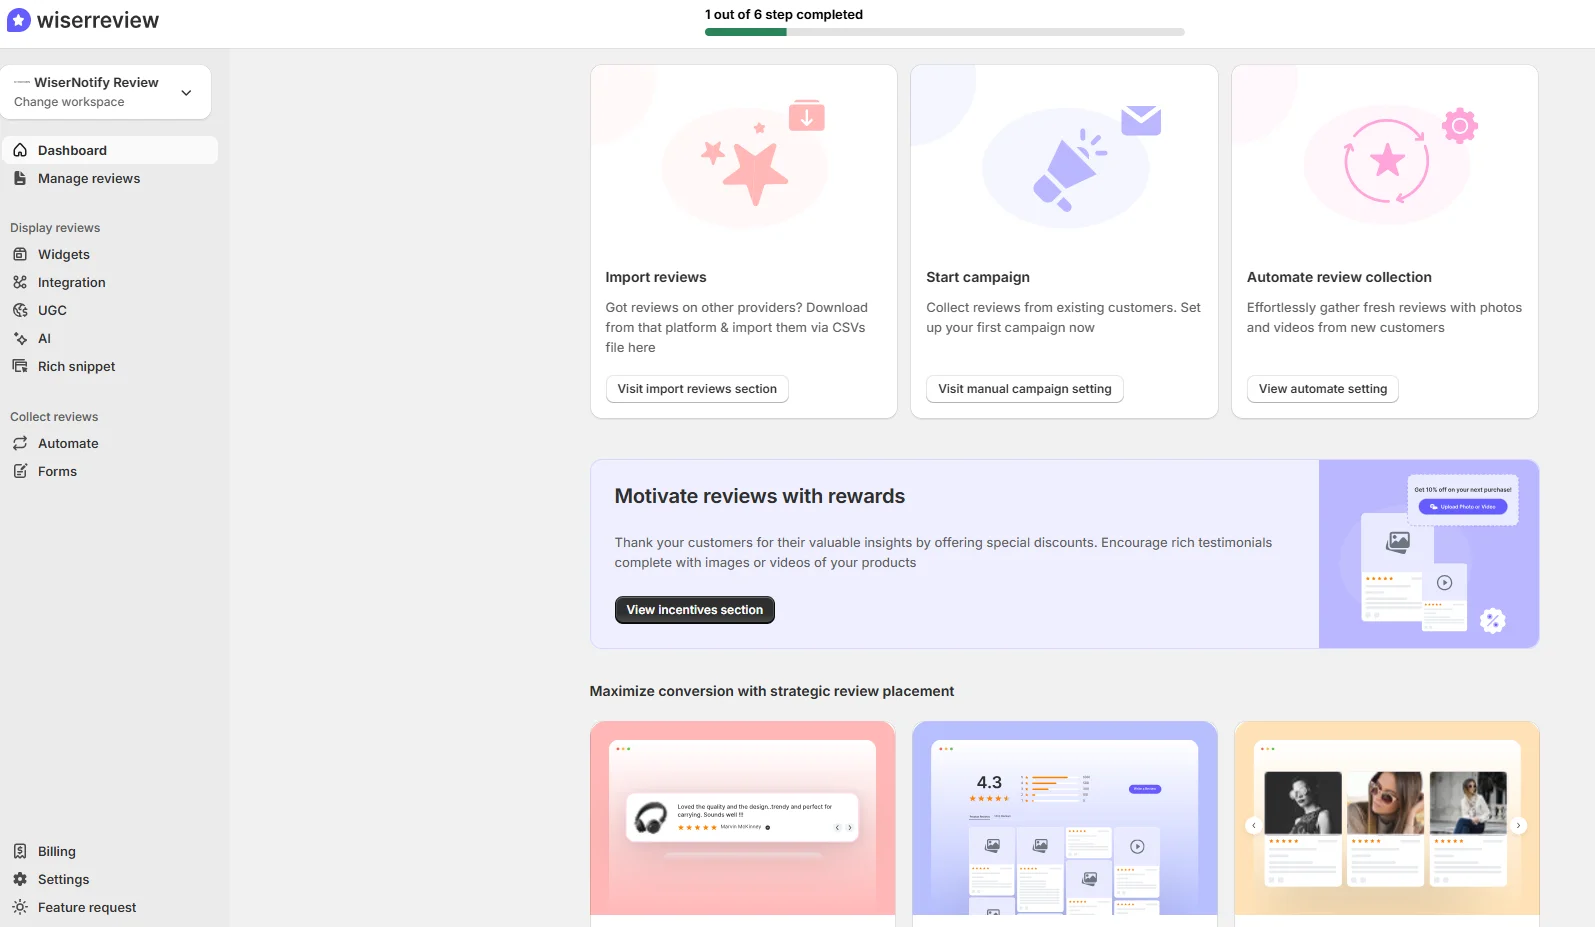
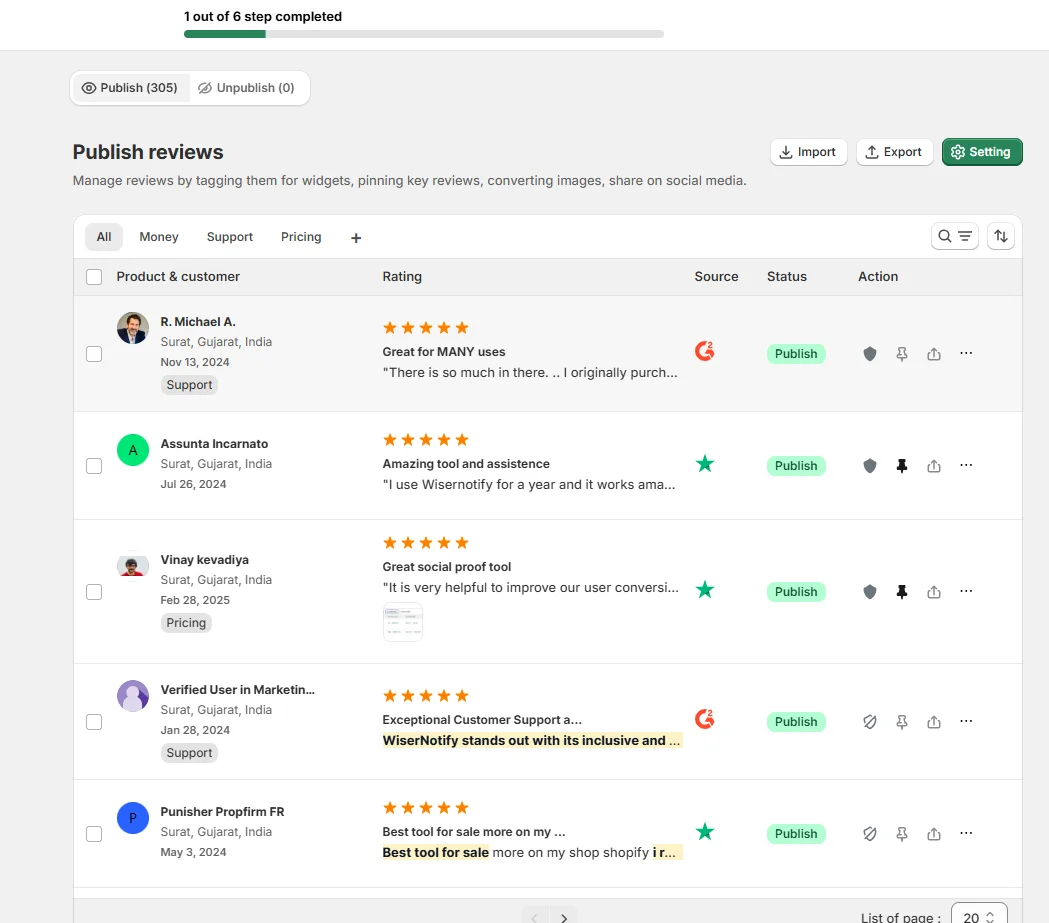
1. Create a Widget in WiserNotify
- Log in to the WiserNotify dashboard and set up a testimonial widget.
2. Copy the JavaScript Code
- Generate and copy the provided JavaScript snippet.
3. Add the Code to Elementor
- Go to Edit with Elementor > Custom HTML Widget.
- Paste the code into the widget.
4. Preview and Save
- Preview the page to ensure the testimonial widget displays correctly and save changes.
Using Elementor Add-Ons
Install Elementor Add-Ons
- Plugins like Essential Addons or Ultimate Addons for Elementor provide advanced testimonial widgets.
Select Advanced Features
- Use features like testimonial carousels, grids, or sliders for a dynamic presentation.
Best Places to Show Testimonials in Elementor
Homepage
- The homepage is the first impression of your website. Display a few impactful testimonials prominently to immediately establish trust.
Product or Service Pages
- Include testimonials specific to individual products or services. Highlight customer satisfaction and product benefits to influence purchase decisions.
Landing Pages
- Position testimonials near CTAs to reinforce credibility and motivate users to take action.
About Us Page
- Showcase testimonials that emphasize your company’s values and strengths. These resonate strongly with visitors exploring your brand story.
Checkout Page
- Add testimonials close to the checkout section to reduce buyer hesitation and cart abandonment.
Blog Posts
- Embed relevant testimonials within blog content to illustrate customer satisfaction and reinforce your expertise.
Other Ways to Add Testimonials to Elementor
Video Testimonials
- Video testimonials are engaging and authentic. Use Elementor’s video widget to embed customer videos from platforms like YouTube or Vimeo.
Testimonial Carousels
- Create a rotating testimonial section using Elementor’s Slider widget. This is ideal for showcasing multiple reviews in a limited space.
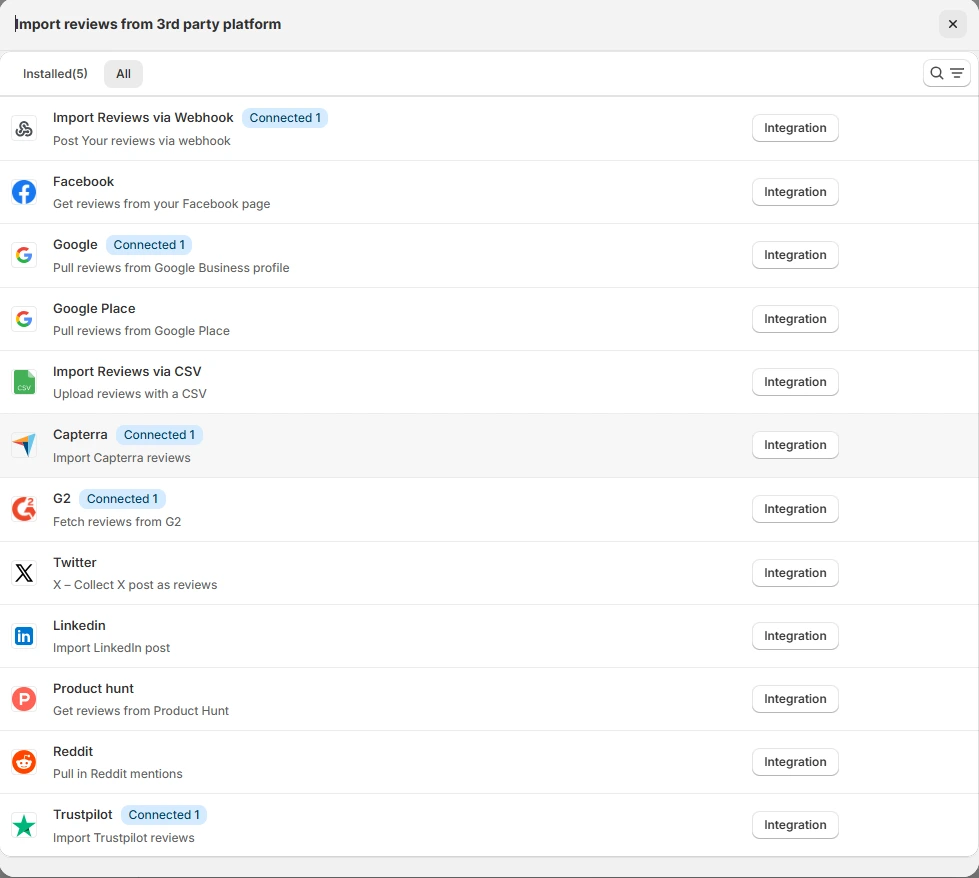
Social Proof Notifications
- Integrate WiserNotify to display real-time activities like customer reviews or purchases. These notifications create urgency and build trust.
Dedicated Testimonial Pages
- Design a dedicated page with Elementor featuring a comprehensive collection of testimonials, including text, video, and case studies.
Email Campaigns
- Incorporate testimonials into Elementor’s email templates to boost credibility and encourage clicks.
3 Testimonial Optimization Tips for Elementor
Personalize Your Testimonials: Include customer photos, names, and locations (with permission) for an authentic touch. Personalized testimonials resonate more effectively with visitors.
Maintain Visual Consistency: Use Elementor’s styling options to align testimonial designs with your website’s overall theme and branding.
Update Regularly: Rotate testimonials periodically to highlight recent feedback and keep the content fresh.
3 Testimonial Mistakes to Avoid on Elementor
Overloading Testimonial Sections
- Cluttering pages with excessive testimonials can overwhelm visitors. Showcase a few impactful reviews instead.
Neglecting Mobile Optimization
- Ensure testimonials are fully responsive and look great on all devices. Elementor’s preview tools can help you test mobile views.
Using Generic Testimonials
- Avoid vague testimonials like “Great service!” Use detailed feedback that addresses specific pain points or outcomes.
Wrap-Up
Testimonials are a cornerstone of trust and credibility for any Elementor website. By leveraging Elementor’s powerful tools and WiserNotify’s dynamic features, you can create compelling testimonial sections that drive conversions and enhance user experience.
Start adding testimonials to your Elementor site today and unlock the full potential of social proof to elevate your brand.
Related Posts:
