
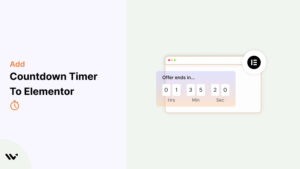
Countdown timers are a proven way to create urgency, grab attention, and drive conversions on your website. Whether you’re promoting a sale, launching a product, or counting down to an event, Elementor makes it incredibly easy to add and customize countdown timers without needing any coding knowledge.
With Elementor’s Countdown widget or third-party plugins, you can integrate timers seamlessly into your site. This guide will walk you through the process of adding countdown timers in Elementor and share tips for making them effective.
When and Where to Use Countdown Timers
Countdown timers are most effective when strategically placed on your Elementor site. Here are some ideal use cases and placements:
Limited-Time Sales
- Use timers on sales or promotional pages to emphasize expiring offers, like “Hurry! Sale Ends in 3 Hours!”
Seasonal Campaigns
- Highlight holiday promotions such as Black Friday, Christmas, or New Year deals by adding timers in banners or pop-ups.
Product Launches
- Build excitement by placing timers on product launch pages. A countdown like “Launching in 5 Days!” encourages early sign-ups or pre-orders.
Event Promotions
- Add timers to event registration pages to boost participation with messages like “Register Now! Only 2 Days Left!”
Checkout Pages
- Reduce cart abandonment by including timers near checkout CTAs, such as “Complete Your Purchase in 15 Minutes to Get Free Shipping!”
By strategically placing timers, you can increase urgency and drive conversions on your Elementor-powered site.
Add Countdown Timer to Elementor
Elementor offers a built-in Countdown widget that you can easily use to add timers. You can also integrate third-party countdown timer plugins for additional functionality. Simplify countdown timer creation with WiserNotify


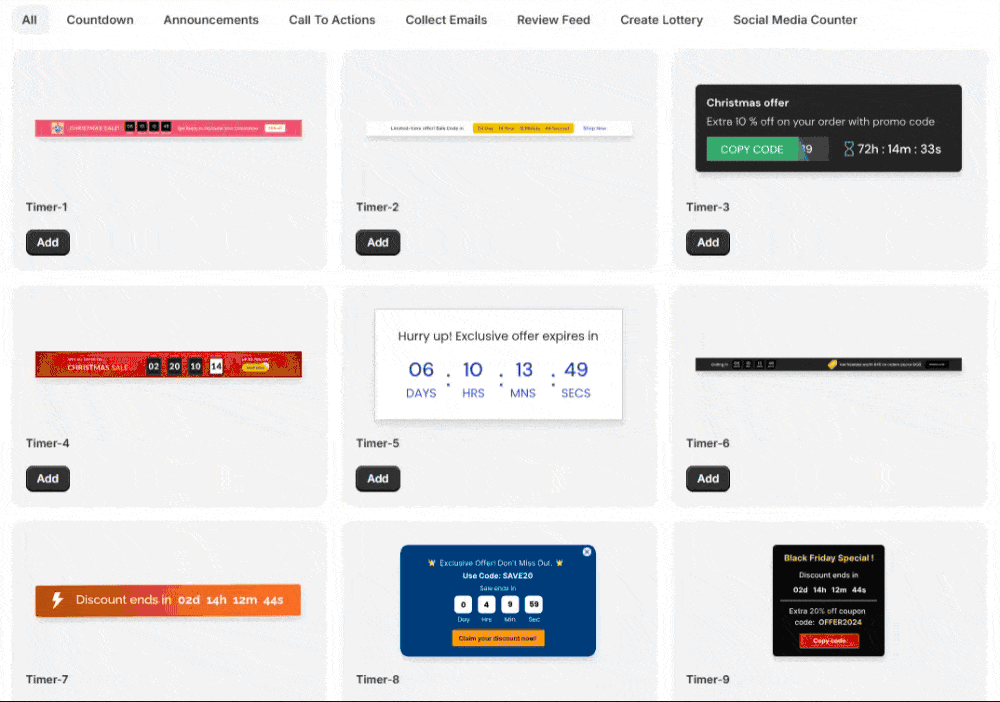

How to Add a Countdown Timer to Elementor
- Open Elementor Editor:
- Log in to your WordPress dashboard and navigate to the page or post you want to edit.
- Click Edit with Elementor to launch the Elementor editor.
- Add the Countdown Widget:
- In the Elementor editor, search for the Countdown widget in the Elements panel.
- Drag and drop the widget into the desired section of your page.
- Configure the Countdown Timer:
- Set Countdown Type:
- Due Date: Count down to a specific date and time.
- Evergreen Timer: Count down for a fixed duration that resets for each user.
- Set the Target Date or Duration: Enter the date and time for the timer to end.
- Set Countdown Type:
- Customize the Timer Design:
- Adjust the colors, typography, alignment, and size in the Style tab to match your branding.
- Add custom labels like “Days,” “Hours,” “Minutes,” and “Seconds.”
- Save and Preview:
- Save your changes and preview the page to ensure the timer appears and functions correctly.
Read more: How to Add a Countdown Timer Widget to Any Website
Common Mistakes to Avoid
- Misaligned Goals: Always tie timers to specific campaigns or deadlines. Avoid using timers without a clear purpose.
- Expired Timers: Remove or update expired timers promptly to avoid confusion.
- Overusing Timers: Use one timer per page for clarity and focus.
- Poor Placement: Position timers in high-visibility areas like headers, near CTAs, or above the fold.
- Neglecting Responsiveness: Test timers on all devices to ensure they display properly across screen sizes.
Conclusion
Adding a countdown timer to your Elementor-powered site is a straightforward process that can significantly boost engagement and conversions. Whether using the built-in Countdown widget, a plugin, or custom code, timers are a valuable tool for creating urgency and motivating user actions.
Follow the steps in this guide to seamlessly integrate timers into your Elementor site and maximize their effectiveness.
Related Posts:
