

An announcement bar is an essential feature for Shopify store owners looking to share promotions, updates, or urgent messages with customers.
Placed at the top of your website, it ensures your message grabs attention without disrupting the shopping experience. Shopify makes it easy to add an announcement bar using built-in settings, third-party apps, or custom code.
This guide provides a comprehensive walkthrough to help you add and customize an announcement bar for your Shopify store.
Types of Announcement Bars to Use in Shopify
Shopify offers a flexible display of announcement bars, helping store owners highlight offers, updates, or important notices.
Here are the most effective types you can use to engage shoppers and boost conversions:
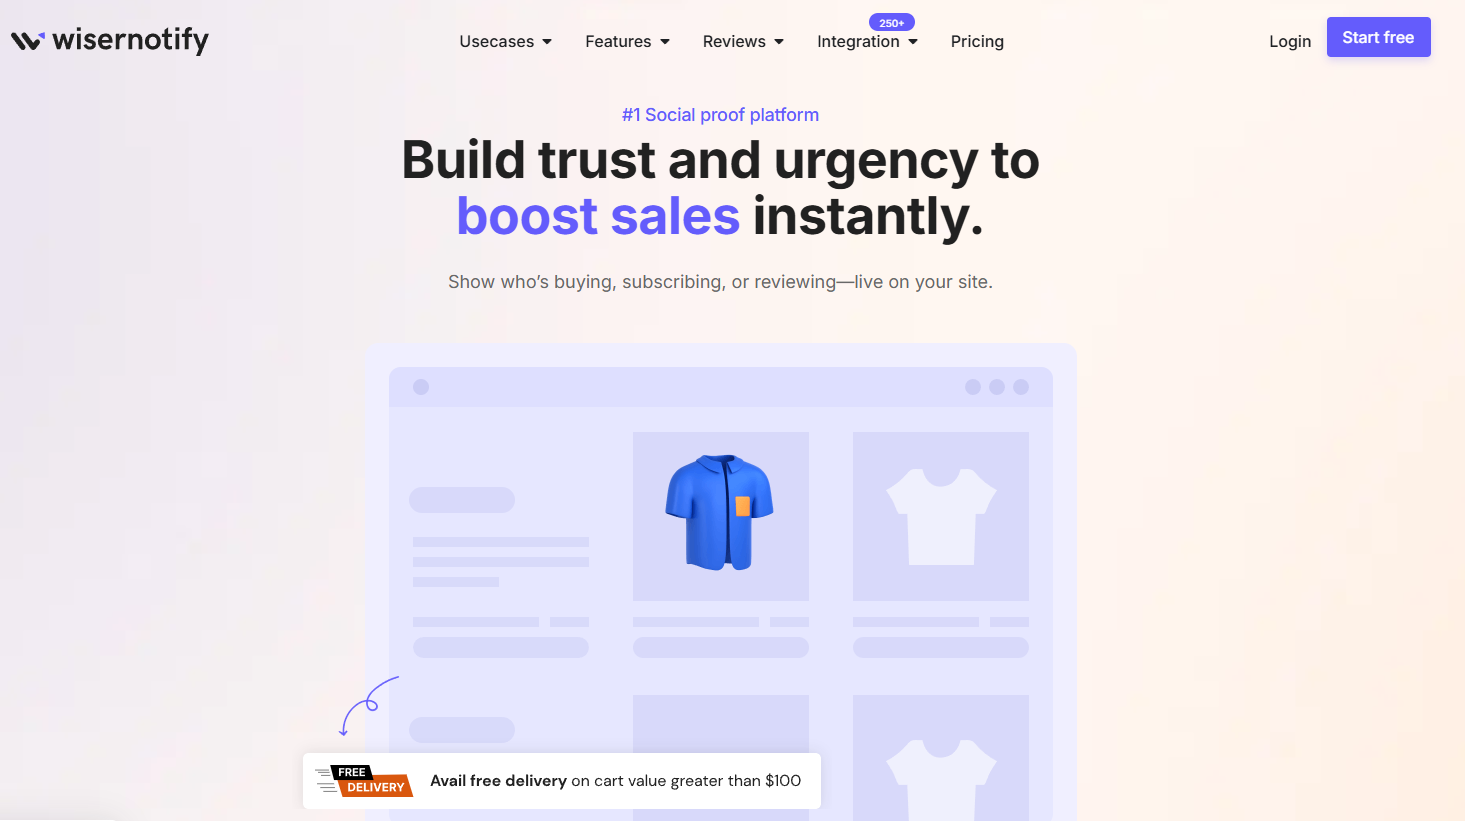
1. Free Shipping Bar
Inform customers about shipping perks to boost average order value.
A simple message like “Free shipping on orders over $50” often encourages shoppers to add more items to their cart to qualify.
Depending on location, device type, or first-time visitors, you can customize it.
Switching the free shipping threshold or highlighting limited-time shipping promos can drive faster checkouts during peak seasons, such as holidays, flash deals, or product launches.
2. Discount or Promo Code Bar
One of the most popular uses for announcement bars is to share active promo codes.
Display a message like, “Use code SAVE20 for 20% off—Today only!” to quickly catch attention and increase urgency.
Whether you’re targeting new visitors, loyal customers, or promoting clearance items, this type of bar increases engagement and incentivizes purchases.
You can also A/B test different messages to see which ones convert better.
3. New Product Launch Bar
When introducing a new product, collection, or seasonal line, a launch bar like “New Drop Alert – Explore our Summer Collection now” directs users to the right page without extra clicks.
This is especially helpful for mobile users. You can link directly to the product or a curated collection page.
Adding a visual icon, like a star or flame emoji, can increase visibility without disrupting the site design.
4. Limited-Time Offer Bar
Use language that creates urgency, such as “Flash Sale—40% off ends tonight!”
Time-limited deals trigger FOMO (fear of missing out) and lead to faster decision-making.
Combining this with a countdown timer or bold background color enhances the urgency even more.
This is great for Black Friday, holiday deals, or end-of-season stock clearance.
5. Shipping Delay or Policy Update Bar
Be transparent with customers during high-volume periods or global delays.
A message like: “Please expect 2–3 extra days for delivery due to demand” helps manage expectations.
This reduces support tickets and avoids negative reviews.
You can also use this bar type to share return policy changes, updated store hours, or any temporary adjustments.
6. Newsletter Signup Prompt
Encourage email subscriptions with a gentle call to action: “Subscribe for exclusive deals, drops, and early access.”
Pair it with an incentive like 10% off their first order or a freebie to improve signup rates.
It’s one of the least intrusive ways to build your email list while the user is browsing.
Make sure it links directly to your signup form or pop-up.
7. Countdown Timer Bar
Countdown bars show exactly how much time is left for a sale, adding urgency and driving conversions.
An example could be: “Only 3 hours left—Don’t miss our weekend sale!”
These bars are powerful during events like holiday campaigns, early-bird offers, or pre-order windows.
Many Shopify apps allow you to customize them with dynamic timers and design elements.
8. Rotating Message Bar
Instead of just one message, rotating bars cycle through two or more.
You can highlight different promotions—like “Free shipping,” “10% off with signup,” and “New arrivals available now”—all in the same space.
This keeps the design clean while maximizing the amount of information you share.
It’s useful for stores with multiple running promotions or product categories.
9. Scrolling Text Bar
Scrolling bars let you display longer messages without using extra space.
Text moves horizontally, allowing you to communicate detailed offers, extended terms, or legal disclaimers.
They’re perfect for long promotional messages that don’t fit into static bars and allow you to be more expressive with your communication.
10. Multi-Announcement Bar
Stack two or more static announcements together. For example, you might combine “Free Shipping on Orders Over $50,” “New Drop Just Launched,” and “Buy 2 Get 1 Free” all in one section.
Some apps even let users close individual announcements.
This is ideal for larger stores running many offers simultaneously and helps customers quickly scan relevant promotions.
Add Announcement Bar to Shopify
Adding an announcement bar to your Shopify website is incredibly easy and requires no coding knowledge.
Many platforms offer plugins and tools with simple drag-and-drop interfaces to create and customize announcement bars effortlessly.
Create Announcement Bars the Easy Way with WiserNotify.
Using WiserNotify, you can quickly add an announcement bar to your Shopify website to grab visitors’ attention and share essential updates, promotions, or calls to action.
With advanced features like A/B testing and analytics, WiserNotify allows you to create visually engaging and highly targeted announcement bars that boost user engagement and drive conversions. Key features include:
Type of Widgets:
- Anncoment Bar Widgets

- Recent Activity Notifications
- Reviews and Ratings Widgets
- Countdown Timer Widgets
- Form Submission Notifications
- Inline Widgets
- Exit-Intent Pop-Ups
- Live Visitor Count Widgets

Customizable Design
- Adjust colors, fonts, and styles to align with your brand.
Real-Time Updates
- Automatically display live or dynamic data like visitor counts or recent
activities.
Targeted Messaging
- Personalize bars for specific audiences or user segments.
Urgency and Scarcity Elements
- Include countdown timers or stock alerts to drive quick action.
A/B Testing
- Experiment with different designs and messages to optimize performance.
Multi-Language Support
- Customize announcement bars in various languages for global reach.
Behavioral Triggers
- Show bars based on user behavior like exit intent or time spent on a page.
Compliance-Friendly
- Includes options for GDPR and cookie consent notifications.
Integration with Social Proof Widgets
- Combine with social proof notifications to amplify trust and engagement.
Adding an announcement bar to your site with WiserNotify is seamless. Sign up for a free plan to explore its features, then log in to your dashboard. Add your site to generate a unique pixel code for integration.
To add an announcement bar to your website, create a widget in WiserNotify. Follow these straightforward steps.
1. Create an Announcement Bar
- Log in to the WiserNotify dashboard.
- Navigate to the Create Notification section and select the Announcement Bar template.

- Customize the design by:
- Adding a compelling message such as “Exclusive Discount! Limited Time Only.”
- Choosing the appropriate font, colors, and background to align with your branding.
- Including a clear Call-to-Action (CTA) button like “Shop Now” or “Learn More.”
- Preview the design to ensure it matches your preferences.
- Save the widget design and press Next.
2. Set Display Rules

- Configure display settings, such as showing the bar on specific pages or targeting users based on location or behavior.
- Schedule the announcement bar for a particular timeframe if needed.
Here’s a real-life example of how an announcement bar will look on a website.

3. Preview and Activate
- Preview the announcement bar to ensure it looks and functions correctly.
- Publish the bar to make it live on your website.
Watch the video below where we guide you through each step visually. This video will help you set up your announcement bar quickly, ensuring you don’t miss any important details!
Steps to Install WiserNotify on Shopify
- Log in to your WiserNotify dashboard. Start with the free plan to explore the platform’s features.
- Add your Shopify site, and copy the unique pixel code provided.
- Log in to your Shopify admin panel.
- Navigate to Plugins > Add New and search for “WiserNotify.”
- Install and activate the plugin.
- Paste the copied pixel code into the WiserNotify plugin settings.
Using WiserNotify, you can easily create and manage announcement bars on your Shopify website. This ensures that your key messages reach your audience effectively and drive the desired actions.
How to Add an Announcement Bar to Shopify: Other Ways
Log in to Your Shopify Admin Panel
- Go to your Shopify dashboard and select the store you want to edit.
Access the Theme Editor
- Navigate to Online Store > Themes > Customize.
Enable the Announcement Bar
- In the theme editor, locate the Header Section settings.
- Enable the announcement bar feature if available.
Customize the Announcement
- Add your message, such as:
- “Free Shipping on Orders Over $50!”
- Adjust text alignment, font size, and background color to match your branding.
Save and Publish
- Save your changes and preview the store to confirm the bar is visible.
Best Practices for Announcement Bars
Using an announcement bar effectively can help your Shopify store highlight key messages, promote offers, and guide visitors without overwhelming them.
Here are the best practices to follow when setting up your announcement bar:
1. Keep Messages Clear and Short
Your announcement bar should convey the message within seconds. Use plain, direct language and limit your copy to 10–15 words.
Examples like “Free shipping on orders over $50” or “Flash sale ends at midnight” are clear and action-driven.
If your bar is too wordy, users may ignore it or find it overwhelming. The goal is to deliver quick value with zero confusion.
Tip: Use sentence case for readability and avoid excessive punctuation or emojis unless they align with your brand tone.
2. Use Strong and Direct Calls to Action
A strong CTA helps guide the visitor to take the next step. Make your CTA highly visible and actionable.
Use language like “Shop Now,” “Sign Up & Save,” or “Browse New Arrivals.” Avoid vague terms such as “Click Here.”
Your CTA should always lead to a clear and relevant destination, such as a product collection or a signup form.
Bonus Tip: Buttons outperform plain text links, especially on mobile. Choose one strong CTA per message and ensure it stands out with contrast and spacing.
3. Match the Bar with Your Store’s Look
The announcement bar should visually blend into your site’s design without disappearing.
Match the background, text, and button colors with your brand’s primary palette.
Choose fonts that are consistent with the rest of your store for a seamless experience.
The goal is to make the bar feel like part of your storefront, not an afterthought.
Pro Tip: A dark bar may pop and increase visibility if your brand uses light colors. But avoid clashing hues that could hurt readability.
4. Keep It Fresh and Updated
Outdated information can damage trust. If your announcement bar mentions an expired promo or old policies, it creates confusion and frustration.
Update your message regularly—weekly if possible—or create a rotation schedule for ongoing promos.
Sync bar content with active campaigns, restocks, seasonal messages, and special events.
Advanced Strategy: Use dynamic content that updates automatically based on product availability or campaign time frames using apps or custom code.
5. Optimize for Mobile and All Devices
Mobile shopping now accounts for over 50% of eCommerce traffic.
Your announcement bar should be fully responsive and optimized for all screen sizes.
Avoid long text that wraps poorly on small devices. Ensure buttons are easy to tap and that content doesn’t overlap with the menu or logo.
Test checklist:
- Check bar visibility on all major devices and browsers
- Verify that the font size is readable on smartphones
- Ensure touch targets are not too close together
6. Focus on One Message at a Time
Don’t try to do too much with one announcement bar. A single, focused message is far more effective than a bar overloaded with multiple offers.
If you need to share several announcements, use rotating bars or stack multiple bars using an app.
Each bar should have its purpose and CTA.
Example: Instead of “Free shipping + 10% off + New arrivals,” try separating them into two rotating messages.
7. Use Targeting and Smart Timing
The same message may not be relevant to every visitor. Use apps or scripts to customize your bar for different audiences.
For instance:
- Show a welcome discount bar only to first-time visitors
- Display local shipping info based on the visitor’s location
- Use different messages for desktop vs. mobile users
Scheduling Tip: To create timely and relevant interactions, schedule bars to go live only during flash sales, launches, or weekends.
8. A/B Test Your Announcement Bars
Try different versions of your message, CTA, and color scheme to see what works best. Small changes like “Buy Now” vs “Shop Now” or changing the color from red to green can impact performance.
Use Shopify apps with A/B testing features or Google Optimize to compare results.
- Metrics to track:
- Click-through rate
- Conversion rate after bar click
- Bounce rate
9. Combine with Other Tools Wisely
Announcement bars work great, but should not compete with other UI elements like pop-ups or live chat widgets.
If you’re using pop-ups for email collection, consider using the bar for shipping info or promotions.
Stagger your tools so users aren’t overwhelmed with too much information at once.
Pro Tip: Avoid stacking multiple attention-grabbing tools above the fold. Your announcement bar should complement—not distract from—the customer journey.
10. Test Across Themes and Pages
Before publishing your announcement bar sitewide, preview it across various page types—home, collections, product pages, checkout, and mobile views.
Sometimes the bar might push other elements down, hide navigation, or interfere with interactive sections.
Quick QA:
- Check for visibility on sticky headers
- Ensure no overlap with banners or welcome messages
- Verify it doesn’t slow down your page speed
Also see: 9 Killer announcement bar examples
Common Mistakes to Avoid
Keep the announcement short and easy to read.
Ensure the bar displays properly on smartphones and tablets.
Regularly update or remove expired announcements.
Include actionable links or buttons to engage users.
Ensure the announcement bar matches your store’s overall theme.
Conclusion
Adding an announcement bar to your Shopify store is a simple yet powerful way to engage customers and communicate key messages.
Whether you use Shopify’s built-in tools, custom code, or a third-party app, you can create an effective and visually appealing announcement bar tailored to your needs.
Follow this guide to enhance your store’s user experience and boost conversions today!