
An announcement bar is a highly effective way to share important updates, promotions, or news with your PrestaShop store visitors. This non-intrusive tool ensures key information gets maximum visibility, whether it’s a sale, shipping offer, or event announcement.
With PrestaShop’s robust flexibility, you can add an announcement bar using modules, customization, or simple code. This guide will show you how to implement an announcement bar in PrestaShop and share tips to optimize its performance for your store.
Types of Announcement Bars
PrestaShop announcement bars can serve various purposes:
Promotional Bars
- Showcase discounts and deals to boost sales.
- Example: “Get 15% off all orders—Use Code: SAVE15.”
Shipping Announcements
- Highlight free shipping or delivery promotions.
- Example: “Free shipping on orders over $50!”
Urgency Bars
- Create urgency with countdowns or time-sensitive deals.
- Example: “Flash Sale! Ends in 2 hours.”
Event Announcements
- Announce webinars, product launches, or upcoming events.
- Example: “New Collection Launches This Friday—Don’t Miss Out!”
Policy Updates
- Share critical updates, such as return policies or service changes.
- Example: “Extended Holiday Returns Available Until January 31st.”
Add Announcement Bar to PrestaShop
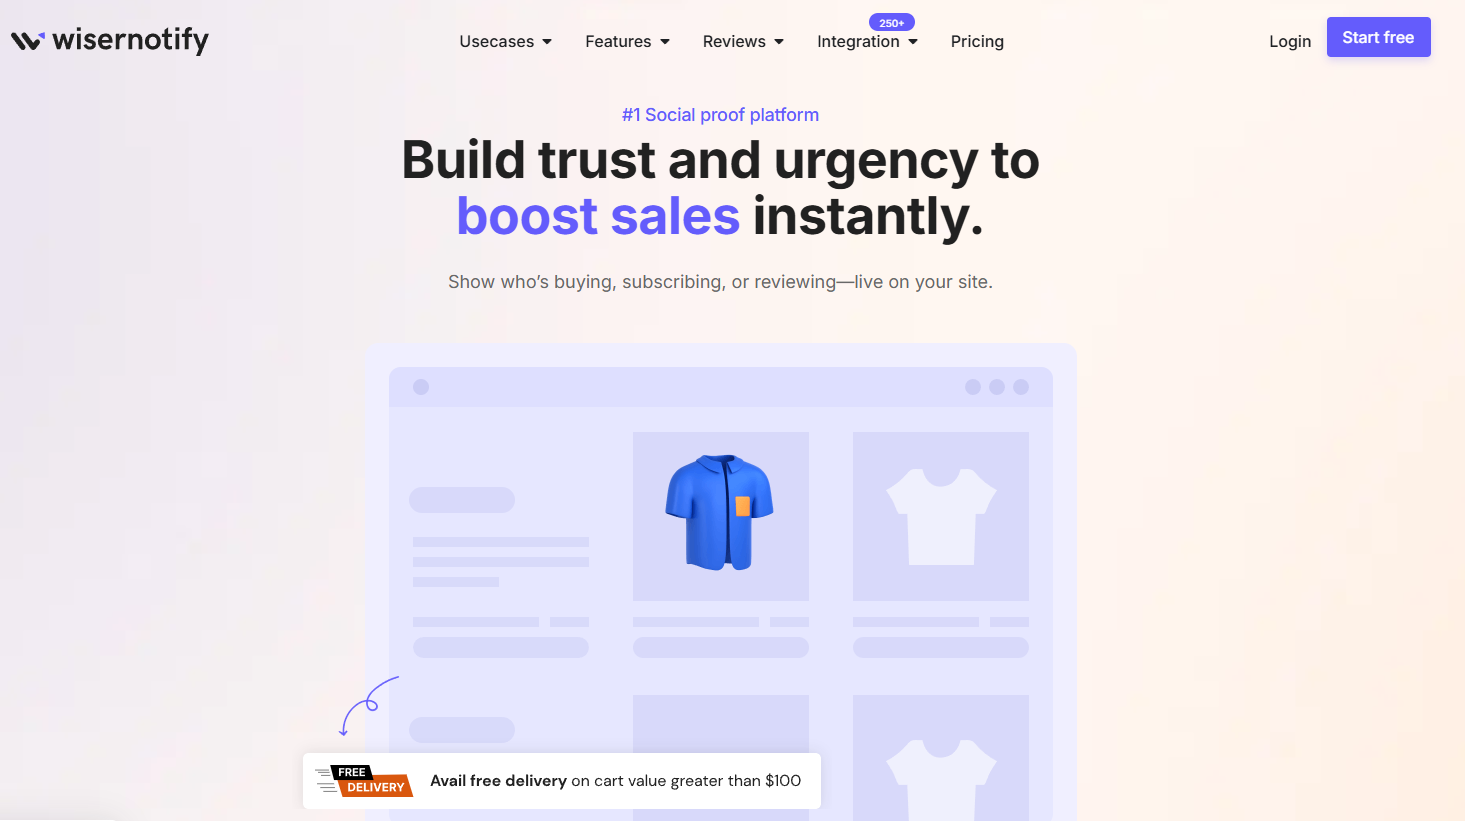
Adding an announcement bar to your PrestaShop website is incredibly easy and requires no coding knowledge. Many platforms offer plugins and tools with simple drag-and-drop interfaces to create and customize announcement bars effortlessly. Create Announcement Bars the Easy Way with WiserNotify.
Using WiserNotify, you can quickly add an announcement bar to your PrestaShop website to grab visitors’ attention and share essential updates, promotions, or calls to action.
With advanced features like A/B testing and analytics, WiserNotify allows you to create visually engaging and highly targeted announcement bars that boost user engagement and drive conversions. Key features include:
Type of Widgets:
- Anncoment Bar Widgets

- Recent Activity Notifications
- Reviews and Ratings Widgets
- Countdown Timer Widgets
- Form Submission Notifications
- Inline Widgets
- Exit-Intent Pop-Ups
- Live Visitor Count Widgets

Customizable Design
- Adjust colors, fonts, and styles to align with your brand.
Real-Time Updates
- Automatically display live or dynamic data like visitor counts or recent
activities.
Targeted Messaging
- Personalize bars for specific audiences or user segments.
Urgency and Scarcity Elements
- Include countdown timers or stock alerts to drive quick action.
A/B Testing
- Experiment with different designs and messages to optimize performance.
Multi-Language Support
- Customize announcement bars in various languages for global reach.
Behavioral Triggers
- Show bars based on user behavior like exit intent or time spent on a page.
Compliance-Friendly
- Includes options for GDPR and cookie consent notifications.
Integration with Social Proof Widgets
- Combine with social proof notifications to amplify trust and engagement.
Adding an announcement bar to your site with WiserNotify is seamless. Sign up for a free plan to explore its features, then log in to your dashboard. Add your site to generate a unique pixel code for integration.
To add an announcement bar to your website, create a widget in WiserNotify. Follow these straightforward steps.
1. Create an Announcement Bar
- Log in to the WiserNotify dashboard.
- Navigate to the Create Notification section and select the Announcement Bar template.

- Customize the design by:
- Adding a compelling message such as “Exclusive Discount! Limited Time Only.”
- Choosing the appropriate font, colors, and background to align with your branding.
- Including a clear Call-to-Action (CTA) button like “Shop Now” or “Learn More.”
- Preview the design to ensure it matches your preferences.
- Save the widget design and press Next.
2. Set Display Rules
- Configure display settings, such as showing the bar on specific pages or targeting users based on location or behavior.
- Schedule the announcement bar for a particular timeframe if needed.
Here’s a real-life example of how an announcement bar will look on a website.

3. Preview and Activate
- Preview the announcement bar to ensure it looks and functions correctly.
- Publish the bar to make it live on your website.
Watch the video below where we guide you through each step visually. This video will help you set up your announcement bar quickly, ensuring you don’t miss any important details!
Steps to Install WiserNotify on PrestaShop
- Log in to your WiserNotify dashboard. Start with the free plan to explore the platform’s features.
- Add your PrestaShop site, and copy the unique pixel code provided.
- Log in to your PrestaShop admin panel.
- Navigate to Plugins > Add New and search for “WiserNotify.”
- Install and activate the plugin.
- Paste the copied pixel code into the WiserNotify plugin settings.
Using WiserNotify, you can easily create and manage announcement bars on your PrestaShop website. This ensures that your key messages reach your audience effectively and drive the desired actions.
How to Add an Announcement Bar to PrestaShop Other Ways
The easiest way to add an announcement bar to your store is by using a PrestaShop module.
- Choose an Announcement Bar Module
- Visit the PrestaShop Addons Marketplace and search for modules like Notification Bar, Promo Bar, or Header Banner Pro.
- Install the Module
- Download the module and log in to your PrestaShop admin panel.
- Navigate to Modules > Module Manager > Upload a Module to upload and install the file.
- Configure the Announcement Bar
- Go to the module’s settings and customize the bar:
- Add your message: “Summer Sale! Enjoy 20% off sitewide.”
- Adjust fonts, colors, and alignment to match your branding.
- Include a call-to-action (CTA) button, such as “Shop Now.”
- Go to the module’s settings and customize the bar:
- Set Display Rules
- Specify where the announcement bar will appear, such as on the homepage or across all pages.
- Save and Activate
- Preview your changes and activate the announcement bar.
Best Places to Display an Announcement Bar
Top of the Homepage
- Ensure maximum visibility for promotions or key updates.
Product Pages
- Highlight category-specific or product-related offers.
Cart and Checkout Pages
- Reinforce urgency or shipping promotions to reduce cart abandonment.
Mobile Views
- Optimize the bar for smaller screens to ensure usability across devices.
Landing Pages
- Use announcement bars for campaign-specific messaging.
Common Mistakes to Avoid
- Keep the bar simple and visually appealing without overwhelming visitors.
- Ensure the announcement bar looks and works seamlessly on mobile devices.
- Regularly update or remove expired promotions to maintain credibility.
- Avoid multiple announcement bars simultaneously to prevent distracting visitors.
- Always include a direct call-to-action to guide users toward the desired outcome.
Conclusion
Adding an announcement bar to your PrestaShop store is a straightforward way to engage your audience and drive conversions. Whether you use a module, theme customization, or custom code, you can create an announcement bar that aligns with your branding and marketing objectives.
By following the steps outlined in this guide and adopting best practices, you can maximize the impact of your announcement bar and enhance your store’s performance. Get started today and see the difference it makes!
Related Post
