If you want to add an interactive Social media followers widget-type notification to your website, WiserNotify makes it easy to set up and customize widget notifications to enhance engagement and drive action.
Follow this step-by-step guide to design, configure, and publish your widget-type notification.
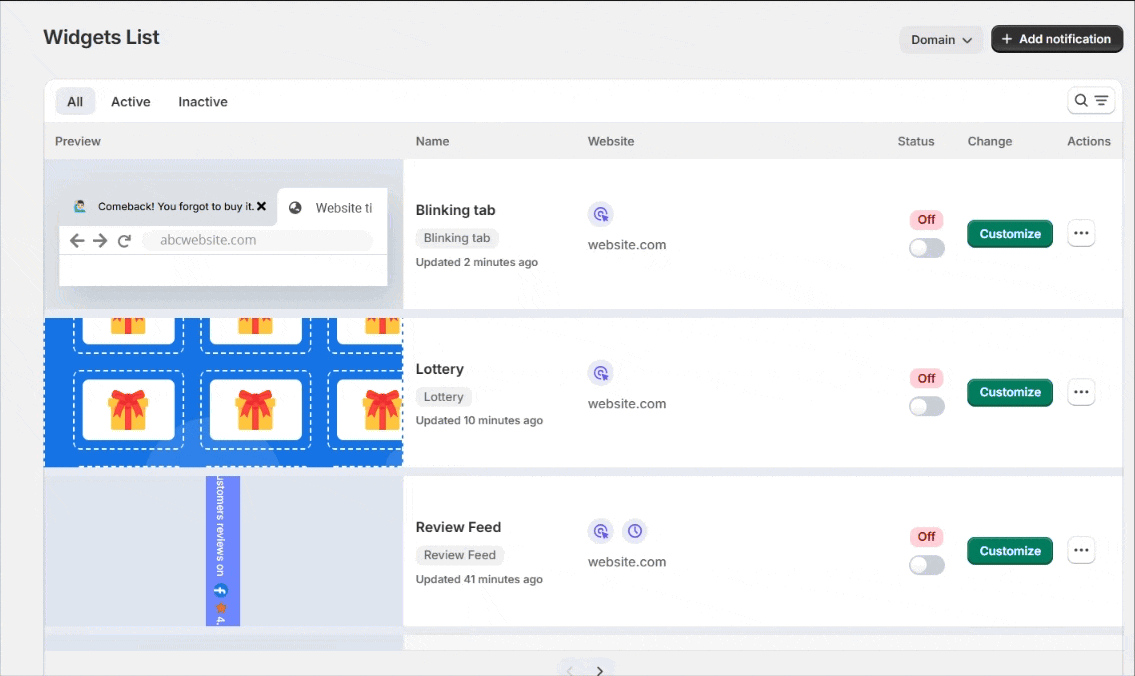
Step 1: Create a Widget-Type Notification
- Log in to your WiserNotify dashboard.
- Navigate to the Social Proof section and select Social Media Followers from the widget options.
- Click the “Add” button under the Social Media Followers widget to begin
Step 2: Customize Your Notification
In the Design Section, customize the notification to align with your brand and preferences:
- Add List:
Add a list of social media accounts or followers that you want to showcase. You can manually input data or integrate it from platforms like Facebook, Twitter, Instagram, or other social media tools. - Click Actions:
-
- Enable a clickable button (e.g., “Buy Now”) and define its link action (e.g., redirect to a dynamic URL).
- Customize the button’s font, weight, colors, and more
-
- Position & Animation:
- Select animation styles for mobile (e.g., Fade) and desktop (e.g., Slide).
- Position the notification on your website (e.g., Left Bottom or Center).
- Style:
- Adjust the shape, color scheme, and size for desktop and mobile.
- Add shadow effects to make the notification visually appealing.
- Data Control:
- Choose the duration for displaying notifications and define the number of records to display.
- Skip seen data to avoid repeating the same notification for users.
- Timing Control:
- Set delays for showing notifications (e.g., initial delay of 4 seconds, display time of 8 seconds).
- Randomize delays for more dynamic notifications.
Here, you can all options in the designs section in detail.
Step 3: Configure Display Settings & Publish

Under the Display Section, define where and how your notification will appear:
- Select Pages: Choose specific pages or display notifications across all pages.
- Multiple Websites: Configure settings for notifications on multiple domains.
- Advanced Targeting: Target users based on visitor behavior, location, UTM parameters, cookies, or referrer.
Here, you can all options in the display section in detail.
Click “Save” and then “Publish” your notification.
Now, Visit your site.