If you want to display limited stock activities on your website with product names and details, WiserNotify makes it easy to set up and customize notifications to drive trust and urgency.
Follow this step-by-step guide to create and publish your notification.
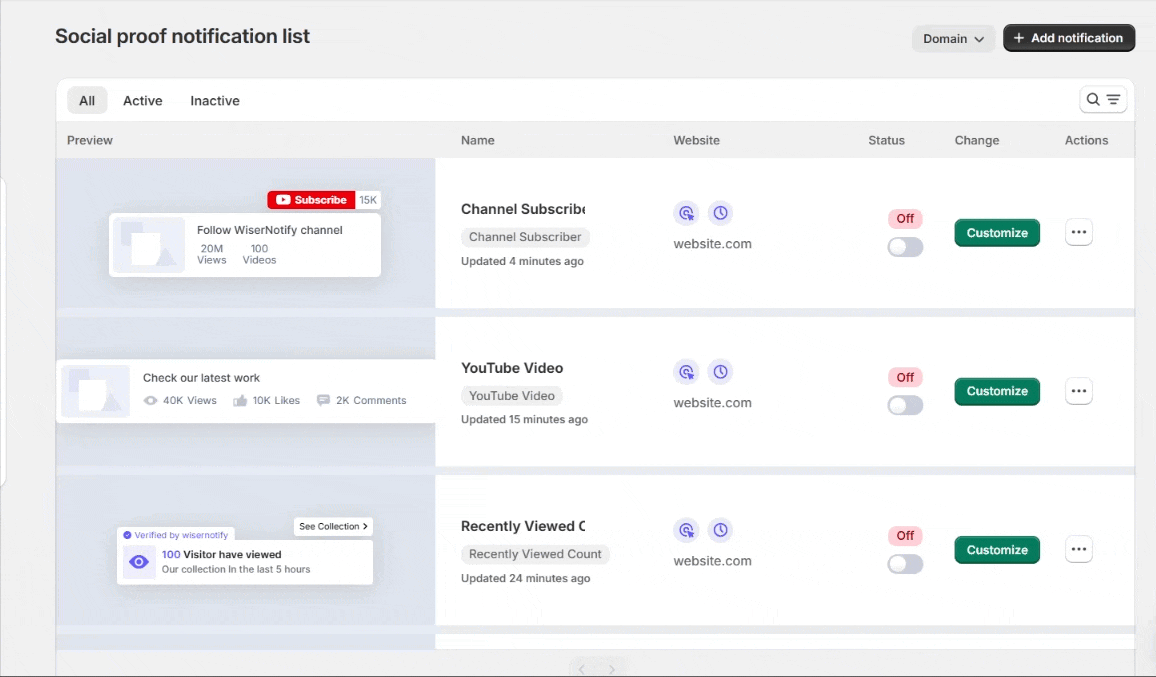
Step 1: Create a Notification
- Log in to your WiserNotify dashboard.
- Navigate to the Social Proof section and select Limited Stock from the notification options.
- Click the “Add” button under the limited stock widget to begin
Step 2: Customize Your Notification
In the Design Section, customize the notification to align with your brand and preferences:
- Text Editor:
- Modify the text content, such as product details or location.
- Use dynamic placeholders like
{Name},{Location}, and{Product}.
- Position & Animation:
- Select animation styles for mobile (e.g., Fade) and desktop (e.g., Slide).
- Position the notification on your website (e.g., Left Bottom or Center).
- Style:
-
- Adjust the shape, color scheme, and size for desktop and mobile.
- Add shadow effects to make the notification visually appealing.
- Embed Code:
- Add custom HTML or CSS if needed.
- Data Control:
- Choose the duration for displaying notifications and define the number of records to display.
- Skip seen data to avoid repeating the same notification for users.
Here, you can all option of designs section in details.
Step 3: Configure Display Settings & Publish

- Select Pages to Display Notifications On:
- All Pages: The notification will display across all pages of your website.
- Pages When URL Condition Matches:
- Allows you to target specific pages based on URL conditions.
- For example, show notifications only on pages containing
/checkoutor/product. - The Use Absolute URLs checkbox ensures exact matching for full URLs rather than partial strings.
- Display Notifications on Multiple Websites:
- This option allows you to show notifications on more than one domain or website.
- For example, if you manage multiple sites like
website.comandexample.com, you can configure this to apply the notification across all selected domains.
- Advanced Targeting Options:
- Offers additional control over who sees the notifications. You can target based on:
- Visitor Attributes: Specific visitors based on their behavior or characteristics.
- Country: Limit visibility to visitors from certain geographic regions.
- UTMs: Target based on UTM parameters in the URL (useful for marketing campaigns).
- Cookies: Use cookies to personalize notifications for returning users or those who have taken specific actions.
- Referrers: Show notifications to visitors who arrive from specific referrer websites or links.
- Offers additional control over who sees the notifications. You can target based on:
- Set Custom Stock:
- Configure notifications to reflect inventory levels for products.
- Example: Select a product and set “Limited Stock” notifications to indicate how many items are left (e.g., “Only 3 items left!”).
- This is especially useful for eCommerce platforms to create urgency.
Here, you can all option of the display section in details.
Click “Save” and then “Publish” your notification.
Now, Visit your site.