This guide will walk you through:
- Capturing Lead & Sales Activities: Connect Mixpanel with WiserNotify using a webhook to fetch real-time lead and Sales data.
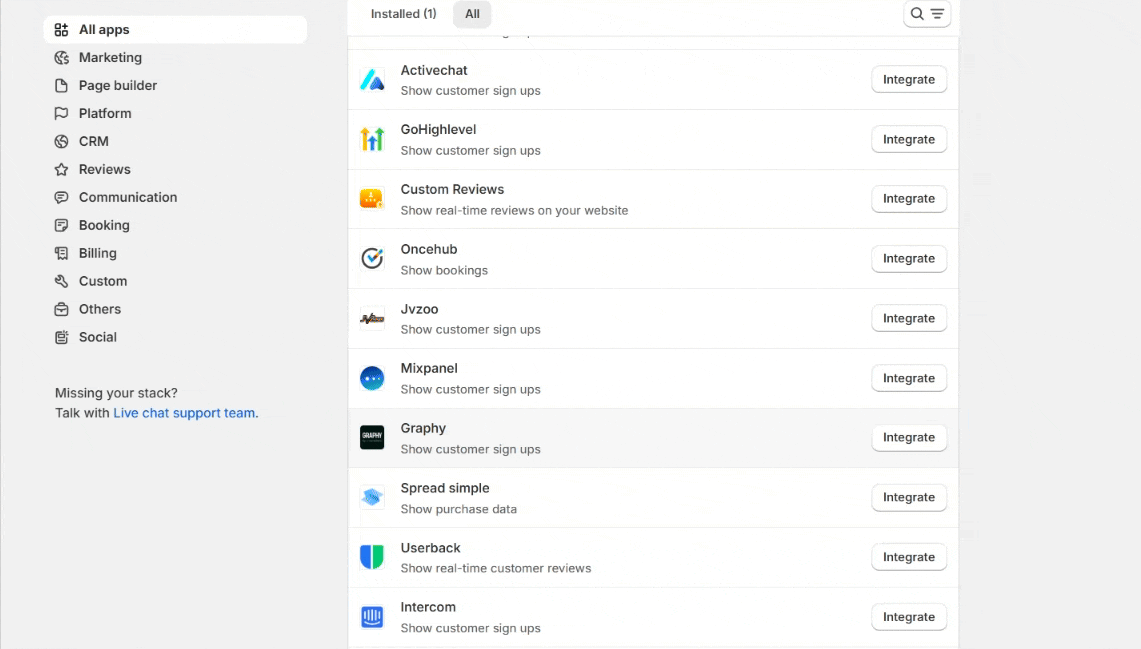
Add Webhook Integration to Connect Mixpanel to pull the events Lead & Sales data
Step 1: Get the Webhook URL from WiserNotify
– Go to WiserNotify > Mixpanel Integration.
– Click on the Integrate button inside the Integration box.
1. Enter Connection Name
2. Click on the Create button.
3. Click on the copy button.
Step 2: Configure Webhook in Mixpanel
To create a new webhook campaign, navigate to the Messages report, and select Webhook from the “Create new message” dropdown.
1. Enter WiserNotify Webhook URL.

2. Click on USERS IN and Click on All Users.

Step 4 Scheduling your Webhook Campaign Once you’ve targeted your users, you just have to schedule the webhook campaign. There are two options for scheduling campaigns:
- ASAP Messages: These messages go out to individual users as soon as they match the targeting criteria. It’s common for users to go from “not matching” to “matching” – many messages include a time-based requirement such as “the last login was greater than two weeks ago”, or one based on other profile properties that may change.
- Scheduled Messages: These messages can be set to go out at a specified time, day of week, and interval. For example, you could set your message to go out at 9 am PST every Wednesday. When the message runs, it finds all the users who match the criteria you have defined and sends it to them.
Please test by adding new data & visit the WiserNotify- Dashboard Data page. Here, You can see all the captured/ received data with its source name.