Browse categories
How to connect WiserNotify with Hubspot?
This guide will walk you through:
- Displaying Notifications: Add the WiserNotify pixel code to your Hubspot pages.
- Capturing Sales & Lead Activities: Connect Hubspot with WiserNotify using hubspot app.
Install WiserNotify Pixel Code to Hubspot pages
Step 1: Get your wisernotify pixel code
- Log in to your WiserNotify account.
- Navigate to the Install Pixel page.
- Copy your Pixel Code.

Step 2: Add the Pixel Code to Hubspot
Login with Hubspot account,
- Login into your hubspot account > Go to Setting > Tools > Pages > Templates
![]()
- Paste the wisernotify pixel code
Note: If you want to capture the data from hubspot forms, then you need to paste below below extra code.
<script>
onFormSubmit: function ($form) {
let email = “”, uname = “”, fname = “”, lname = “”;
$form.querySelectorAll(“input”).forEach((input) => {
const fieldValue = input.value?.trim();
const fieldType = input.type?.toLowerCase();
const fieldName = input.name?.toLowerCase() || “”;
if (fieldType === “email” || fieldName.includes(“email”)) email = fieldValue;
else if (fieldName.includes(“username”)) uname = fieldValue;
else if (fieldName.includes(“first”)) fname = fieldValue;
else if (fieldName.includes(“last”)) lname = fieldValue;
});
fnSendPostDataThoughEventListener(uname, fname, lname, email);
}
</script>
Connect HubSpot with WiserNotify
- Go to WiserNotify > Hubspot Integration.
- Click on the Integrate button inside the Integration box.
- Click on Connect to Hubspot
- Choose the account you want to install the Wiser Notify HubSpot app.
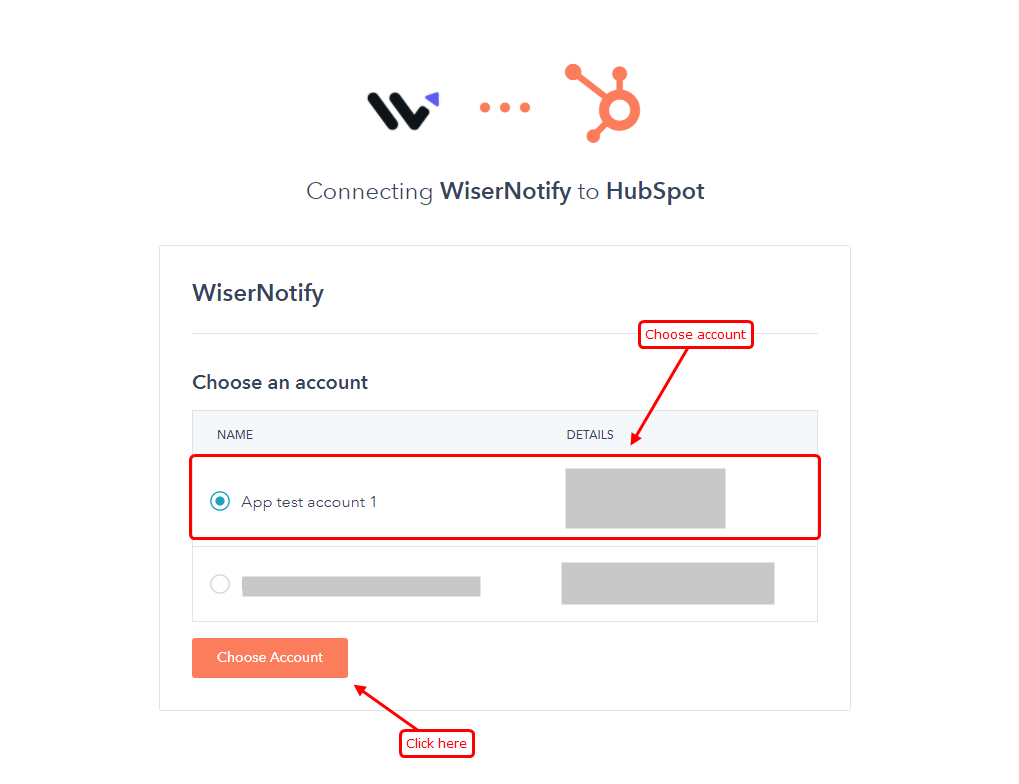
- Click on the Connect app button.
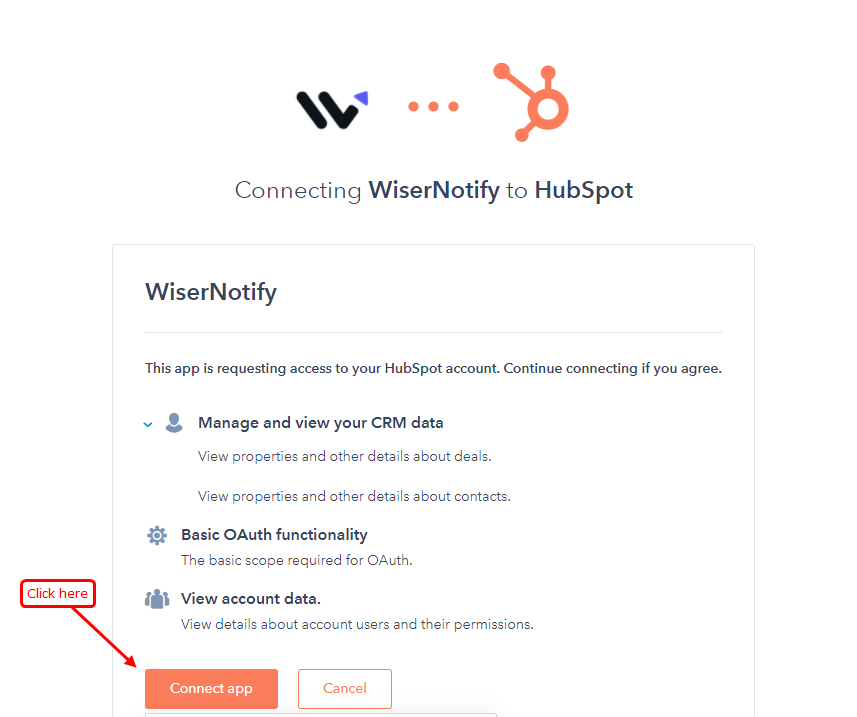
Once successfully connected, it receives the last 30 sales & lead data, which you can use for sales activities or lead activities.
Please test by adding new data & visit the WiserNotify- Dashboard Data page. Here, you can see all the captured/received data with its source name.
Still stuck? A human will do it with you
Live chat from your dashboard — real answers in minutes, every day of the year.