This guide will walk you through:
- Capturing Lead Activities: Connect AWeber with WiserNotify using a webhook to fetch real-time lead data.
Add Webhook Integration to Connect AWeber to pull the events sales & lead data
Step 1: Get the Webhook URL from WiserNotify
- Go to WiserNotify > WisePops Integration.
- Click on the Integrate button inside the Integration box.
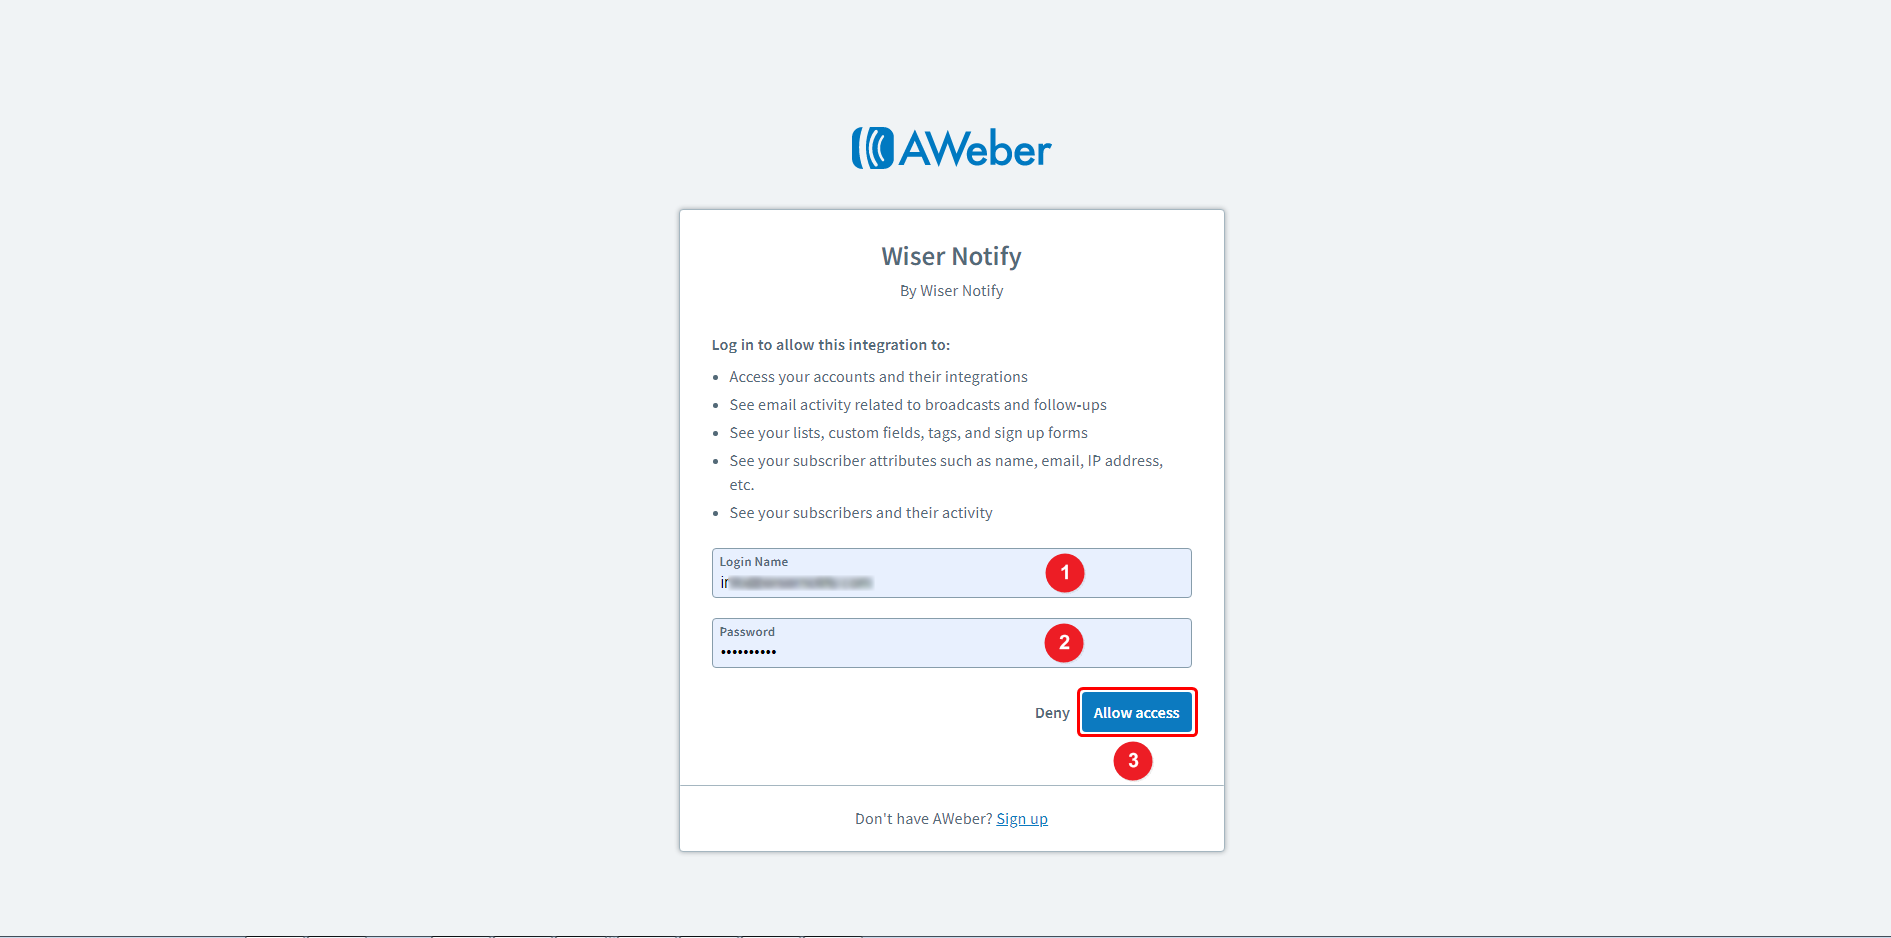
- Click on Login with AWeber
1. Enter the Login name.
2. Enter the password.
3. Click on the allow access button.
You will be redirected to another page, generate the Auth code, click on the copy code button, and go back to the previous tab.
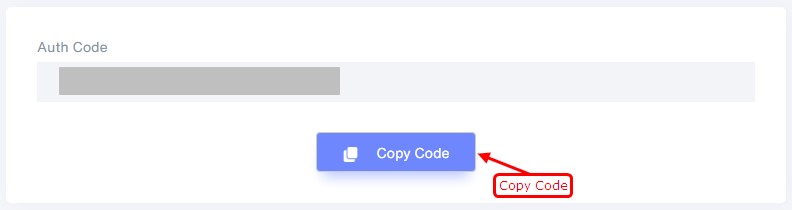
1. Paste the copied code here.
2. Enter the Connection name.
3. Click on the Create button.
4. Click on the copy button.

Step 2: Configure Webhook in AWeber
- Go to installed apps in your AWeber account, and click here.
- click on the WiserNotify app box.
 – Paste the copied WiserNotify webhook URL and click on Save.

- Your account is created, now click on the Add list button.
- Select your AWeber list from the dropdown.
Please test by adding new data & visit the WiserNotify – Dashboard Data page. Here, You can see all the captured/ received data with its source name.