Have you ever envisioned bringing the dynamic conversations of Twitter directly to your website? Today, we’re about to unveil the magic behind seamlessly integrating Twitter posts into your web space. This isn’t just about trends; it’s about enhancing your website’s engagement, creating a digital dialogue, and keeping your platform dynamic. In this blog, we’ll introduce you to the ideal method for this – WiserNotify.
Why Incorporate Twitter Posts on Your Website
Integrating Twitter posts isn’t just a social media trend; it’s a strategic move to boost your website’s engagement. It’s akin to opening a window to the buzzing world of Twitter right on your website, injecting vitality, fostering trust, and encouraging meaningful user interaction.
- Elevate your website’s visual appeal.
- Cultivate trust with authentic user-generated content.
- Boost user interaction, maintaining a dynamic and engaging site.
Build trust & FOMO
Highlight real-time activities like reviews, sales & sign-ups.
Why WiserNotify Stands Out for Twitter Integration
When it comes to seamlessly integrating Twitter posts, WiserNotify takes the spotlight. Why settle for the ordinary when you can have the extraordinary? WiserNotify brings forth distinctive features and advantages that turn the integration process into a breeze.
Benefits of WiserNotify for Twitter Integration
- Effortless integration with Twitter posts.
- Enhanced user experience.
- Success stories from satisfied clients.
- Zero impact on your website’s speed.
- Kickstart with a free plan.
- Compatible with any type of website.
- Effective methods to showcase Twitter posts on your website.
- Automatic retrieval of Twitter posts.
- Real-time live chat support.
Finding Best Social Proof App For Your Business?
Try WiserNotify and build your website’s trust and credibility.
How to Add Twitter Posts Using WiserNotify
Let’s embark on the journey of seamlessly adding Twitter posts to your website using WiserNotify. We’ll guide you through the process, ensuring it’s user-friendly and accessible for everyone.
Step 1: Install pixel code on your website. Paste it in your website’s <head></head> tag. It’s the best place to add pixel code.
![]()
Step 2: To add the Twitter feed on the website you need to add the “Social Wall”.

Step 3: Now find the “Twitter Feed” and click on the “Add Wall” button.

Step 4: Now connect the Twitter with the Social Wall.
Go to the Data Source tab and click on “Add integration”. Then select the “Twitter” option and log in to your Twitter account.
Click on “Add Integration”

Select “Twitter” Integration

Log in to the Twitter account

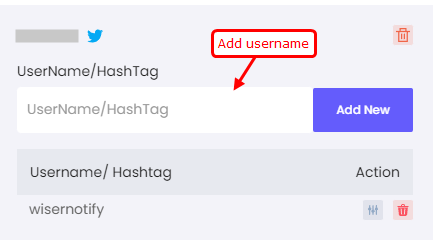
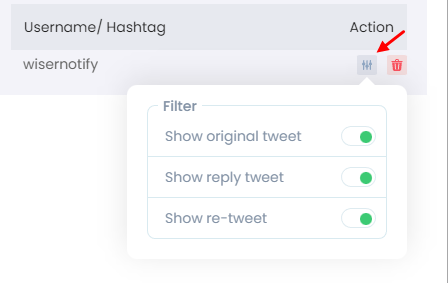
Step 5: After authentication add a Username or HashTag, and apply filter as per your choice.
Add Username or HashTag
Apply filters for posts
Step 6: Go back and select Twitter Post as a Data Source.

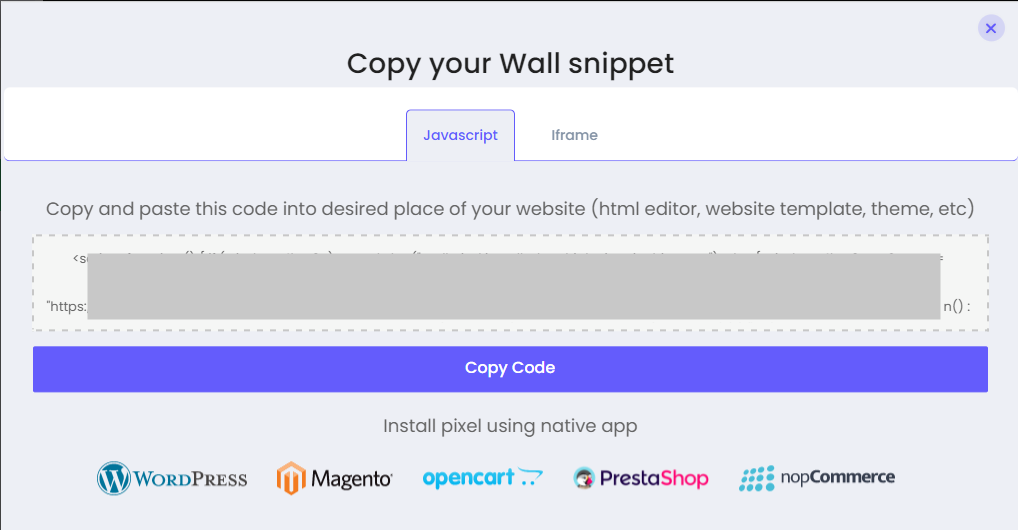
Step 7: Add your Widget Code to your website.
Copy the Widget code and paste it into your website HTML, on the page where you want to display the Social Wall.
Get your wall snippet code

Copy the Widget code
Conclusion
Integrating Twitter posts into your website breathes a new and exhilarating dimension into your online presence. WiserNotify is your go-to companion for this journey, offering simplicity, customization, and real-time updates. Seize this opportunity to elevate your website with WiserNotify.
This concludes the guide on adding Twitter posts to your website. Embrace the power of WiserNotify and create a dynamic online space with Twitter seamlessly woven into your web narrative.


