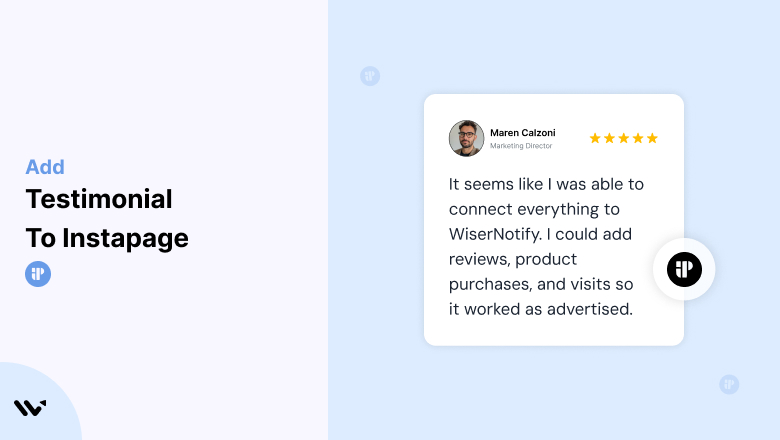

Instapage, a premier landing page platform, enables businesses to create highly optimized pages for lead generation, conversions, and customer engagement.
While Instapage’s tools ensure seamless design and functionality, trust remains a key factor in turning visitors into loyal customers.
Testimonials—real experiences from satisfied users—serve as the social proof needed to establish credibility and drive conversions.
This guide will explore the importance of testimonials for Instapage landing pages, how to incorporate them effectively, and strategies for optimizing their placement and design.
Why Add Testimonials to Instapage?
Build Trust and Credibility: Testimonials reassure potential customers that your product or service delivers results. Studies show that 88% of consumers trust testimonials as much as personal recommendations, making them an essential trust-building element on your Instapage landing pages.
Increase Conversion Rates: Strategically placed testimonials address visitor hesitations and reinforce confidence. Pages with testimonials can see conversion rates increase by up to 34%, making them indispensable for any Instapage campaign.
Highlight Unique Selling Points (USPs): Let your customers emphasize what makes your business stand out. For example, “Instapage helped us cut lead generation costs by 30%” communicates efficiency and value.
Engage Visitors: Testimonials, especially those with visuals or videos, capture attention and encourage users to stay on your page longer, increasing the likelihood of conversion.
Boost SEO: Keyword-rich testimonials contribute user-generated content to your landing pages, enhancing SEO rankings and attracting organic traffic.
Build trust & FOMO
Highlight real-time activities like reviews, sales & sign-ups.


How to Add Testimonials to Instapage

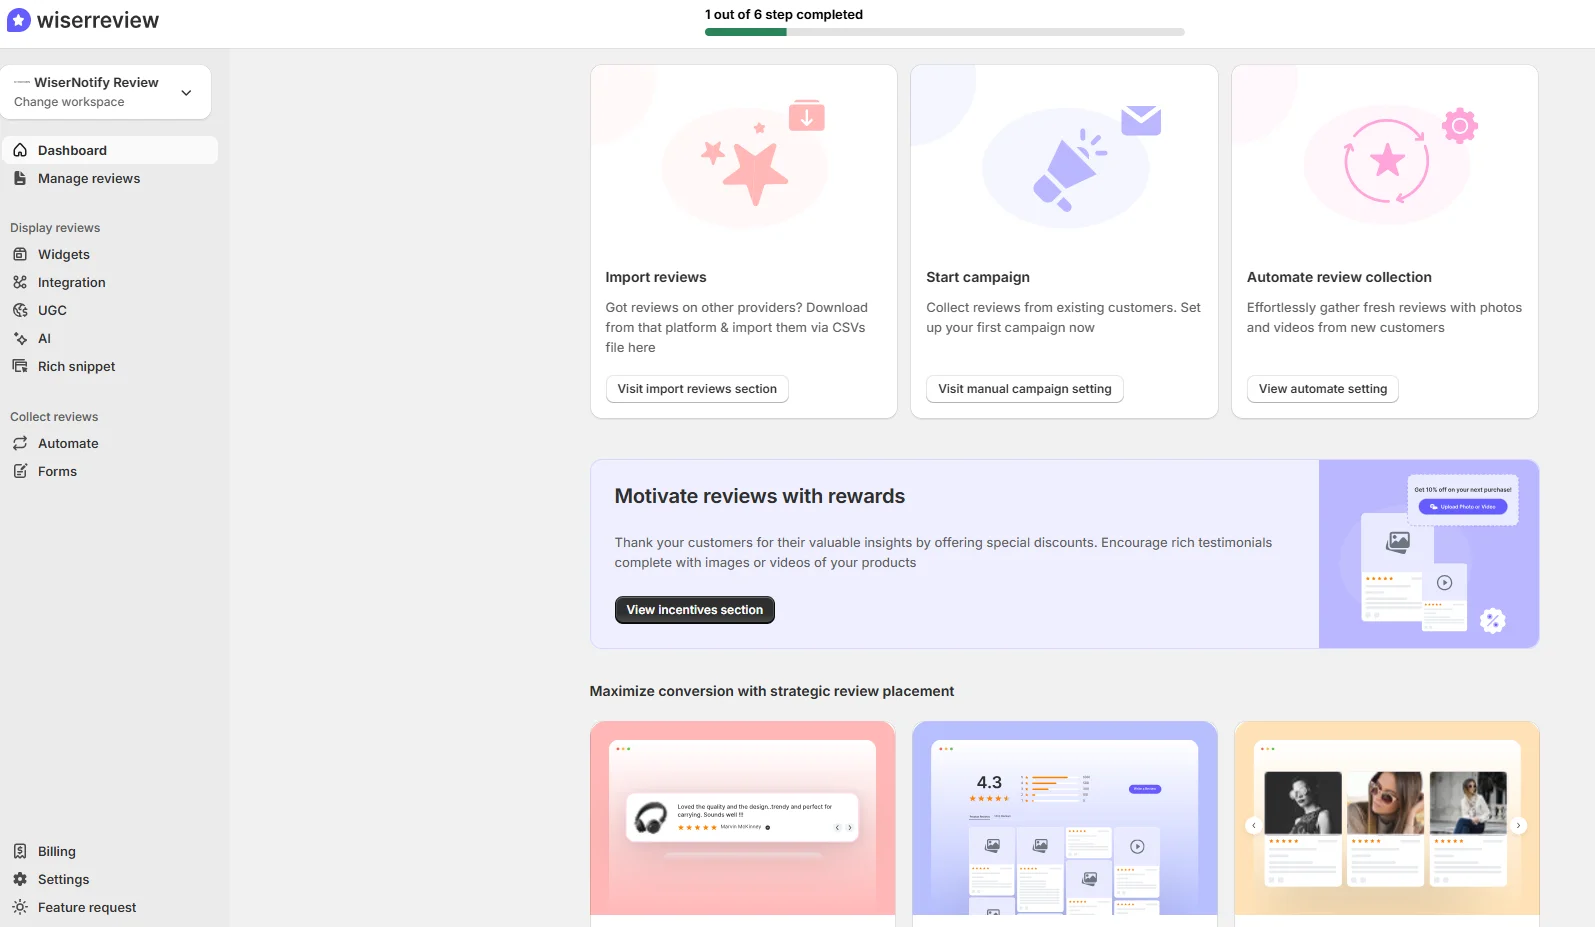


Step-by-Step Guide
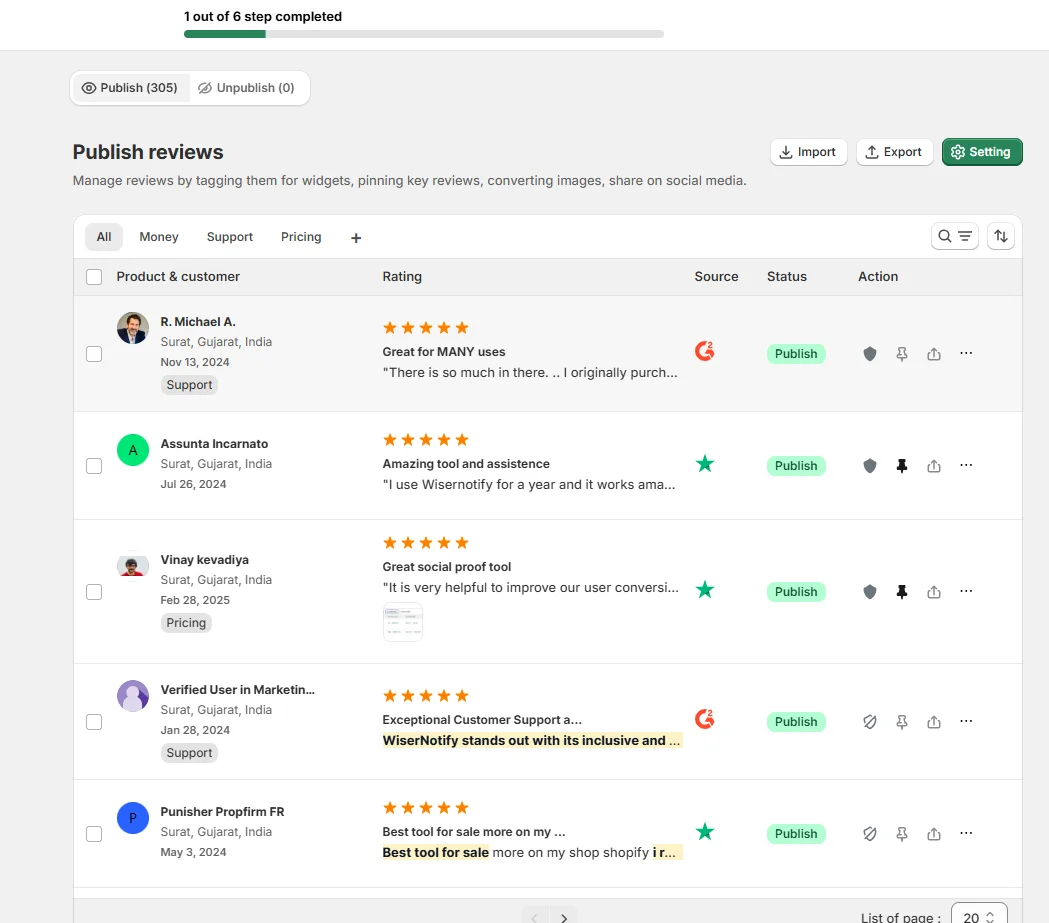
Collect Testimonials
- Request feedback from satisfied clients or customers. Focus on detailed responses highlighting specific benefits or outcomes.
Log in to Instapage
- Access your Instapage account and open the editor for the landing page where you want to add testimonials.
Insert a Testimonial Section
- Use Instapage’s drag-and-drop editor to add a pre-designed testimonial block or create a custom section with text and images.
- For multiple testimonials, use sliders or grids to organize the content effectively.
Input Testimonial Content
- Include the customer’s name, photo, and their review.
- Add context such as their role, company, or industry for enhanced authenticity.
Customize the Design
- Match the testimonial section’s style with your landing page’s branding by adjusting fonts, colors, and layout.
Preview and Publish
- Ensure the testimonial section displays correctly on all devices. Once satisfied, publish the updated landing page.
3 Testimonial Optimization Tips
Use Visuals for Impact: Add customer photos, company logos, or even video testimonials to boost engagement and authenticity.
Focus on Specific Results: Highlight measurable outcomes, such as “We saw a 50% increase in sales within a month of using their service” to make testimonials more compelling.
Refresh Regularly: Keep testimonials up-to-date by featuring recent success stories. This ensures the content remains relevant and credible.
Best Places to Show Testimonials on Instapage
Above the Fold
- Feature a powerful testimonial near the top of your landing page to immediately establish trust. For instance, “This platform transformed our lead generation strategy” creates a strong first impression.
Near Call-to-Action (CTA) Buttons
- Position testimonials close to CTAs like “Sign Up Now” or “Get Started Today.” A well-placed quote like, “This tool saved us hours of work each week” can reinforce decisions.
Pricing Section
- Include testimonials near pricing details to justify the cost and highlight ROI. Statements like, “Worth every penny—our conversions skyrocketed” can reassure hesitant buyers.
Product or Service Highlights
- Place testimonials near descriptions of specific features or services to validate their effectiveness. For example, include a review praising your platform’s ease of use next to a section on user-friendly features.
Footer
- Add a scrolling testimonial carousel to your landing page footer for visibility across all sections.
Other Ways to Add Testimonials to Instapage
Pop-Ups and Notifications
- Use pop-ups to display real-time testimonials. For example, show a recent customer’s positive feedback when a visitor lingers on a specific section of your page.
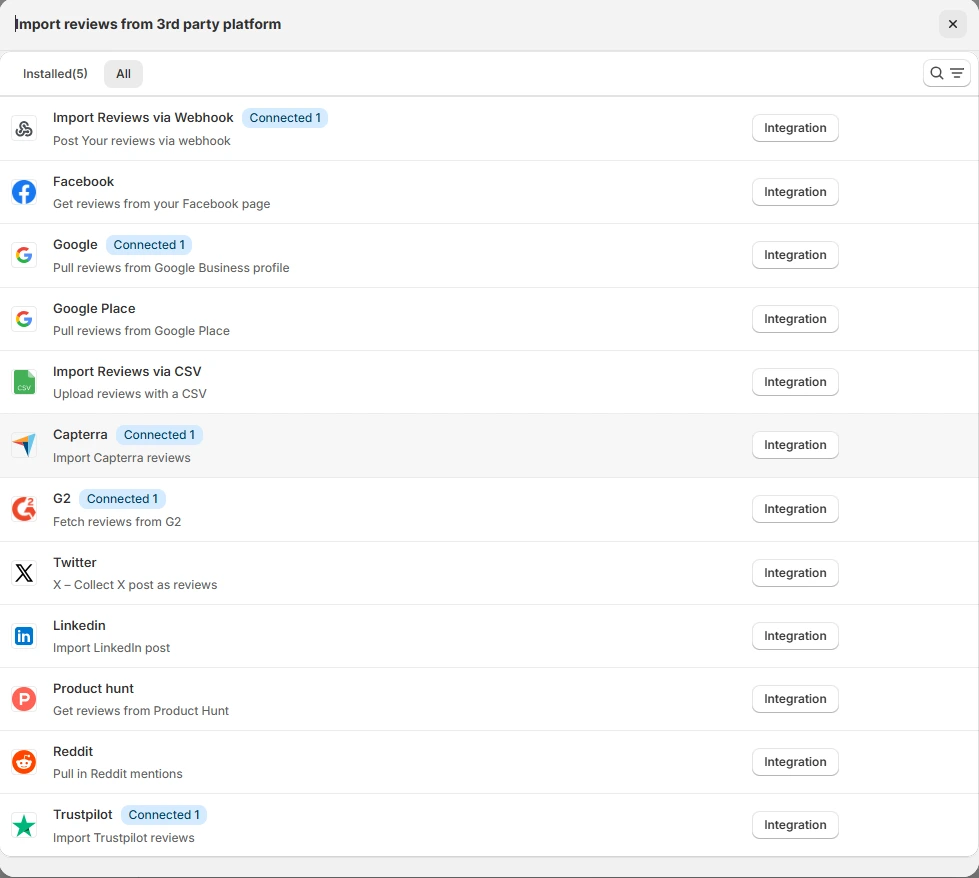
Embedded Social Media Reviews
- Include reviews from platforms like Twitter, LinkedIn, or Google directly on your Instapage landing pages for added credibility.
Email Campaigns
- Incorporate testimonials into your email marketing campaigns. Highlight success stories in follow-up emails to nurture leads and encourage conversions.
Video Testimonials
- Host video testimonials on platforms like YouTube or Vimeo and embed them on your landing pages for a highly engaging experience.
Case Studies
- Turn detailed testimonials into case studies. Publish these as downloadable PDFs or blog posts and link them to your landing pages.
3 Testimonial Mistakes on Instapage
Using Generic Feedback
- Avoid vague statements like “Great service!” Focus on testimonials that highlight specific benefits, pain points solved, or measurable results.
Overloading the Page
- Too many testimonials in one section can overwhelm visitors. Prioritize quality over quantity and place testimonials strategically throughout the page.
Ignoring Mobile Optimization
- Ensure testimonial sections are responsive. Poorly formatted testimonials on mobile devices can detract from user experience and lower engagement.
Wrap Up
Testimonials are a vital component of any successful Instapage landing page. By strategically placing authentic, impactful testimonials and keeping them updated, you can establish trust, enhance engagement, and drive conversions.
Ready to optimize your Instapage campaigns? Start collecting and showcasing testimonials today to turn visitors into loyal customers!
Related Posts:
- Add Testimonial to Google Site
- Add Testimonial to BigCartel
- Add Testimonial to Duda
