

HubSpot users often struggle to convert website visitors into leads or customers due to a lack of trust-building elements.
Without testimonials, potential customers may doubt your credibility, hesitate to engage, or abandon your site altogether.
Incorporating testimonials into your HubSpot website builds trust, boosts engagement, and drives conversions by showcasing real customer success stories.
Why Add Testimonials to Your HubSpot Website?
Testimonials are a powerful tool for HubSpot users, offering multiple benefits:
Boost Lead Generation: Testimonials create trust, which makes visitors more likely to fill out forms or sign up.
Enhance Conversions: Strategically placed testimonials can increase conversions by up to 34%.
Strengthen Brand Credibility: Showcase real customer experiences to build confidence in your services or products.
Optimize the Buyer’s Journey: Testimonials can nudge leads to progress through your marketing funnel.
Improve SEO Performance: User-generated content, such as testimonials, helps diversify keywords and increase organic search visibility.
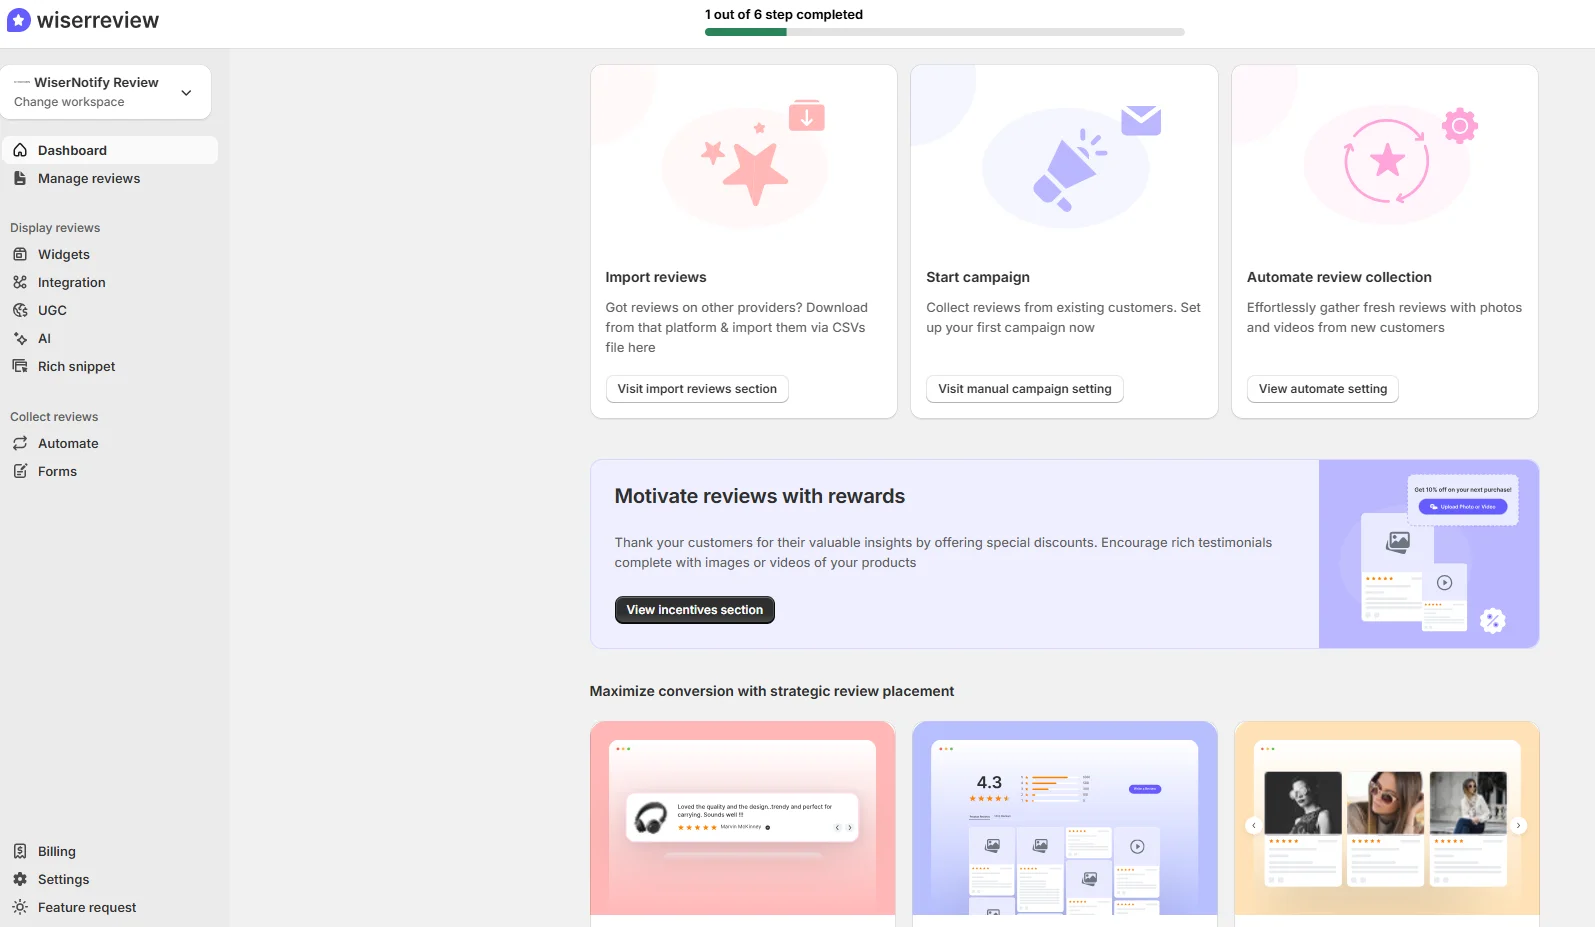
Build trust & FOMO
Highlight real-time activities like reviews, sales & sign-ups.


How to Add Testimonials to HubSpot


Embed Testimonials on HubSpot
1. Using HubSpot Modules
- Open the HubSpot Drag-and-Drop Editor.
- Add a “Rich Text” or “Testimonial” module to your page.
- Customize the testimonial section with customer quotes, photos, and logos.
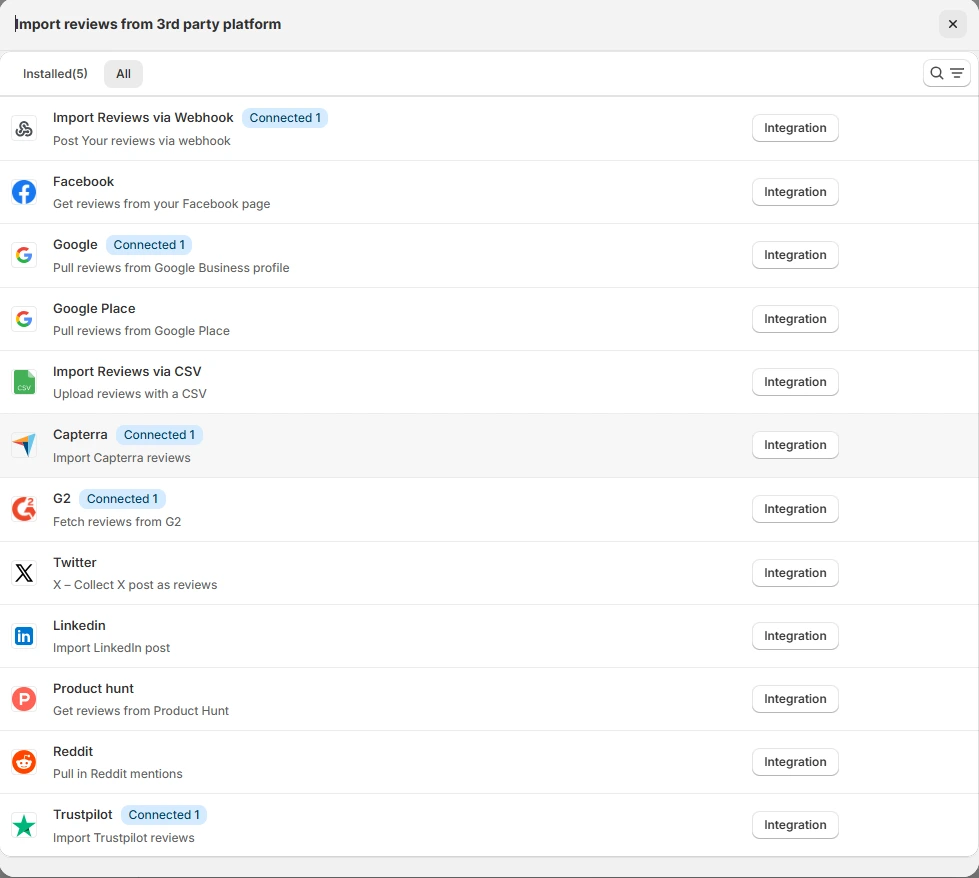
2. Integrate WiserNotify Widgets
- Copy the WiserNotify testimonial widget script.
- In HubSpot, go to Settings > Website Pages > Advanced Options and paste the script into the header or footer.
- Preview your page to ensure testimonials display correctly.
3. Add Video Testimonials
- Use the “Video” module to embed testimonials directly from platforms like YouTube or Vimeo.
- Position videos near CTAs for maximum impact.
4. Create a Dynamic Testimonial Slider
- Use HubSpot’s slider feature to display rotating testimonials, or embed third-party sliders using custom HTML.
5. Dedicated Testimonials Page
- Create a separate testimonials page using the HubSpot website builder to showcase customer reviews, case studies, and success stories.
3 Testimonial Optimization Tips for HubSpot
Use Testimonials That Address Common Concerns: Focus on reviews that tackle objections or pain points, such as “I was worried about the setup, but it was seamless.”
Highlight Measurable Results: Include testimonials that provide quantifiable outcomes, like “Increased lead generation by 40%.”
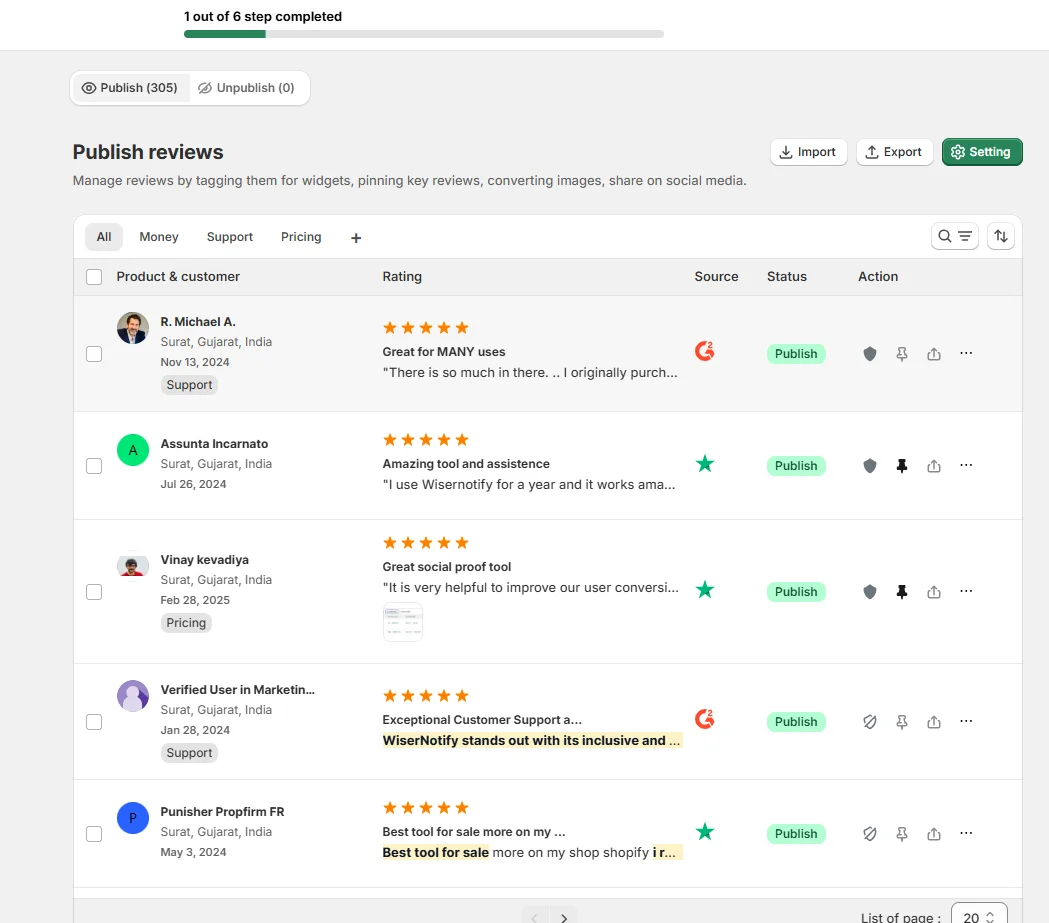
Incorporate Visual Elements: Add customer photos, company logos, or even emojis to make testimonials more engaging and relatable.
Best Places to Show Testimonials on HubSpot
Homepage
- Display testimonials prominently above the fold to build trust with first-time visitors.
Service or Product Pages
- Add testimonials relevant to the specific service or product to reinforce value and benefits.
Landing Pages
- Place testimonials near forms or CTAs to encourage sign-ups or lead submissions.
Blog Posts
Integrate testimonials into blog content to validate your expertise and reinforce trust.
Thank-You Pages
- Add testimonials about related products or services to encourage further engagement.
Other Ways to Add Testimonials to HubSpot
Social Proof Widgets
- Use WiserNotify to display real-time customer actions, like “Sarah just subscribed to our newsletter!”
Pop-Up Testimonials
- Use HubSpot’s pop-up forms to display dynamic testimonials at key moments, such as when a visitor scrolls or hovers over the exit button.
Email Campaign Integration
- Embed testimonials in HubSpot marketing emails to reinforce credibility and drive engagement.
Case Studies and Success Stories
- Feature detailed testimonials in dedicated case study sections to showcase in-depth customer results.
Personalized Testimonials for Smart Content
- Use HubSpot’s Smart Content feature to display relevant testimonials based on visitor behavior or demographics.
3 Testimonial Mistakes on HubSpot
Using Generic Testimonials
- Avoid vague statements like “Great service!” Focus on detailed testimonials that address specific benefits and results.
Overcrowding Your Pages
- Don’t overwhelm visitors with too many testimonials on a single page. Prioritize the most impactful ones and rotate them dynamically.
Neglecting Mobile Optimization
- Ensure testimonials look great on all devices, especially mobile, where a significant portion of traffic originates.
Wrap-Up
Adding testimonials to your HubSpot website is one of the easiest and most effective ways to build trust, boost engagement, and drive conversions. By strategically placing and optimizing testimonials, you can turn visitors into loyal customers while enhancing your overall marketing strategy.
Related Posts:
- Add Testimonial to Elementor
- Add Testimonial to Divi in minutes
- Add Testimonial to HTML Website
