
Beaver Builder, a flexible and intuitive WordPress page builder, allows users to create stunning websites with ease.
However, even the most visually appealing websites need trust signals to convert visitors into loyal customers.
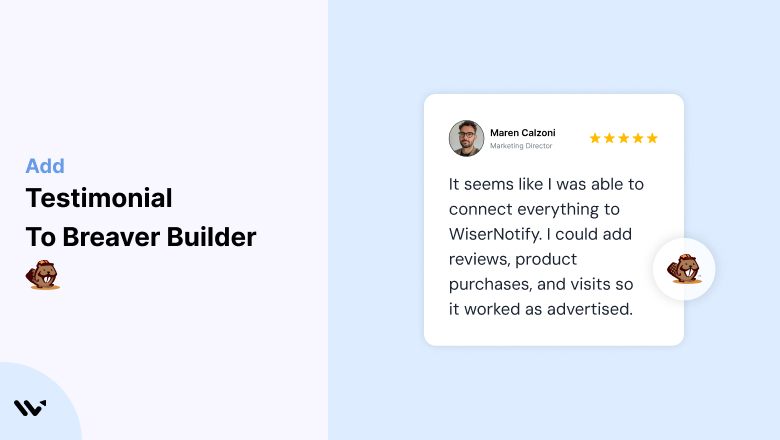
Testimonials—authentic reviews from satisfied users—play a pivotal role in building credibility, addressing hesitations, and driving conversions.
This guide will explore why testimonials are essential for Beaver Builder sites, how to integrate them effectively, and strategies to optimize their placement and design for maximum impact.
Why Add Testimonials to Beaver Builder?
Build Trust and Credibility: Testimonials validate your offerings by showcasing real experiences and positive outcomes. Studies indicate that 88% of consumers trust testimonials as much as personal recommendations. Adding testimonials to your Beaver Builder website can significantly enhance your brand’s credibility.
Increase Conversion Rates: Placing testimonials strategically across your site reduces buyer hesitation and encourages visitors to take action. They address potential concerns and provide social proof, leading to higher conversion rates.
Highlight Unique Selling Points (USPs): Let your customers emphasize what sets your brand apart. For instance, “Their 24/7 support was a lifesaver when I needed help setting up” highlights exceptional customer service—a key USP for many businesses.
Enhance Engagement: Engaging testimonials—especially those with visuals or videos—capture attention, keep visitors on your site longer, and foster a deeper connection with your audience.
Boost SEO: User-generated content like testimonials adds fresh, keyword-rich content to your site, improving search engine visibility and attracting organic traffic.
Build trust & FOMO
Highlight real-time activities like reviews, sales & sign-ups.


How to Add Testimonials to Beaver Builder


Step-by-Step Guide
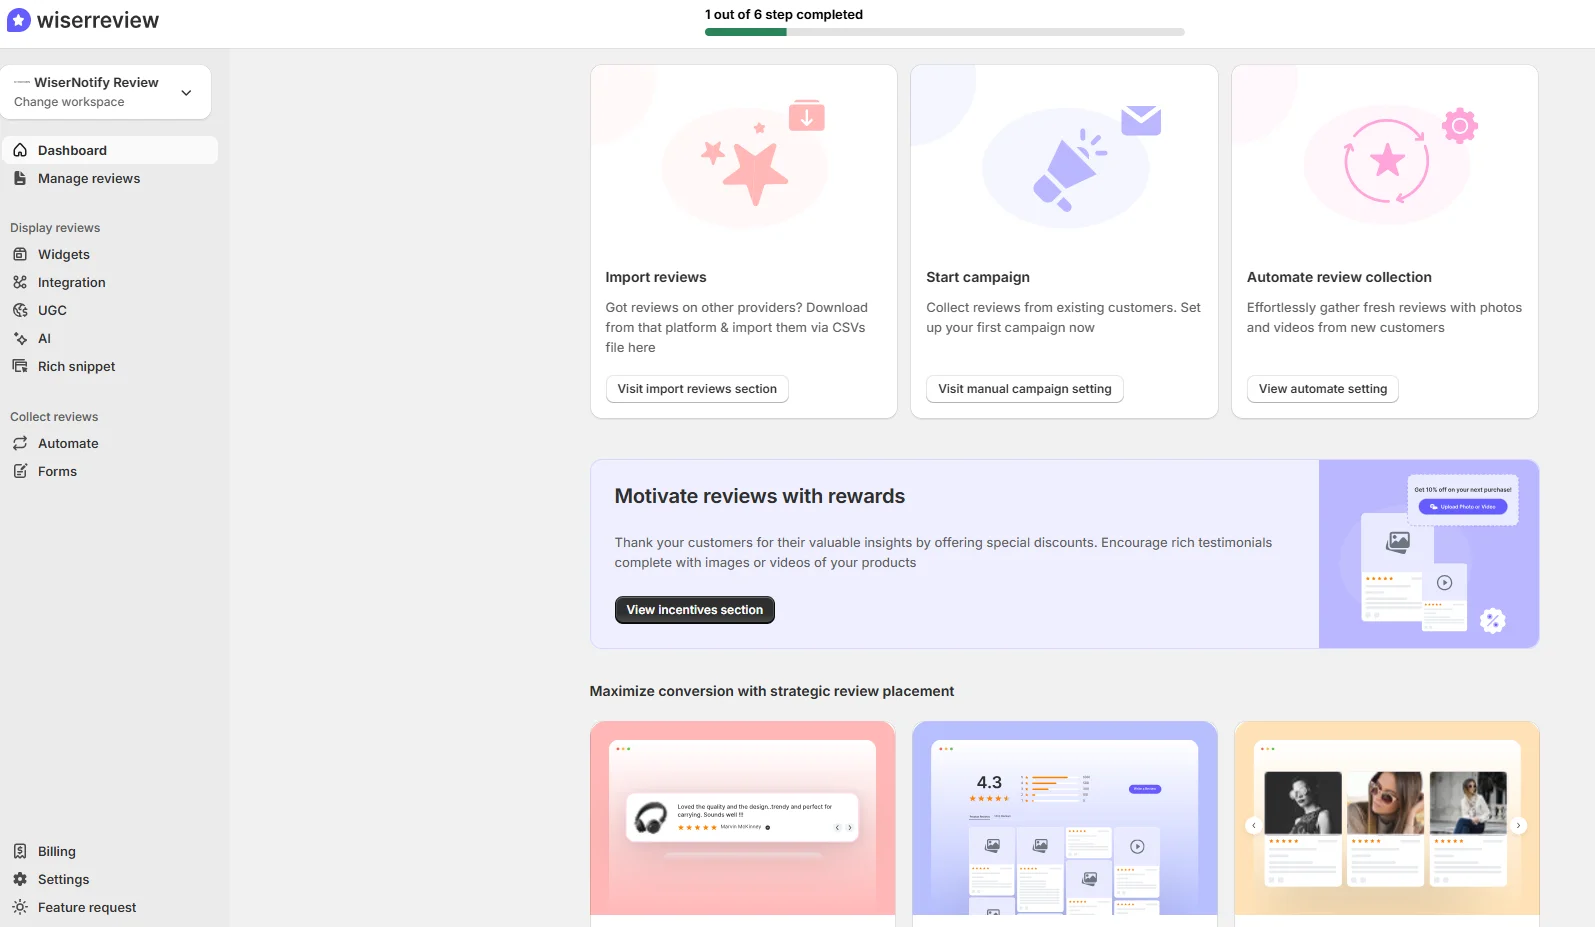
Collect Testimonials
- Reach out to satisfied clients for feedback.
- Ask for specific details about how your product or service helped them.
Open Beaver Builder
- Log in to your WordPress site and launch Beaver Builder to edit the page where you want to add testimonials.
Add a Testimonial Module
- Use Beaver Builder’s built-in Testimonial Module to quickly add a professional-looking testimonial section.
- Drag the module onto your page and position it where you want the testimonials to appear.
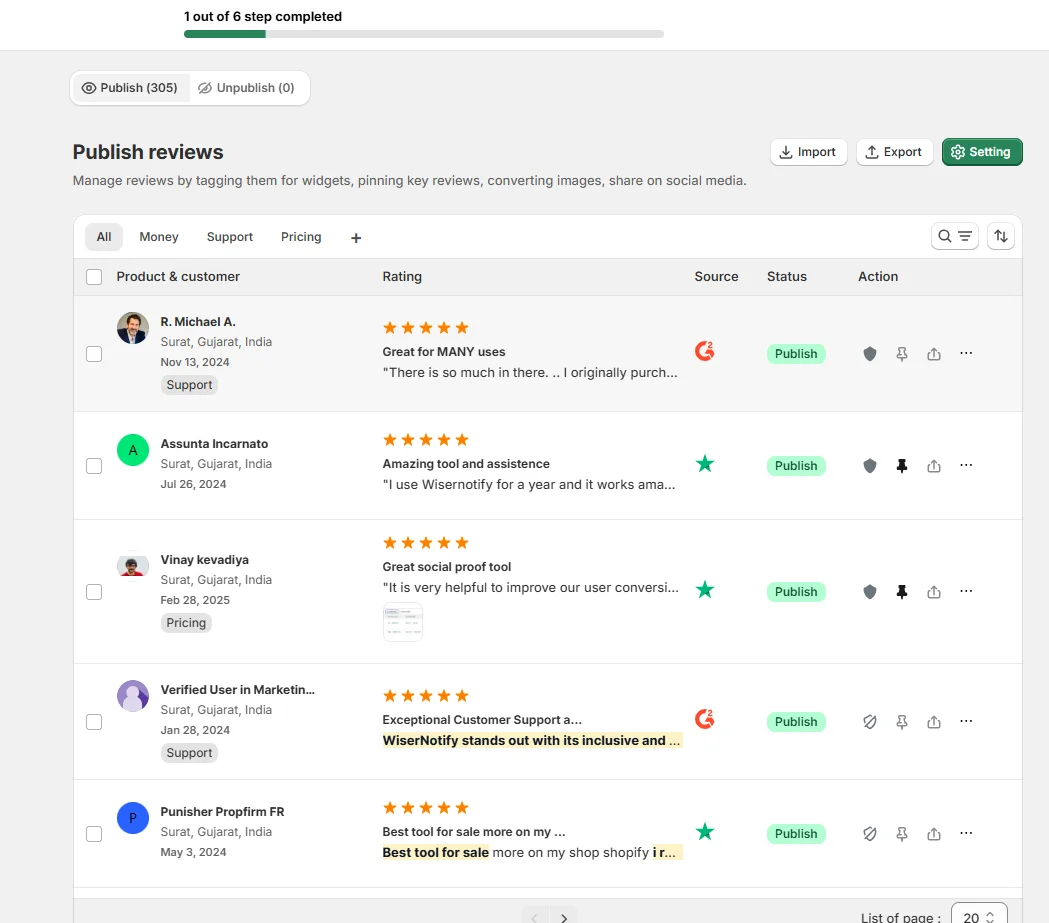
Input Testimonial Content
- Include the customer’s name, photo, and their feedback.
- Add context, such as their job title or company name, to build authenticity.
Customize the Design
- Adjust fonts, colors, and layouts to align with your site’s branding.
- Use Beaver Builder’s responsive settings to ensure the section looks great on all devices.
Preview and Publish
- Review the layout and design across desktop, tablet, and mobile views. Once satisfied, publish the page.
3 Testimonial Optimization Tips
Incorporate Visuals: Use customer photos, logos, or even video testimonials to increase authenticity and engagement.
Focus on Specific Results: Highlight measurable outcomes, such as “Our revenue increased by 50% after using their service” or “This plugin reduced our site’s load time by 2 seconds.”
Rotate Fresh Testimonials: Regularly update testimonials to showcase recent success stories and maintain relevance.
Best Places to Show Testimonials on Beaver Builder
Homepage
- Place a compelling testimonial above the fold on your homepage to immediately capture attention and establish trust.
About Page
- Testimonials on your About page can humanize your brand and demonstrate your impact on real customers.
Product or Service Pages
- Include testimonials that address specific features or benefits of your offerings. For instance, a review like “This service simplified our workflow” reinforces your product’s value.
Pricing Page
- Position testimonials near pricing tables to justify the cost and highlight ROI. For example, “Worth every penny—this tool saved us hours of work” can reassure hesitant buyers.
Footer Section
- Embed a scrolling carousel of testimonials in your footer to ensure visibility across all pages of your site.
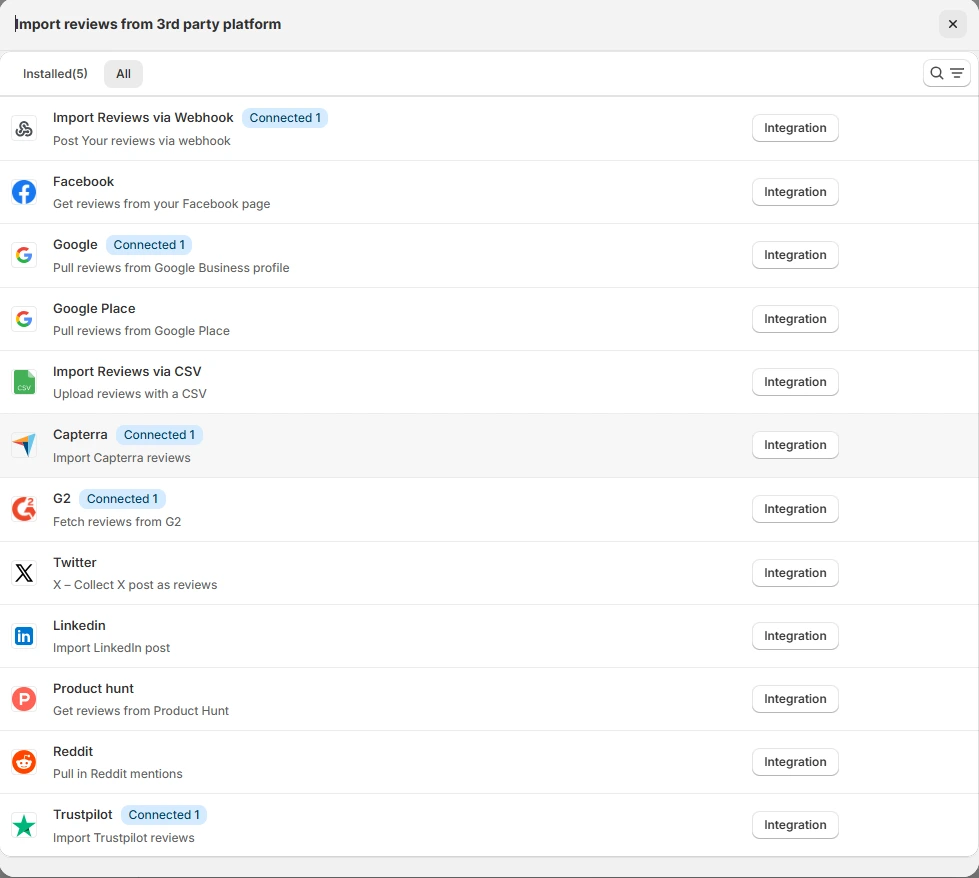
Other Ways to Add Testimonials to Beaver Builder
Pop-Ups and Overlays
- Leverage pop-ups or overlays to dynamically display testimonials. For example, show a glowing review when a visitor hovers over a product image or scrolls to a pricing section.
Social Media Integration
- Embed live social media feeds or quotes from platforms like Facebook, Instagram, or Twitter to showcase user-generated content.
Email Campaigns
- Incorporate testimonials into email marketing campaigns to nurture leads. Include a positive review in promotional emails to drive traffic back to your site.
Blog Content
- Feature detailed customer success stories as blog posts and link them to relevant pages on your site.
Video Testimonials
- Host video testimonials on platforms like YouTube or Vimeo and embed them into your Beaver Builder pages for maximum engagement.
3 Testimonial Mistakes on Beaver Builder
Using Generic Feedback
- Avoid vague statements like “Great service!”. Instead, focus on detailed testimonials that address specific benefits or pain points.
Overloading Pages
- Too many testimonials can overwhelm visitors. Select the most impactful ones and strategically place them across your site.
Ignoring Mobile Optimization
- Ensure your testimonial sections are responsive. Poor formatting on mobile devices can harm user experience and lower conversions.
Wrap Up
Testimonials are a powerful way to build trust, increase engagement, and drive conversions on your Beaver Builder website. By strategically placing authentic, impactful testimonials and keeping them fresh, you can create a compelling user experience that turns visitors into loyal customers.
Ready to elevate your Beaver Builder site? Start collecting and showcasing testimonials today to strengthen your brand and boost conversions!
Related Posts:
