
Adding a product sold counter to your WooCommerce store is a simple way to build trust and drive more sales.
It shows real customers are buying, which helps new visitors feel confident and act faster.
In this guide, you’ll learn:
- Why live sales notifications matter
- How to add a sold counter in WooCommerce
- Best practices to use it effectively
- Common mistakes to avoid
Let’s get started.
Build trust & FOMO
Highlight real-time activities like reviews, sales & sign-ups.


Why Use Live Sales Notifications on WooCommerce
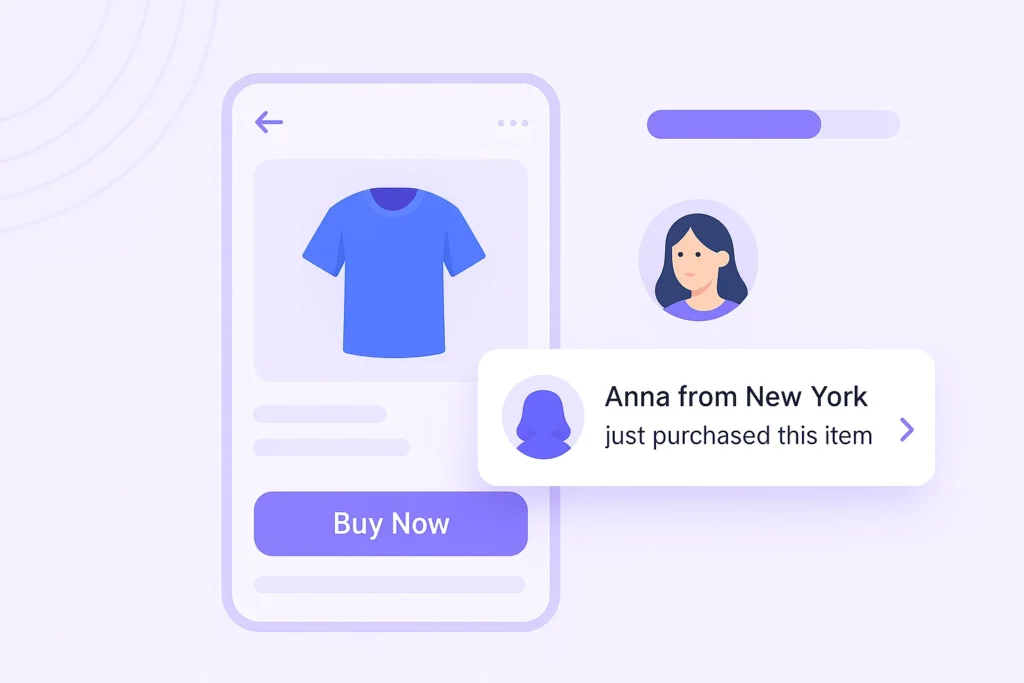
Live sales notifications show real-time purchases made on your store. These small pop-ups help build trust, create urgency, and highlight activity, making your store feel busy and reliable.
Here’s why they matter:
1. Builds Trust with Visitors
When shoppers land on your site and see notifications that others are actively making purchases, it instantly adds credibility.
It sends a message that real people are shopping and engaging with your store.
This kind of social proof builds trust, especially for first-time visitors who may still be deciding whether to trust your brand.
Seeing real-time activity helps ease doubts and makes your store feel more reliable and active.
2. Encourages Quick Decisions
Live sales notifications help create a buying atmosphere.
It introduces urgency when shoppers see that someone has just bought a product.
People are more likely to make a quick decision when they know others are already taking action.
It removes the fear of missing out, especially for popular items.
This psychological trigger can be very effective in getting visitors to complete a purchase without overthinking.
3. Highlights Popular Products
These notifications help highlight bestsellers or trending items without needing extra promotions or banners.
When a product keeps showing up in notifications, visitors naturally get curious about it.
It directs their attention and increases their chances of clicking through to learn more.
This spotlight effect often leads to higher interest and increased sales of those specific products.
4. Boosts Conversion Rates
Displaying real-time sales activity helps turn hesitant visitors into buyers.
It lowers resistance by providing proof that others are already buying.
When paired with strong product pages, these notifications can drive more visitors to take action.
They also reduce bounce rates and abandoned carts, as they build confidence and push users closer to checkout.
Build trust & FOMO
Highlight real-time activities like reviews, sales & sign-ups.

How to Add a Sold Counter to WooCommerce
First, Install the WiserNotify App On WooCommerce

- Navigate to
Plugins > Add New. - Search for Wisernotify in the plugin directory.
- Click “Install Now” and then “Activate.”
Set Up Wisernotify for WooCommerce
- Open the Wisernotify settings from the WordPress menu.
- Follow the setup wizard to integrate the plugin with your WooCommerce store.
Create a Sold Counter Notification
- Log in to your Wisernotify account.
- Go to Create Notification and select the Sold Counter type.


5 Best Practices for Using a Sales Counter

Adding a sold counter to your WooCommerce store is a simple yet effective way to increase trust, urgency, and engagement.
But just turning it on isn’t enough. You need to use this feature wisely to get the most out of it.
Below are best practices that will help you use the sold counter in a way that actually drives more conversions and improves the shopping experience.
1. Choose the Right Placement
The location of the sold counter plays a significant role in its impact.
Place it where shoppers can easily notice it without being overwhelmed.
Ideal spots include:
- Directly below the product title
- Near the pricing section
- Beside or above the “Add to Cart” button
- On the product image for extra emphasis
You can also place it on category or product listing pages to catch visitors’ attention before clicking on a product.
Proper placement helps the counter support the sales process naturally, instead of feeling like a forced add-on.
2. Match the Design to Your Theme
The sold counter should look like it belongs to your site. Customize its font size, color, background, and label style to match your brand identity.
For example, if your store uses soft tones and minimal fonts, don’t use bold red counters that feel out of place.
A seamless design adds to the counter’s credibility and ensures that it supports the buying experience instead of distracting from it.
If your plugin allows custom CSS, use it to fine-tune the visual styling so it feels native to your product page layout.
Some plugins also support theme-based auto-styling, which can help keep things consistent with less manual work.
3. Set a Minimum Sales Threshold
Showing a product that sold “1 unit” in 3 months could do more harm than good. That’s why it’s smart to set a minimum sales number before the counter becomes visible.
For example, only show the counter after 10 or more sales. This avoids creating doubt in shoppers’ minds.
Only products with real momentum show a counter by doing this, making the feature feel more authentic and valuable.
Some plugins also let you show average weekly or monthly sales, which can be more impactful than lifetime numbers, especially if your store is newer.
4. Include Offline Sales (If Applicable)
Many WooCommerce stores sell through physical stores, marketplaces, or social channels.
If your store does too, combine those sales with online ones to show a more complete picture.
Most good sold counter plugins allow manual entry of additional sales.
This way, your counter reflects all demand, not just WooCommerce orders. Doing this can boost trust and make even slower-moving products look more popular than they appear based on online orders alone.
5. Use Shortcodes for Custom Placement
Want complete control over where the counter appears?
Use shortcodes. Most sold counter plugins support them so you can place the counter anywhere on your product page, homepage, sidebar, or custom widgets.
Shortcodes help if you use a custom layout builder or theme where the default counter placement doesn’t quite fit.
For example, you might want to show it right under a review section, or beside a scarcity message.
Boost Conversion Instantly
Add Social Proof & Urgency to your website
3 Common Mistakes to Avoid in Product Sold Counter

Using a product sold counter can help build urgency and trust, but only when used correctly.
Many store owners make small mistakes that hurt more than they help.
You should avoid three mistakes to get the most out of your counter.
1. Displaying Low Sales Numbers
Showing that a product has only sold a handful of units can hurt your store’s credibility and reduce customer interest.
If a visitor sees a counter that says “2 sold,” it may create doubt about the product’s quality, usefulness, or relevance.
Shoppers may assume the item is not popular or trustworthy, leading them to look elsewhere.
To prevent this negative impression, use a plugin that allows you to set a minimum sales threshold.
For example, only show the counter after 10 or 20 units have been sold. This way, the counter works as a trust signal instead of a warning.
If your store is new or has seasonal trends, you can also consider showing average weekly or monthly sales instead of total units sold.
2. Showing Counters on Out-of-Stock Products
It can be frustrating for shoppers to see that others have bought a product they want, only to find out it’s out of stock.
This creates a poor shopping experience and can drive potential customers away from your store.
If a sold counter remains visible on out-of-stock items, it can leave users feeling disappointed or misled.
To avoid this, ensure the counter automatically hides or switches to a different message when inventory runs out.
A simple line like “Sold out, restocking soon” can maintain interest without causing frustration.
Most plugins let you control these display conditions, so take the time to configure them properly.
3. Using Outdated or Inaccurate Sales Data
If your counter shows incorrect or outdated sales numbers, it can damage your brand’s credibility.
A counter that doesn’t match the actual sales history creates doubt and makes customers question your store’s honesty.
It’s also risky from a trust-building standpoint.
Ensure your sales data is updated regularly or in real time.
This includes syncing sales from all channels — your WooCommerce store, retail outlets, marketplaces, and manual orders.
If your plugin supports it, manually adjust or import offline sales to give a more accurate representation of total product movement.
Accurate numbers build trust and give shoppers a sense of urgency based on real demand.
Conclusion
A product sold counter is more than a visual add-on. It builds trust, shows activity, and helps visitors make quicker decisions on your WooCommerce store.
But to get real value from it, you need to use it correctly. Avoid showing low sales numbers.
Keep the data accurate. Place the counter where it supports the buying process, not where it distracts.
Follow simple practices like hiding it on out-of-stock items and matching it to your store’s design.
These small details make a big difference in how visitors feel about your store.
With the right setup and a tool like WiserNotify, your store will quietly and effectively show real activity in the background, building confidence and driving more conversions.
