
Countdown timers are a powerful tool to drive engagement and conversions on your Wix website. By creating a sense of urgency, they motivate visitors to take action quickly—whether it’s for a limited-time sale, a product launch, or event registrations. Wix provides user-friendly tools to integrate countdown timers seamlessly, even for beginners.
This guide will show you how to use countdown timers strategically on Wix, walk you through the setup process, and share tips to maximize their impact on your campaigns.
When and Where to Use Countdown Timers
Countdown timers can significantly enhance your Wix site’s performance when used strategically. Here are some ideal scenarios and placements:
Limited-Time Sales and Promotions
- Highlight flash sales or seasonal discounts with a timer on your homepage or banners. For example, “Offer Ends in 3 Hours!” motivates quick purchasing decisions.
Product Launches
- Build excitement for new product releases with a countdown on landing pages. A timer with “Launching in 2 Days!” attracts early interest and sign-ups.
Event Registrations
- Encourage timely registrations for webinars or workshops by placing a timer on event pages. For instance, “Register Before It’s Too Late: Only 2 Days Left!”
Seasonal Campaigns
- Use timers during Black Friday, Christmas, or other holiday sales to emphasize urgency. A header or footer banner is a great location for such timers.
Checkout Pages
- Reduce cart abandonment by adding a timer with expiring deals or free shipping offers. For example, “Complete Your Order in 15 Minutes for Free Shipping!”
Membership or Subscription Drives
- Create urgency for limited-time offers or discounts on memberships. Display the timer prominently on your membership sign-up pages.
By strategically placing timers in these scenarios, you can effectively boost conversions and make your Wix site more engaging.
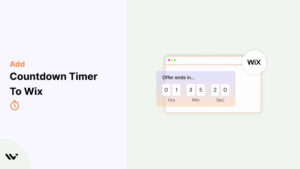
Add Countdown Timer to Wix
Wix makes it easy to add countdown timers using its built-in tools and third-party apps. These timers can be customized to match your brand, helping you create urgency and improve engagement seamlessly.


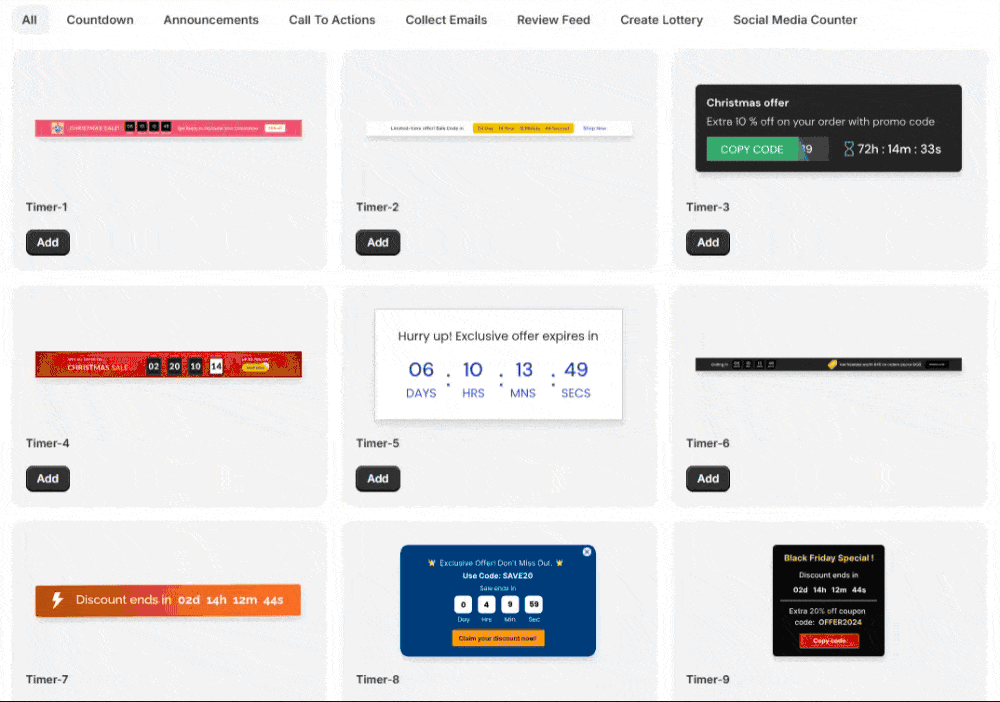

How to Add a Countdown Timer to Wix Manually
Here’s a step-by-step guide to adding a countdown timer to your Wix site:
- Log In to Wix:
Access your Wix dashboard and open the Editor for the page where you want the timer displayed. - Add a Countdown Timer Element:
- Click on the Add (+) button in the left-side toolbar.
- Navigate to Interactive > Countdown Timer or search for “Countdown Timer” in the search bar.
- Drag and drop the timer element to your desired location on the page, such as a header, banner, or near a call-to-action.
- Customize the Timer:
- Set the end date and time for your campaign.
- Adjust the design, including colors, fonts, and styles, to align with your website’s branding.
- Add engaging text, such as “Hurry! Sale Ends In:” or “Limited Time Offer!”
- Configure Behavior Settings:
- Choose whether the timer resets or hides after the countdown ends.
- Optionally, configure actions like displaying a message or redirecting visitors when the timer reaches zero.
- Preview and Test:
- Save your changes and preview the page to ensure the timer displays and functions correctly.
- Check its responsiveness on mobile and desktop views.
- Publish Your Site:
- Once satisfied, click Publish to make the countdown timer live on your Wix website.
Read more: How to Add a Countdown Timer Widget to Any Website
Common Mistakes to Avoid
- Adding a countdown timer without a specific purpose can confuse visitors and reduce its impact. Always connect the timer to a clear campaign or event.
- Leaving expired timers visible on your site frustrates users and harms credibility. Remove or update timers immediately after their expiration.
- Using too many timers on a single page can overwhelm visitors and dilute their effectiveness. Stick to one well-placed timer per page.
- Failing to test timers on mobile devices can result in poor user experiences. Ensure timers are responsive and display correctly on all screens.
- Using generic or vague messaging with your timer reduces urgency. Combine timers with clear, compelling CTAs like “Shop Now” or “Claim Your Discount.”
- Neglecting to track the timer’s performance is a missed opportunity. Use Wix analytics or third-party tools to monitor impressions, clicks, and conversions.
Conclusion
Adding a countdown timer to your Wix website is an excellent way to create urgency and boost conversions. Whether for flash sales, event promotions, or product launches, countdown timers can significantly enhance your site’s effectiveness when used strategically.
By following this guide and avoiding common mistakes, you can seamlessly integrate timers and create a more engaging experience for your audience. Start using countdown timers today to drive results and improve your Wix site’s performance!
Related Posts:
