
Countdown timers are a highly effective way to drive urgency and improve conversions on your Leadpages landing pages. Whether you’re running a flash sale, promoting an event, or launching a product, countdown timers highlight time-sensitive opportunities that encourage visitors to take quick action.
Leadpages provides built-in countdown timer widgets, and you can also integrate third-party timers for more advanced customization. In this guide, we’ll show you how to set up countdown timers in Leadpages, where to use them effectively, and tips for maximizing their impact.
When and Where to Use Countdown Timers
Strategically placed countdown timers on your Leadpages landing pages can significantly enhance engagement. Here are the best use cases and placements:
Limited-Time Offers
- Place timers on sales or promotional pages to emphasize expiring discounts. A timer like “Sale Ends in 3 Hours!” drives immediate action.
Event Registration
- Add timers to event landing pages to highlight deadlines, such as “Register Now! Only 1 Day Left!”
Product Launches
- Use timers on product launch pages to build anticipation. A countdown like “Launching in 5 Days!” attracts early interest and sign-ups.
Webinar Funnels
- Include timers on webinar registration pages to stress start times, such as “Webinar Starts in 2 Hours!”
Checkout Pages
- Add timers near checkout CTAs to reduce hesitation. A message like “Complete Your Order in 15 Minutes to Get Free Shipping!” creates urgency.
Cart Recovery Pop-Ups:
- Show timers in cart abandonment forms or pop-ups to encourage customers to return and complete their purchase.
By using timers strategically, you can increase conversions and enhance your Leadpages campaigns.
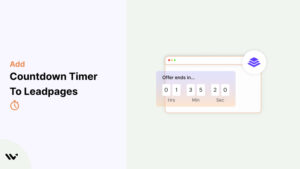
Add Countdown Timer to Leadpages
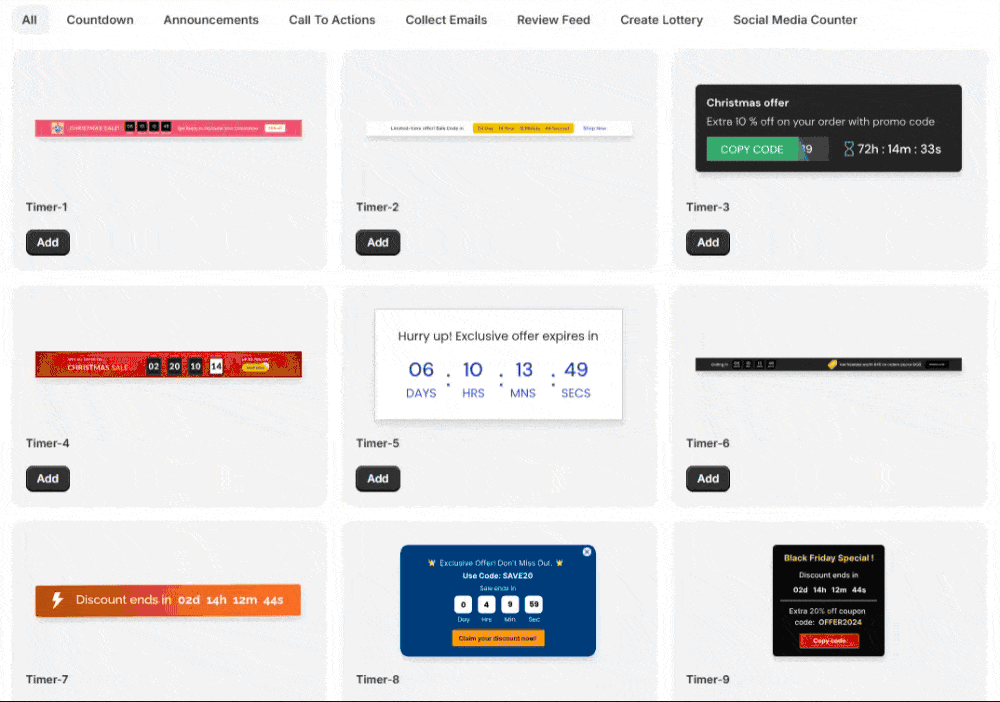
Leadpages offers a built-in countdown timer widget, making it easy to add and customize timers directly in the page editor. For additional functionality, you can embed third-party timers. Simplify countdown timer creation with WiserNotify


How to Add a Countdown Timer to Leadpages
- Log In to Leadpages:
- Access your Leadpages account and open the editor for the landing page where you want to add the timer.
- Add a Countdown Timer:
- In the editor, click the Widgets tab in the left-hand menu.
- Drag and drop the Countdown Timer widget into the desired section of your page, such as near a CTA or above the fold.
- Customize the Timer:
- Configure the timer settings, including the type:
- Standard Countdown Timer: Counts down to a fixed date and time.
- Evergreen Countdown Timer: Resets for each visitor (ideal for recurring promotions).
- Adjust the colors, fonts, and styles to match your branding.
- Add text above or below the timer, such as “Hurry! Offer Ends Soon!”
- Configure the timer settings, including the type:
- Preview and Publish:
- Save your changes and preview the page to ensure the timer appears and functions correctly.
- Publish the page to make the countdown timer live.
Common Mistakes to Avoid
- Adding a countdown timer without linking it to a clear campaign can confuse visitors. Always associate timers with specific promotions or events.
- Leaving expired timers visible on your page damages credibility. Update or remove timers promptly after campaigns end.
- Overloading your page with multiple timers can overwhelm visitors. Use one strategically placed timer per page for clarity and focus.
- Failing to test timers on different devices can lead to poor user experiences. Ensure timers are responsive and display correctly on all screen sizes.
- Using vague or generic messaging reduces urgency. Pair timers with clear, compelling CTAs like “Shop Now” or “Register Before It’s Too Late!”
- Neglecting analytics prevents optimization. Use Leadpages’ reporting tools or integrate Google Analytics to track impressions, clicks, and conversions.
Conclusion
Adding a countdown timer to your Leadpages landing pages is a simple and effective way to boost engagement and conversions. Whether you use Leadpages’ built-in timer widget or embed a third-party solution, countdown timers help create urgency and motivate visitors to act quickly.
Follow the steps in this guide to seamlessly integrate timers into your pages and watch your campaign performance improve. Start using countdown timers today to elevate your Leadpages results!
Related Posts:
