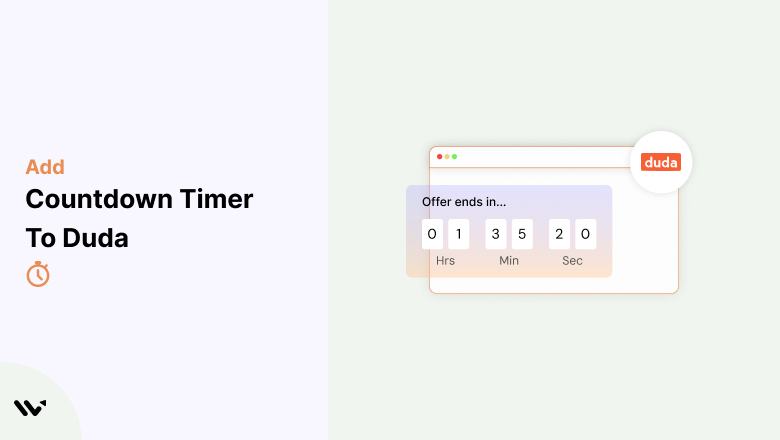

Countdown timers are a fantastic way to create urgency, engage visitors, and boost conversions on your Duda site. Whether promoting a flash sale, launching a new product, or encouraging event registrations, timers effectively draw attention to time-sensitive opportunities.
With Duda’s user-friendly interface and third-party widget integrations, adding a countdown timer to your website is simple and customizable. In this guide, you’ll learn when and where to use countdown timers, how to add them to Duda, and tips for making the most of this engaging feature.
When and Where to Use Countdown Timers
Strategically using countdown timers can significantly enhance your Duda website’s performance. Here’s a look at the best use cases and placements:
Limited-Time Sales
- Highlight flash sales with timers on the homepage or in banners. For example, “Flash Sale Ends in 3 Hours!” motivates quick purchases.
Seasonal Promotions
- Use timers during Black Friday, Christmas, or other seasonal campaigns. Display them in headers or pop-ups to emphasize time-sensitive deals.
Event Registrations
- Promote webinars or live events with countdown timers on event pages. A message like “Register Now—Event Starts in 1 Day!” boosts participation.
Product Launches
- Add timers to landing pages for new product launches to build excitement. “Launching in 5 Days!” attracts early interest and pre-orders.
Checkout Pages
- Place timers at checkout to encourage faster decisions, such as “Complete Your Order in the Next 15 Minutes to Save 20%!”
Cart Recovery Pop-Ups
- Use timers to recover abandoned carts by showing expiring discounts or limited-time offers. For instance, “Claim Your Discount in the Next 10 Minutes!”
By strategically placing countdown timers in these scenarios, you can drive urgency, increase engagement, and improve conversions on your Duda site.
Add Countdown Timer to Duda
Duda provides several ways to add countdown timers, including using built-in widgets, embedding third-party tools, or adding custom HTML. These options allow you to create and customize timers to suit your campaigns. WiserNotify helps you create countdown timers in no time.
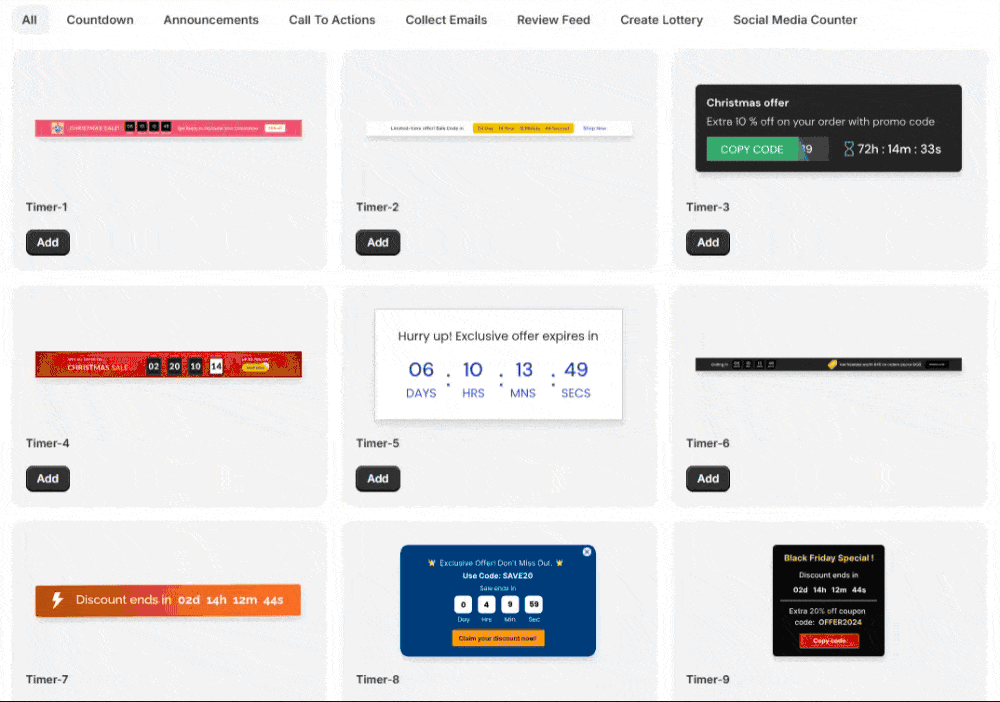
Now that you understand how countdown timers work, let’s look at how to add one to your website or store. It’s simple and takes about 10 to 20 minutes if done properly. Start by creating a WiserNotify account. Click any CTA button on this page. You can begin with the 7-day free trial to test the impact and see if it fits your needs. Once your account is created, go to your WiserNotify dashboard. From there, click on Notifications → Widget → Add Notification. Next, go to the Countdown section. You’ll see several types of countdown timers. Pick the one you like, click Add, and enter a name and the website URL where you want it to appear. Watch this full video tutorial for step-by-step guidance: And this is just the beginning of what WiserNotify can do. Next, go to the Countdown section. You’ll see several types of countdown timers. Other urgency widgets Social proof widgets WiserNotify also gives you advanced analytics to see what’s working and what’s not. Plus, you can use A/B testing to try different widget types and find what performs best. Here’s another full video tutorial if you want to explore more:


How to Add a Countdown Timer to Duda Manually
Follow these steps to integrate a countdown timer into your Duda site:
- Log In to Duda:
- Access your Duda account and navigate to the site editor for the website where you want the timer added.
- Use the Widget Library:
- In the editor, click on Widgets from the left-hand panel.
- Search for a Countdown Timer widget. If Duda’s default options don’t meet your needs, consider third-party tools like Powr.io or Elfsight Countdown Timer.
- Drag and Drop the Timer:
- Drag the countdown timer widget to the desired location on your page, such as the homepage, product pages, or event section.
- Customize the Timer Settings:
- Set the end date and time for your countdown.
- Adjust the design to match your brand by customizing colors, fonts, and layout.
- Add an engaging message like “Limited Time Offer—Don’t Miss Out!”
- Embed Custom HTML (Optional):
- If using a third-party timer, copy the HTML or embed code provided by the tool.
- Add an HTML Widget to your Duda page and paste the code.
- Preview and Test:
- Save your changes and preview the page to ensure the timer displays and functions correctly.
- Check its responsiveness on desktop, tablet, and mobile devices.
- Publish Your Site:
- Once satisfied, click Publish to make the countdown timer live on your Duda website.
Common Mistakes to Avoid
- Adding countdown timers without linking them to a specific goal can confuse visitors. Ensure every timer aligns with a clear campaign or promotion.
- Leaving expired timers visible on your site frustrates users and damages credibility. Remove or update timers immediately after campaigns end.
- Overloading pages with multiple timers can overwhelm visitors. Use one strategically placed timer per page for better clarity and focus.
- Failing to test timers on different devices can result in poor experiences. Ensure your timer is fully responsive and displays correctly on all screen sizes.
- Using vague or generic messaging with your timer reduces urgency. Pair the timer with clear, compelling CTAs like “Shop Now” or “Claim Your Discount!”
- Neglecting analytics means missing opportunities to optimize performance. Use tracking tools to monitor impressions, clicks, and conversions.
Conclusion
Countdown timers are a simple yet impactful addition to your Duda website, helping to drive urgency and improve conversions. Whether for flash sales, product launches, or event promotions, timers can effectively enhance user engagement and motivate visitors to take action.
By following this guide and avoiding common mistakes, you can seamlessly integrate countdown timers into your Duda site and achieve impressive results. Start using countdown timers today to create a more engaging and high-performing website!
Related Posts:
