
How to Add AppSumo Reviews to Your Website (2026)

To add AppSumo reviews to your website, connect AppSumo under Integrations in WiserNotify with the URL of your AppSumo page. Then create a Review notification and set AppSumo as its data source. Publish it, and your AppSumo reviews appear on the pages you choose.
You do not need an Elementor widget or a plugin for the reviews. A WiserNotify pixel on your site is enough.
Below you will find the 8 steps with screenshots, the display options, and fixes for a notification that stays hidden.
What Can You Show From AppSumo?
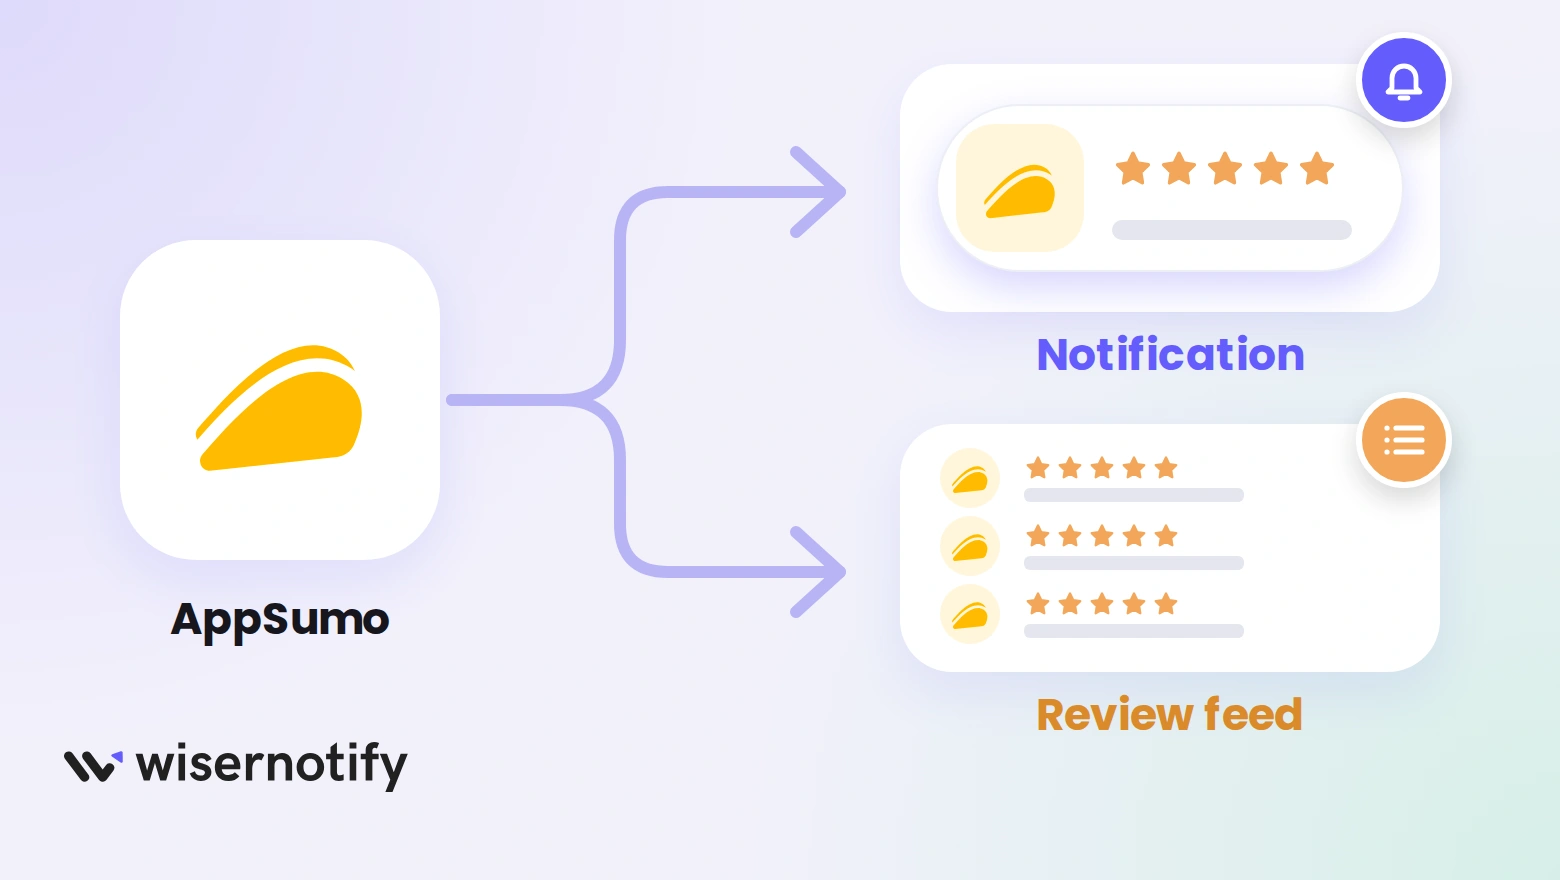
WiserNotify reads the reviews on your AppSumo page and shows them on your own site. After you connect, the reviews appear on your Dashboard Data page.
- Review notification: a small popup that shows one AppSumo review at a time.
- Review feed: a floating panel that lists several reviews for visitors to scroll.
One AppSumo connection feeds both. The steps build the notification. For the feed, pick Review Feed at Step 5 and carry on the same way.
Why Show AppSumo Reviews on Your Website?

- Proof from a third party: the reviews come from a marketplace, so visitors know you did not write them.
- Proof at the decision point: a review on your pricing or sign-up page answers the doubt where it forms.
- One place to build it: the same notification can sit beside other positive reviews you collect.
How to Add AppSumo Reviews to Your Website
You need a WiserNotify account for these steps. Create one on the sign-up page, where a 7-day free trial begins at once.
The video shows a WiserNotify review notification being built. Steps 5 to 8 follow the same screens.
Step 1: Install the WiserNotify Pixel

- In WiserNotify, open the Install Pixel page and click Copy Code.
- Paste it into the head tag of your website. The page lists a setup guide for your platform.
- Add it to every page where you want reviews to show.
Step 2: Find AppSumo and Connect
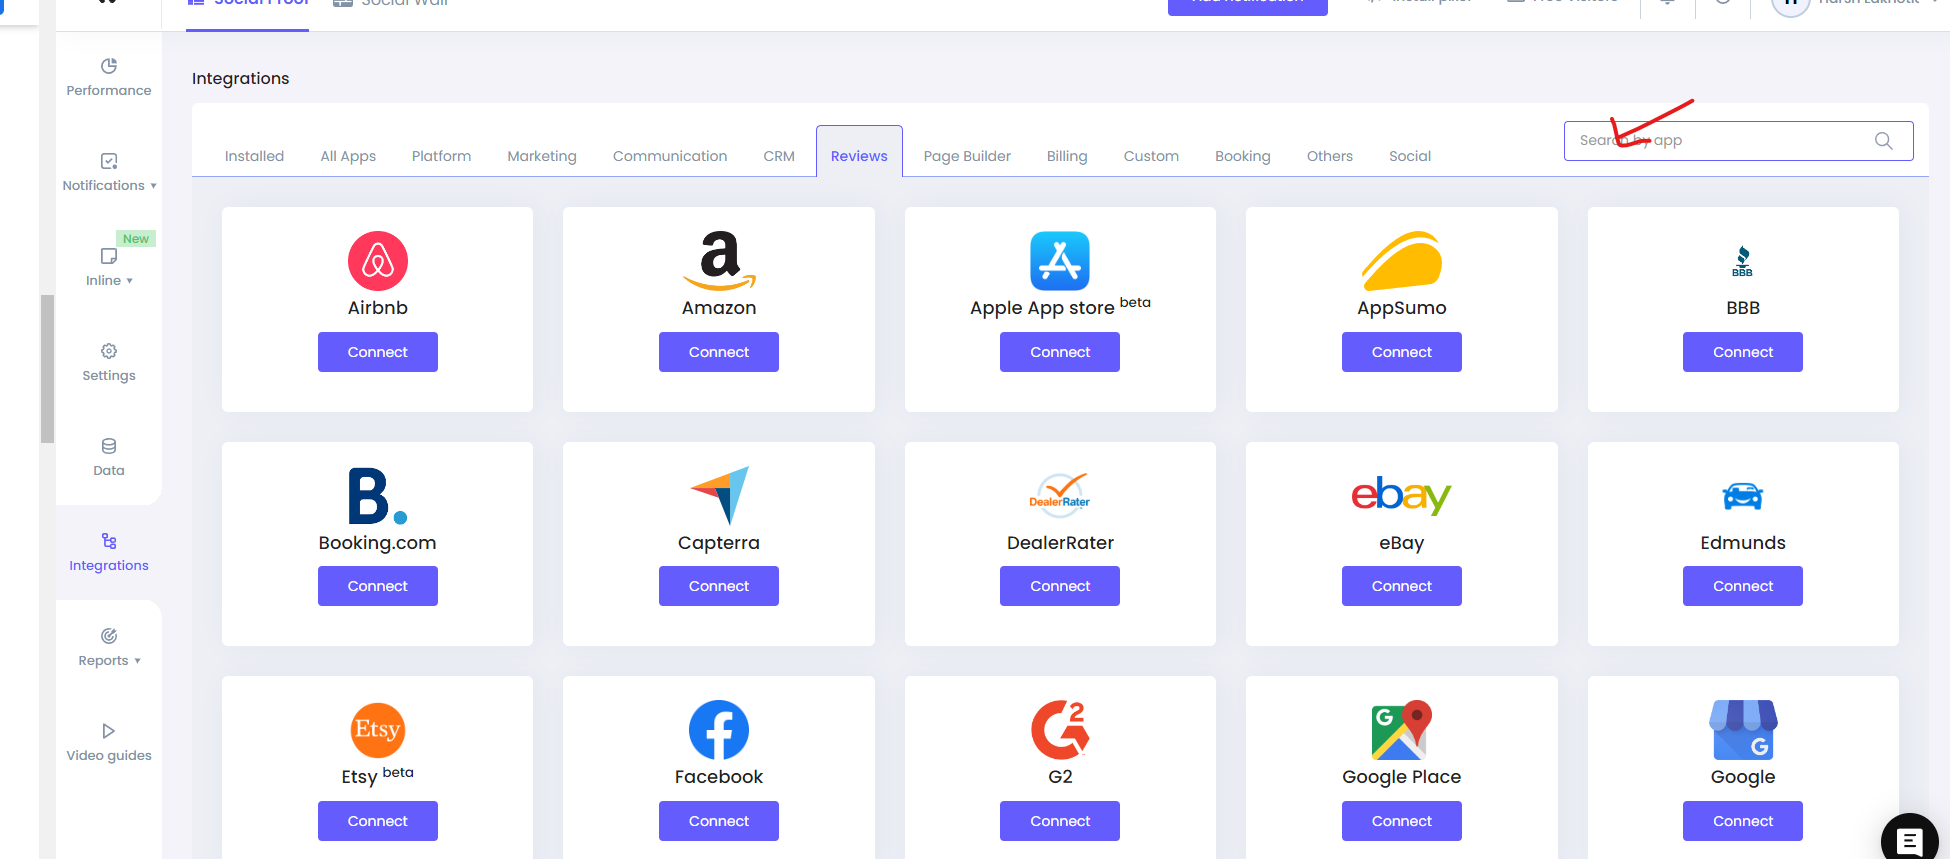
- In WiserNotify, click Integrations.
- Open the Reviews tab, or type AppSumo into the search box.
- Find the AppSumo card and click its Connect or Integrate button.
Step 3: Copy Your AppSumo Page URL

- Open AppSumo in your browser and go to your own product page.
- Wait until the page has fully loaded.
- Copy the full address from the address bar.
Step 4: Paste the URL and Create It

- Paste the URL into the URL box.
- Type a connection name you will recognize.
- Click Create. Your reviews now show under the Dashboard Data page.
Step 5: Add a Review Notification
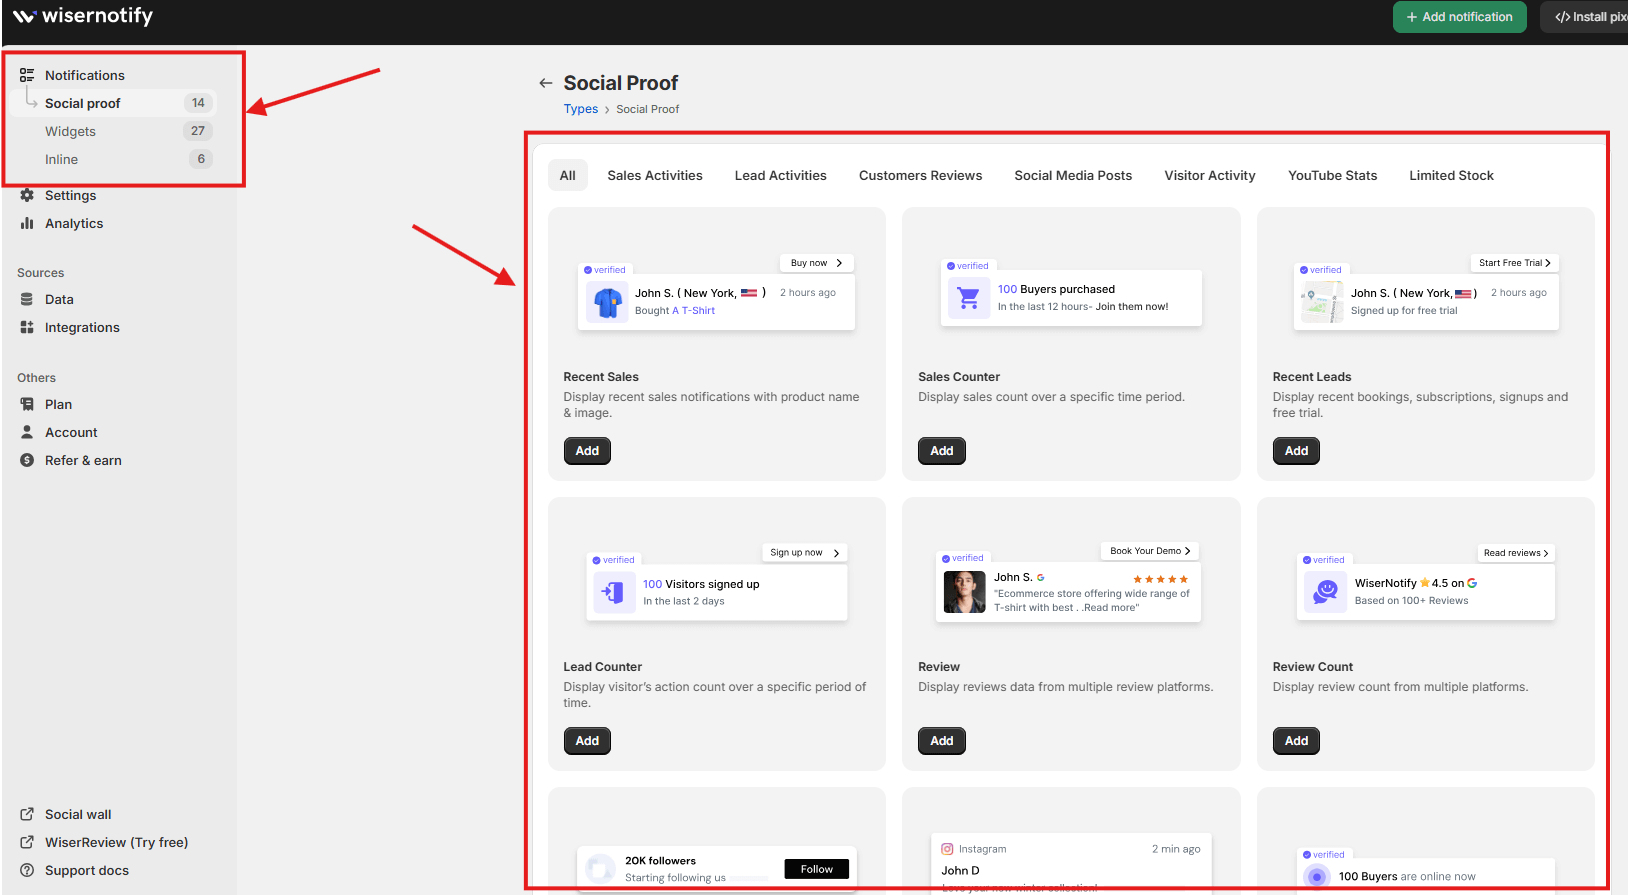
- Click Add notification.
- Under Social proof, find Review in the Customer Reviews group.
- Click Add.
Step 6: Name It and Design It
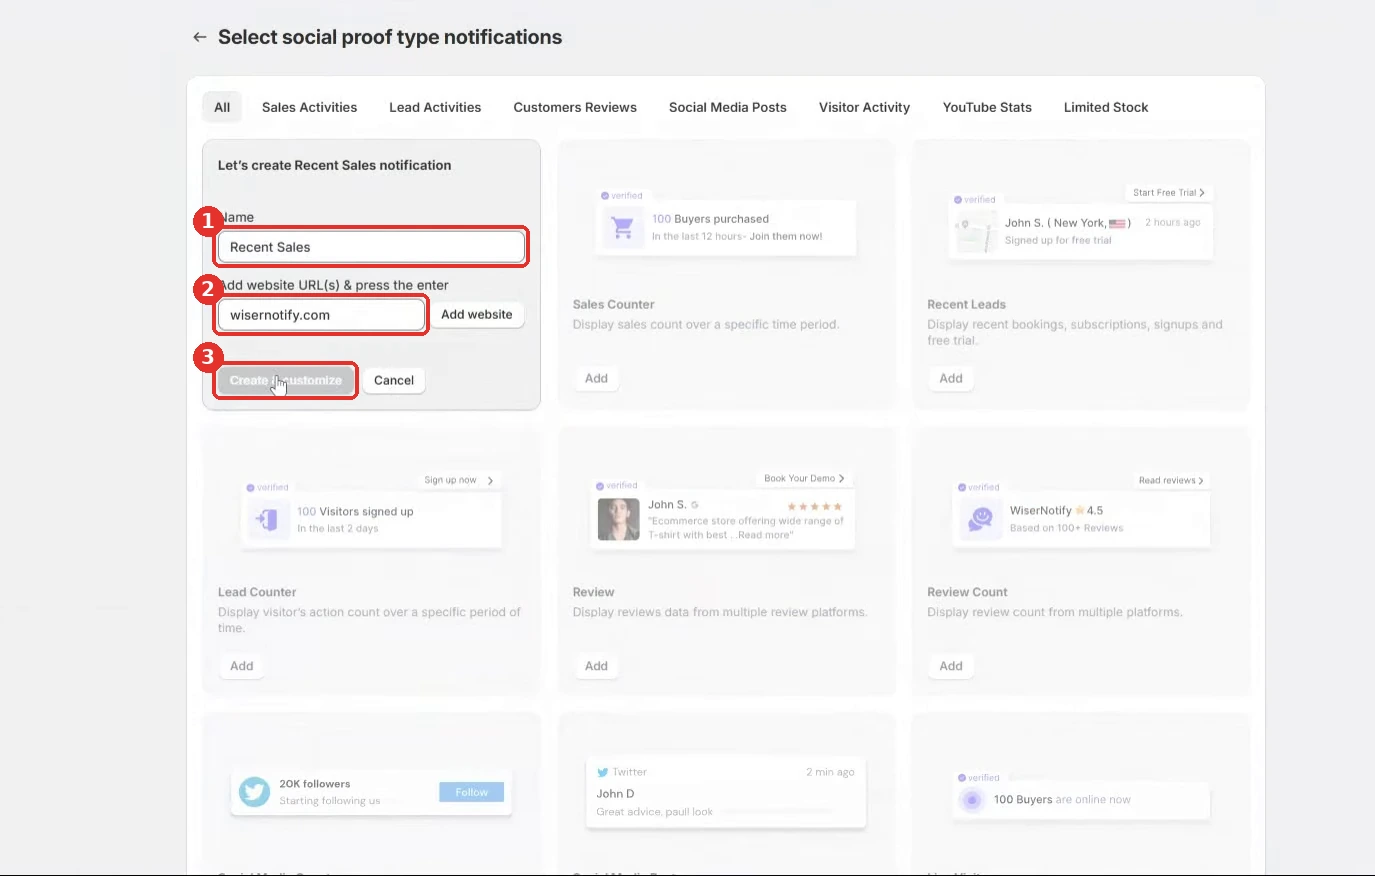
- Type a name, such as AppSumo reviews.
- Enter your website URL, click Add website, then click Create and Customize.
- In the Design tab, set the text, position and style, then save.
Step 7: Choose Where It Shows
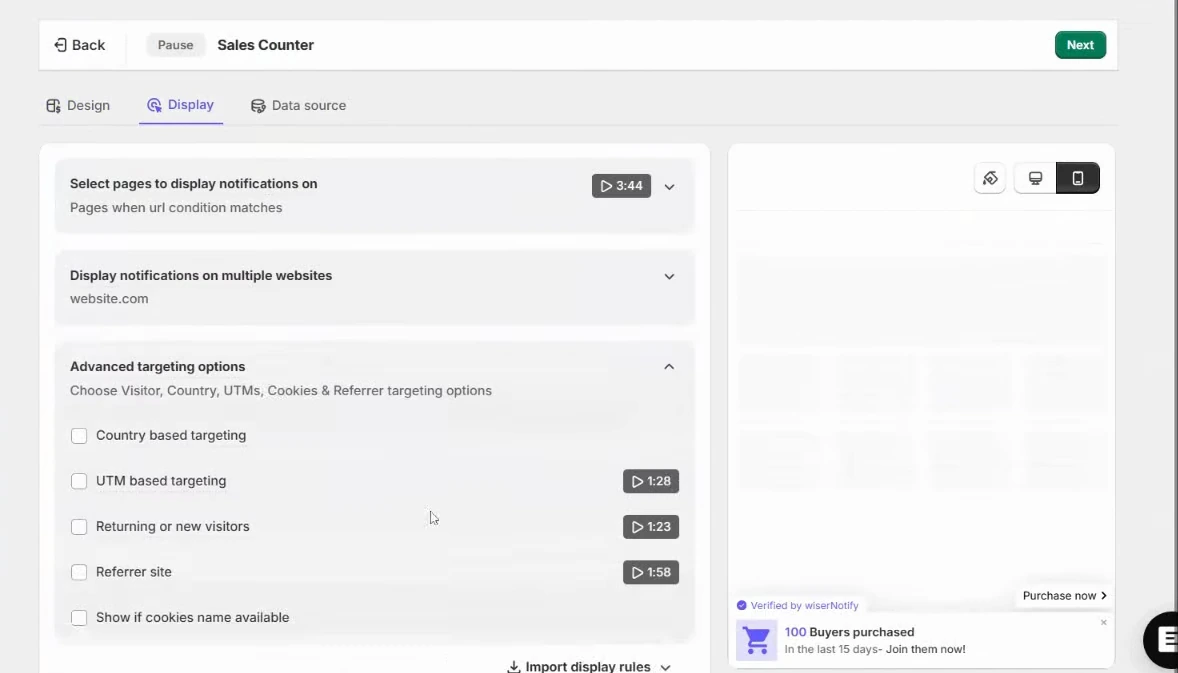
- Click Next to reach the Display tab.
- Keep All pages, or add a URL rule for pages such as pricing or sign-up.
- Use advanced targeting if you want to show it only to new visitors or certain campaigns.
Step 8: Pick AppSumo and Publish
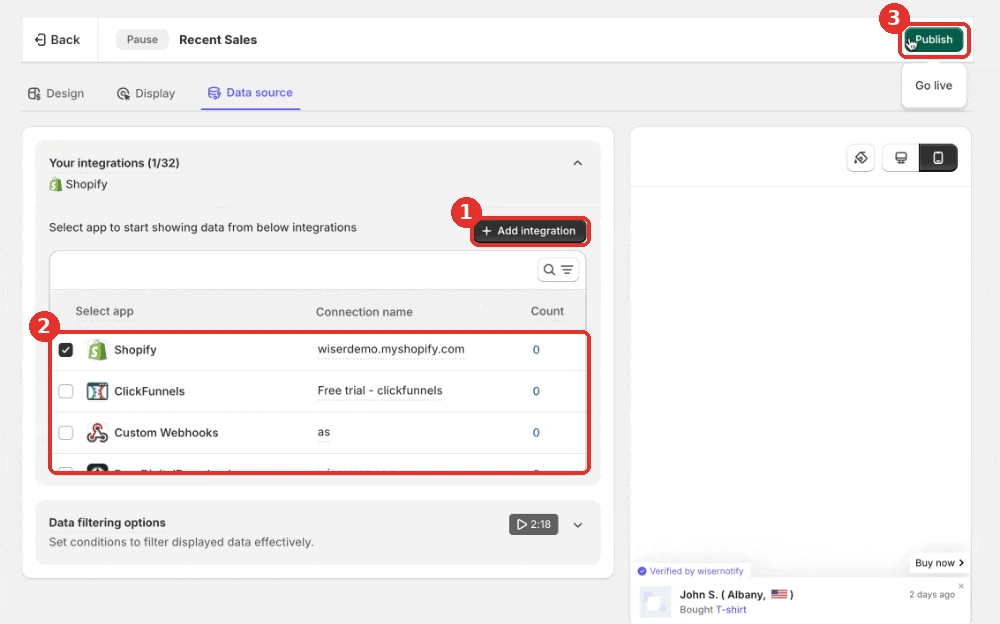
- Click Next to reach the Data source tab.
- Tick your AppSumo connection. The notification reads only the connection you tick.
- Click Save, then Publish, and turn it on when asked.
- Open your site in a private window to see it.
The AppSumo connection guide and the review notification guide list every option.

Boost Conversion Instantly
Add Social Proof & Urgency to your website
Where to Show AppSumo Reviews
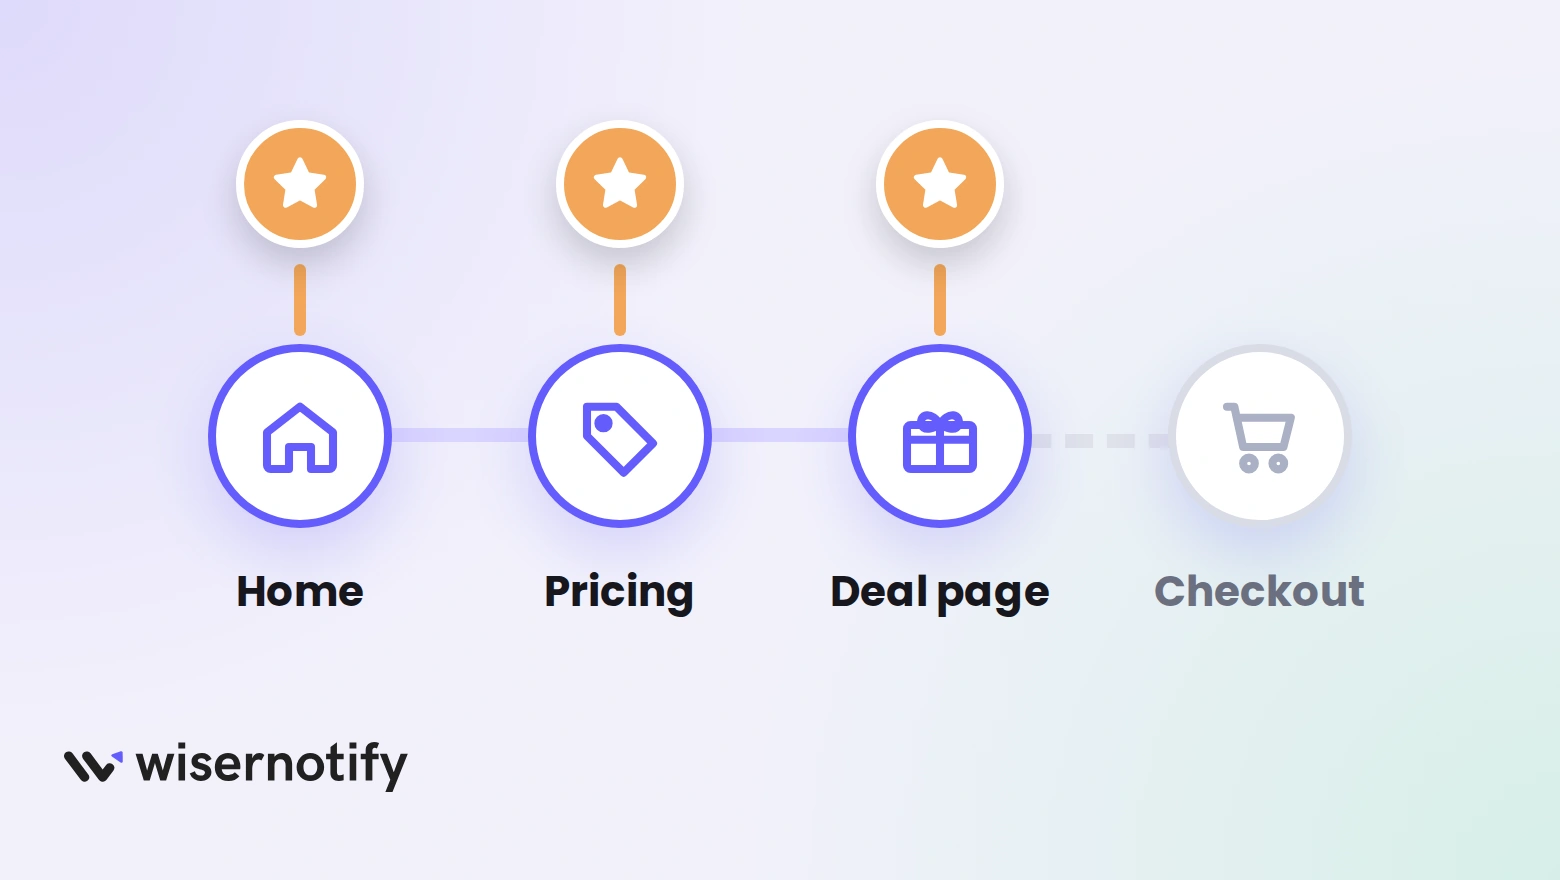
- Homepage: new visitors see that real buyers rate you.
- Pricing page: a review here eases doubt before a purchase.
- Deal or landing page: proof next to the offer supports a single decision.
- Product pages: a review beside the features shows how others use them.
Selling a mobile app alongside your software? The same paste-a-link setup works for embedding Google Play reviews, so buyers see your app store rating next to the AppSumo one.
AppSumo Reviews Not Showing?
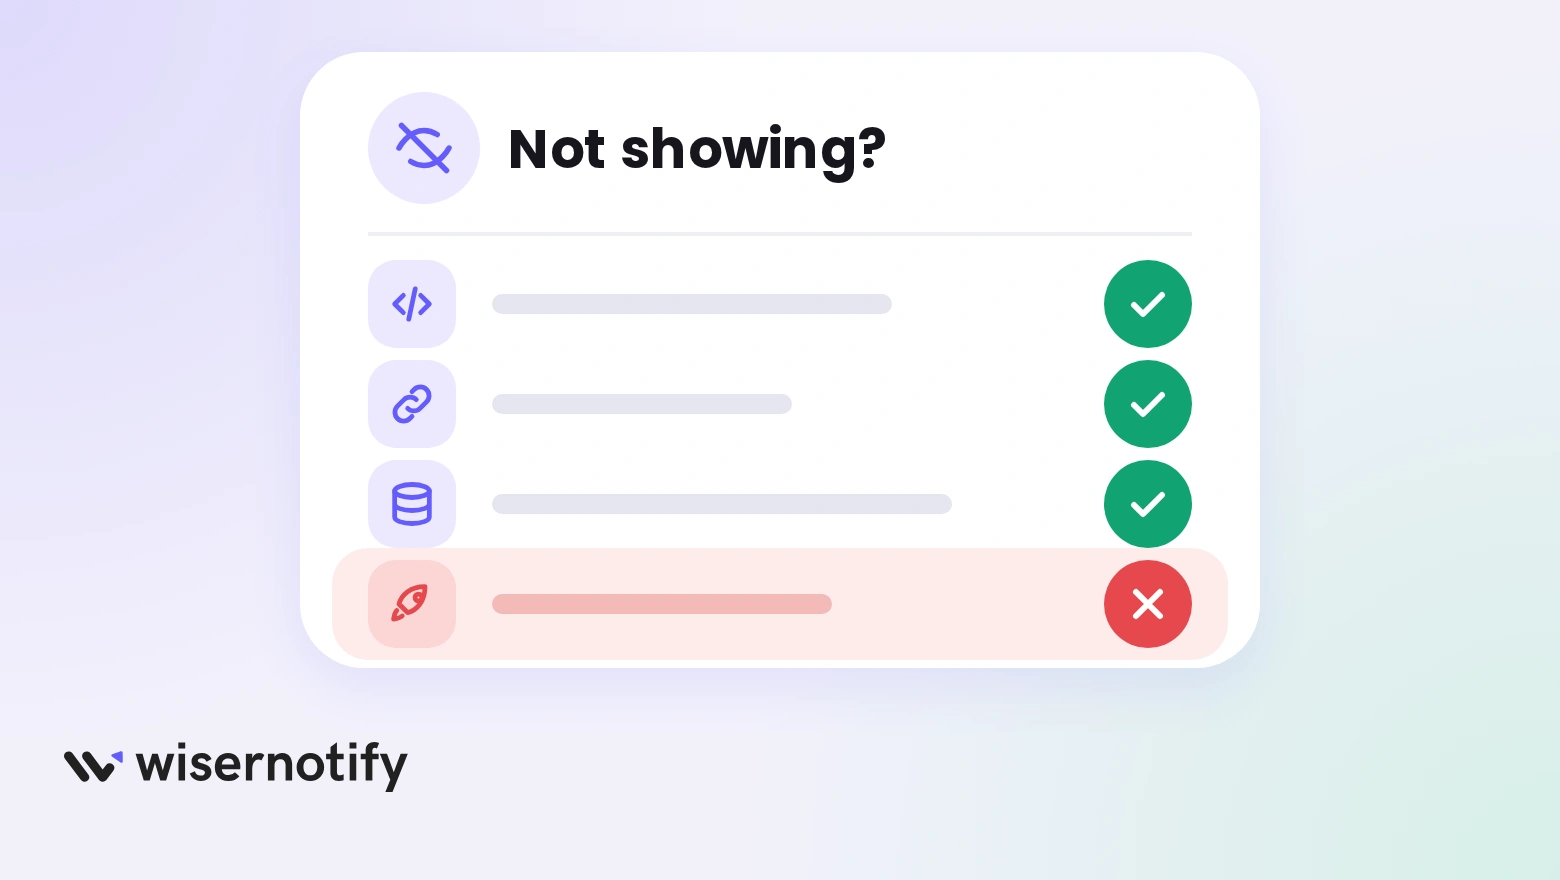
- Pixel not detected: open your site, then verify the pixel again on the Install Pixel page.
- Wrong URL: copy the full address again after your AppSumo page has loaded.
- No data yet: check the Dashboard Data page to see whether your reviews arrived.
- AppSumo not ticked: the notification reads only the connection ticked in its Data source tab.
- Not published: saving is not enough. Click Publish and turn it on.
- Page rule too tight: the Display tab may leave out the page you are testing.
- Cached page: check from a private window.
If a live notification goes unseen for a day, your notification list marks it and links a Troubleshoot page. Live chat can also help.
Build trust & FOMO
Highlight real-time activities like reviews, sales & sign-ups.


Wrap Up
AppSumo reviews give your site proof from a marketplace buyers trust. Install the pixel, connect AppSumo, create a Review notification and publish.
Start with your pricing page, then add more pages once the first one works. WiserNotify also connects to 250+ other platforms.
Build trust & FOMO
Highlight real-time activities like reviews, sales & sign-ups.
Related guides
Frequently Asked Questions
How do I add AppSumo reviews to my website?
Connect AppSumo under Integrations with the URL of your AppSumo page. Then create a Review notification and set AppSumo as its data source.
Where do I find the URL to paste?
Open your own product page on AppSumo and copy the full address from your browser once the page has loaded.
Do I need to code to show AppSumo reviews?
Not for the notification itself. You paste the WiserNotify pixel into your site once, and the rest happens in the dashboard.
Can I filter which AppSumo reviews show?
Yes. Use data filters in the Data source tab, or the review filters in a Review Feed to keep only certain star ratings.
Is showing AppSumo reviews free?
No. WiserNotify has no free tier, but every plan starts with a 7-day free trial.

Krunal Vaghasiya is a marketing tech expert who boosts e-commerce conversion rates with automated social proof and FOMO strategies. He loves to keep posting insightful posts on online marketing software, marketing automations, and improving conversion rates.




 Capterra