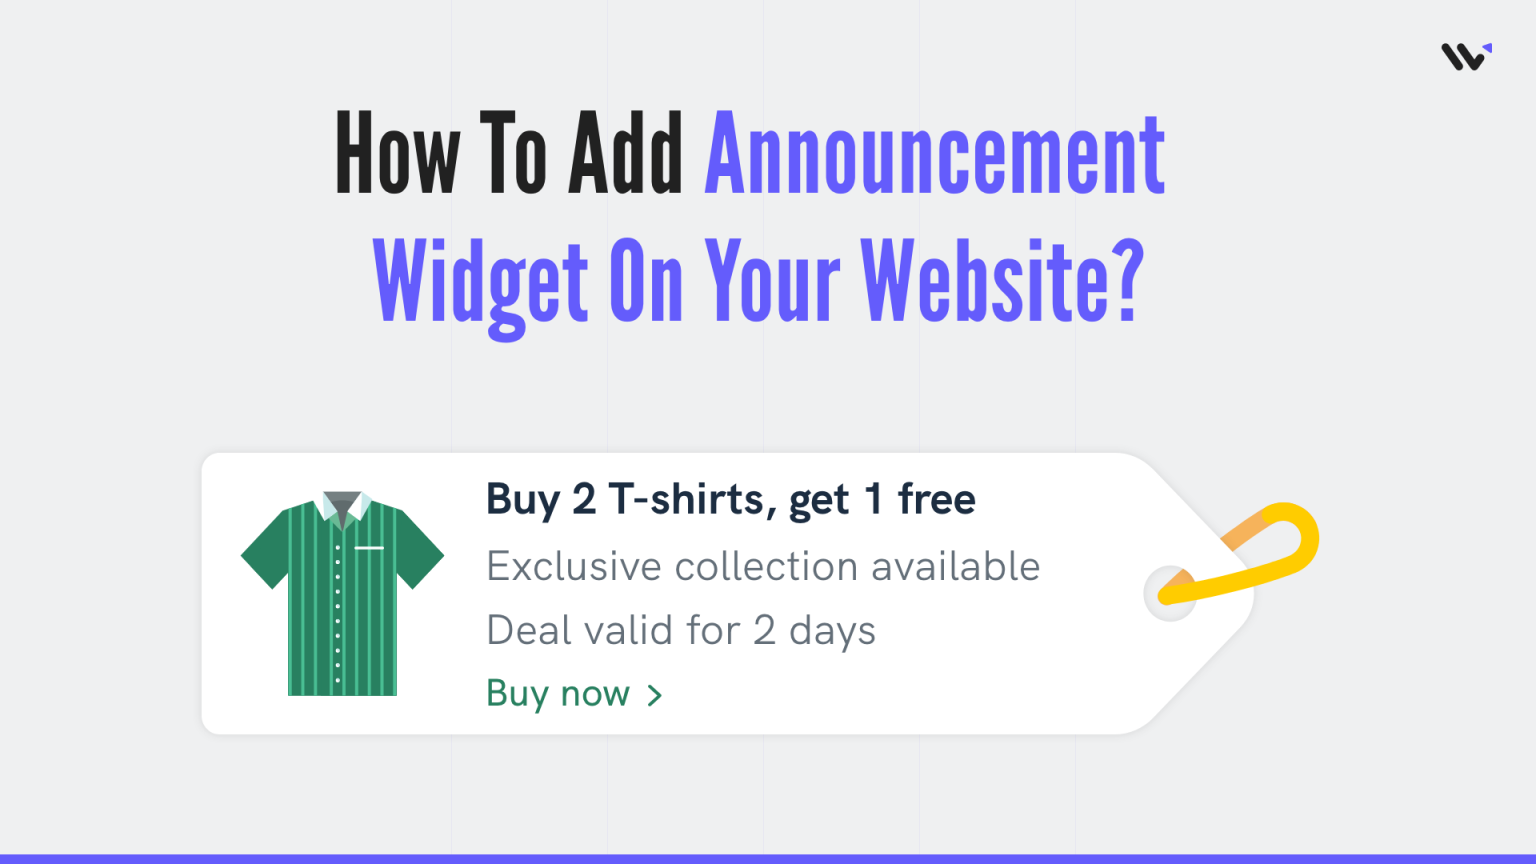
There are many ways to make a website more engaging and interactive. One of the most popular and effective ways is to use announcement widgets. An announcement widget is a great way to get more sales on your website. It’s a pop-up that appears when the user scrolls down the page. You can use it to promote your latest product or service, or you can use it to promote a specific offer.
There are many different types of announcements that can be displayed in an announcement widget such as:
-
- New product launches
- Social media feeds
- Promotions
- Latest blog post
The best part is that they don’t need any coding skills and can be used by anyone. They are also easy to install and customize, so you can use them for whatever purpose you want.
Let’s see how you can create an announcement widget for your website
Start Free Trial
Highlight real-time activities like reviews, sales & sign-ups.
How to Create Announcement Widgets for your website?
- Go to WiserNotify App and Create an account.
2. Once you log in, install the pixel on your website. You can find your pixel code here.
3. Now, click on the “Add Notification” button.
4. You will have different types of social proof notifications and widgets here. Click on Widgets and go to the announcement. Here you’ll see different types of announcement widgets for announcing discounts, offers, free plans, and more.
You can choose whichever you want to display. Just click on “Select Designs”
You’ll see a pop-up asking name and URL. Enter a name that is easy to remember, and enter the URL where you want to display announcements. You can enter multiple website URLs here. Once you fill in this information, click on “Create & Customize”.
5. You’ll be redirected to the customization page. Here we’ve two sections- Design, & Display.
6. In the design section, you can change the look and feel of the widget.
- See Preview on mobile and desktop screen
- Edit text, Icon, position, animation, shapes, borders, etc.
- Add CTA and make your widget clickable under the “Click” Option.
- Skip Seen widgets
- Display widgets in the loop with other notifications
- Apply Behavioral rule- Set start and expiry date for widgets or specific days of the weeks
- Set exit intent popups, scroll-based intent or time-based intent
- Set hide rules and countdown timer
Start Free Trial
Highlight real-time activities like reviews, sales & sign-ups.
You can also remove the design from the widget by enabling the “Embed into your HTML” option.
You can remove the design and show only text by using this option.
7 . Once you’ve customized the design section, save it and move to the next option by clicking the continue button.
8. The next section is the display section; here, you can set display rules.
- Choose specific pages you want to display widgets
- Add multiple website URLs
- Choose whether you want to display widgets to new or returning visitors.
- Target audience using UTM source, referrer site, and cookies name
9. Once you have customized both these options, click on “Finish.”
And turn the widget ON
That’s it. The announcement
widget will be live on your website. You can check it on your website
So that’s how you can create an announcement widget on your website and make announcements.
Related: 50+ real examples of social proof
We have also created one video on how you can create an announcement widget, you can watch it here.


