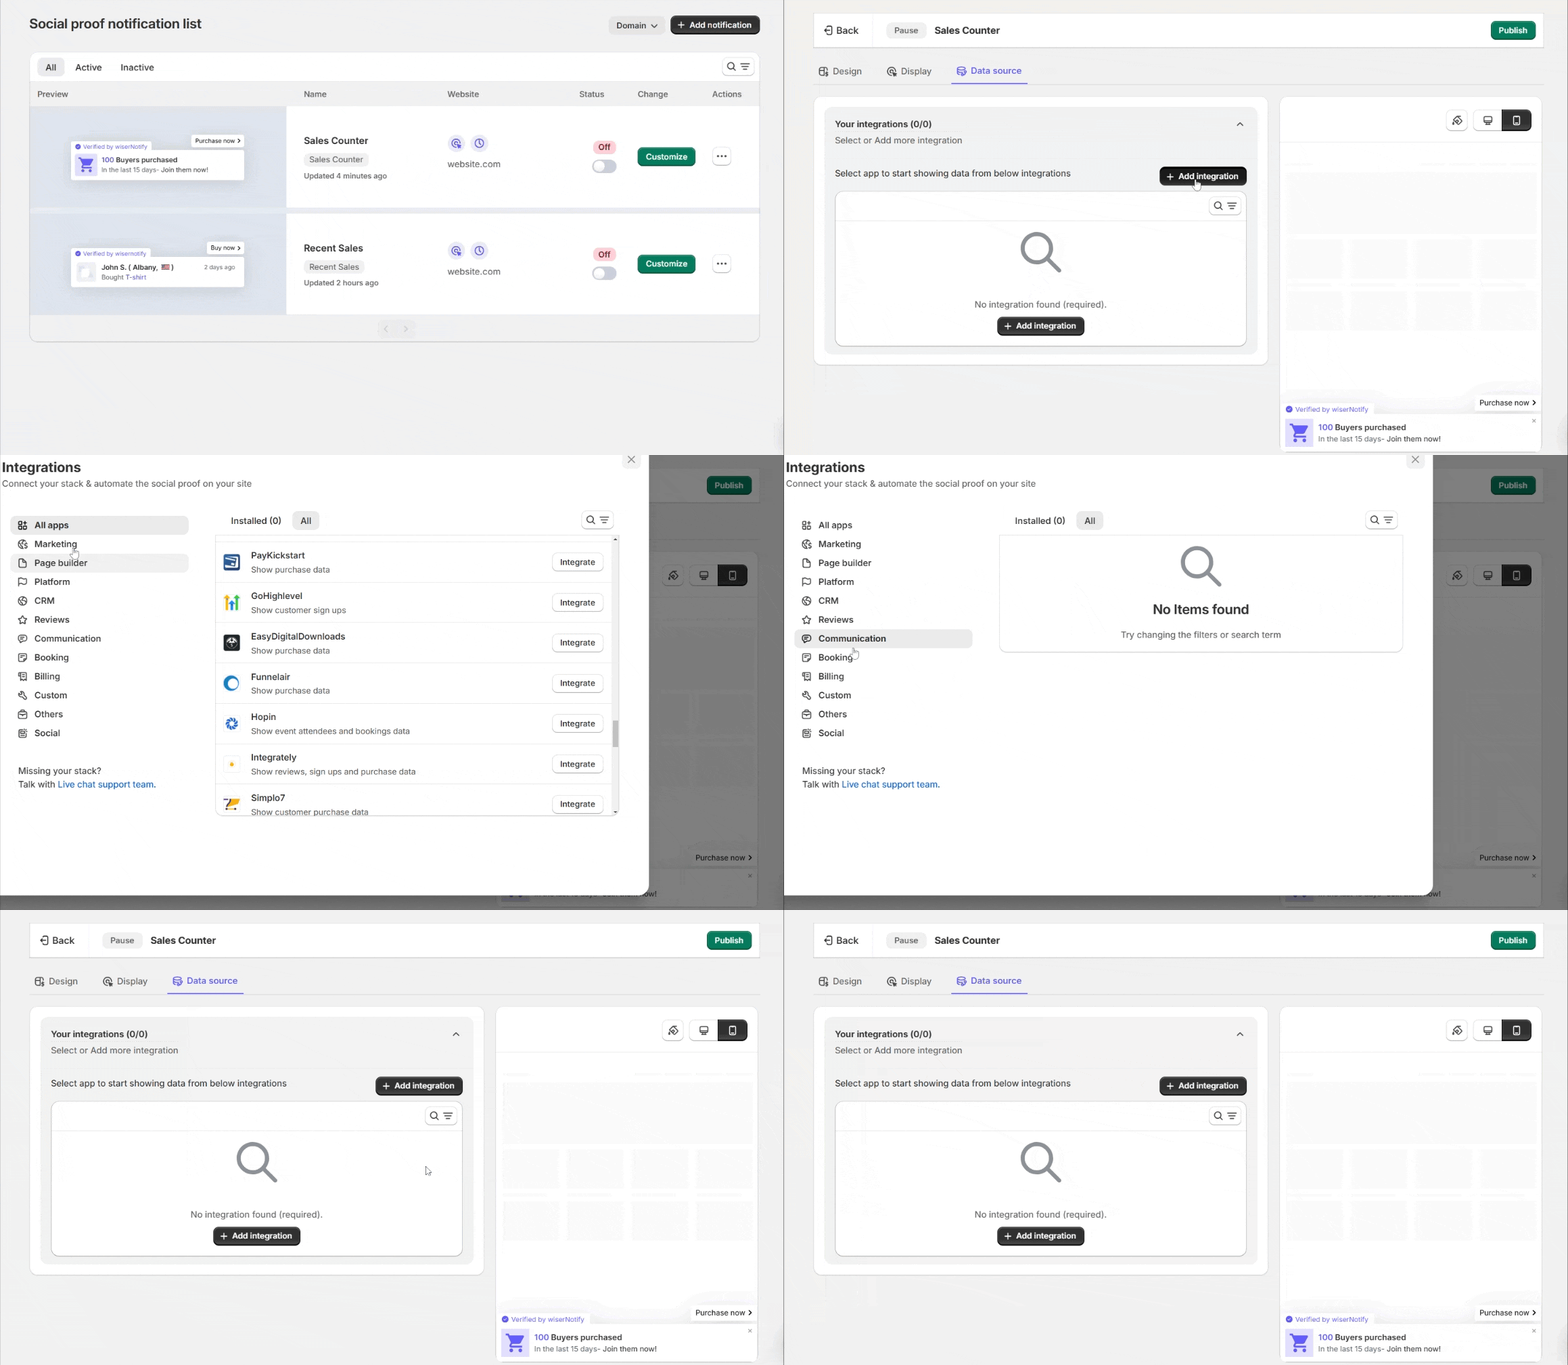
If you want to display Sales counter activities on your website with product names and details, WiserNotify makes it easy to set up and customize notifications to drive trust and urgency.
Follow this step-by-step guide to create and publish your notification.
Step 1: Create a Notification
- Log in to your WiserNotify dashboard.
- Navigate to the Social Proof section and select Sales Counter from the notification options.
- Click the “Add” button under the Recent Sales widget to begin
Step 2: Customize Your Notification
In the Design Section, customize the notification to align with your brand and preferences:

1. Text Editor
Customize the message that appears in the notification. You can use dynamic variables to reflect real-time data such as the number of sales.
2. Click Actions
Add actions for users to perform when they click on the notification, such as redirecting them to a specific page (e.g., a product or checkout page).
3. Position & Animation
Choose where the notification will appear on the screen and how it will animate when it displays.
4. Style
Modify the overall look and feel, including background color, font, borders, and shadows, to match your website design.
5. Embed Code
Contains the HTML code you need to embed the notification on your site.
6. Media (Image)
Icon/Image: Customize the image/icon displayed in the notification. For example, the shopping cart icon in the preview can be replaced with an icon of your choice.
Adjust Image Size: Resize the icon/image to fit the design of your notification.
7. Language Translate
Translate the notification text into different languages to cater to a global audience.
8. Time Customization
Time Singular and Plural: Adjust the text for how time is displayed (e.g., {x} minute, {x} minutes).
Here, you can see all the options in the designs section in detail.
Step 3: Configure Display Settings

Under the Display Section, define where and how your notification will appear:
1. Select Pages to Display Notifications On
Option: You can choose specific pages where the notification will be displayed.
Default Setting: It is set to “All Pages,” but you can customize it for specific URLs or patterns (e.g., only on product pages or checkout pages).
2. Display Notifications on Multiple Websites
If you have multiple websites, this section allows you to select which domain(s) the notification should be visible on.
Example: If you’re running the same campaign across different websites, you can configure the same notification for all.
3. Advanced Targeting Options
This allows you to target specific audiences based on various parameters. The options include:
- Country-Based Targeting: Show the notification only to visitors from specific countries.
- UTM-Based Targeting: Target visitors based on specific UTM parameters in the URL (e.g., campaign source, medium, etc.).
- Returning or New Visitors: Tailor the notification to either returning users or first-time visitors.
- Referrer Site: Show the notification to users coming from specific referrer websites (e.g., Google, Facebook, or other external links).
- Cookies-Based Targeting: Use cookies to identify users and show notifications if certain cookie names or values are present.
4. Import Display Rules
If you have existing rules configured elsewhere, you can import them here to streamline your setup.
5. Preview
As you configure these settings, you can see a real-time preview of how the notification will look on desktop and mobile views on the right-hand side.
Here, you can see all the options in the display section in detail.
Step 4: Integrate Data Source

- Navigate to the Data Sources tab.
- Select your integration (e.g., Shopify, WooCommerce, or custom webhook) to pull sales data.
- Configure data filtering options to refine the displayed records.
Here, you can see all detail options for data-source in detail.
Click “Save” and then “Publish” your notification.
Now, Visit your site.
Note: Ensure your website has the WiserNotify pixel installed correctly & has sales data for this notification.


