If you want to display review activities on your website with product names and details, WiserNotify makes it easy to set up and customize notifications to drive trust and urgency.
Follow this step-by-step guide to create and publish your notification.
Step 1: Create a Notification
- Log in to your WiserNotify dashboard.
- Navigate to the Social Proof section and select Review from the notification options.
- Click the “Add” button under the Review widget to begin
Step 2: Customize Your Notification
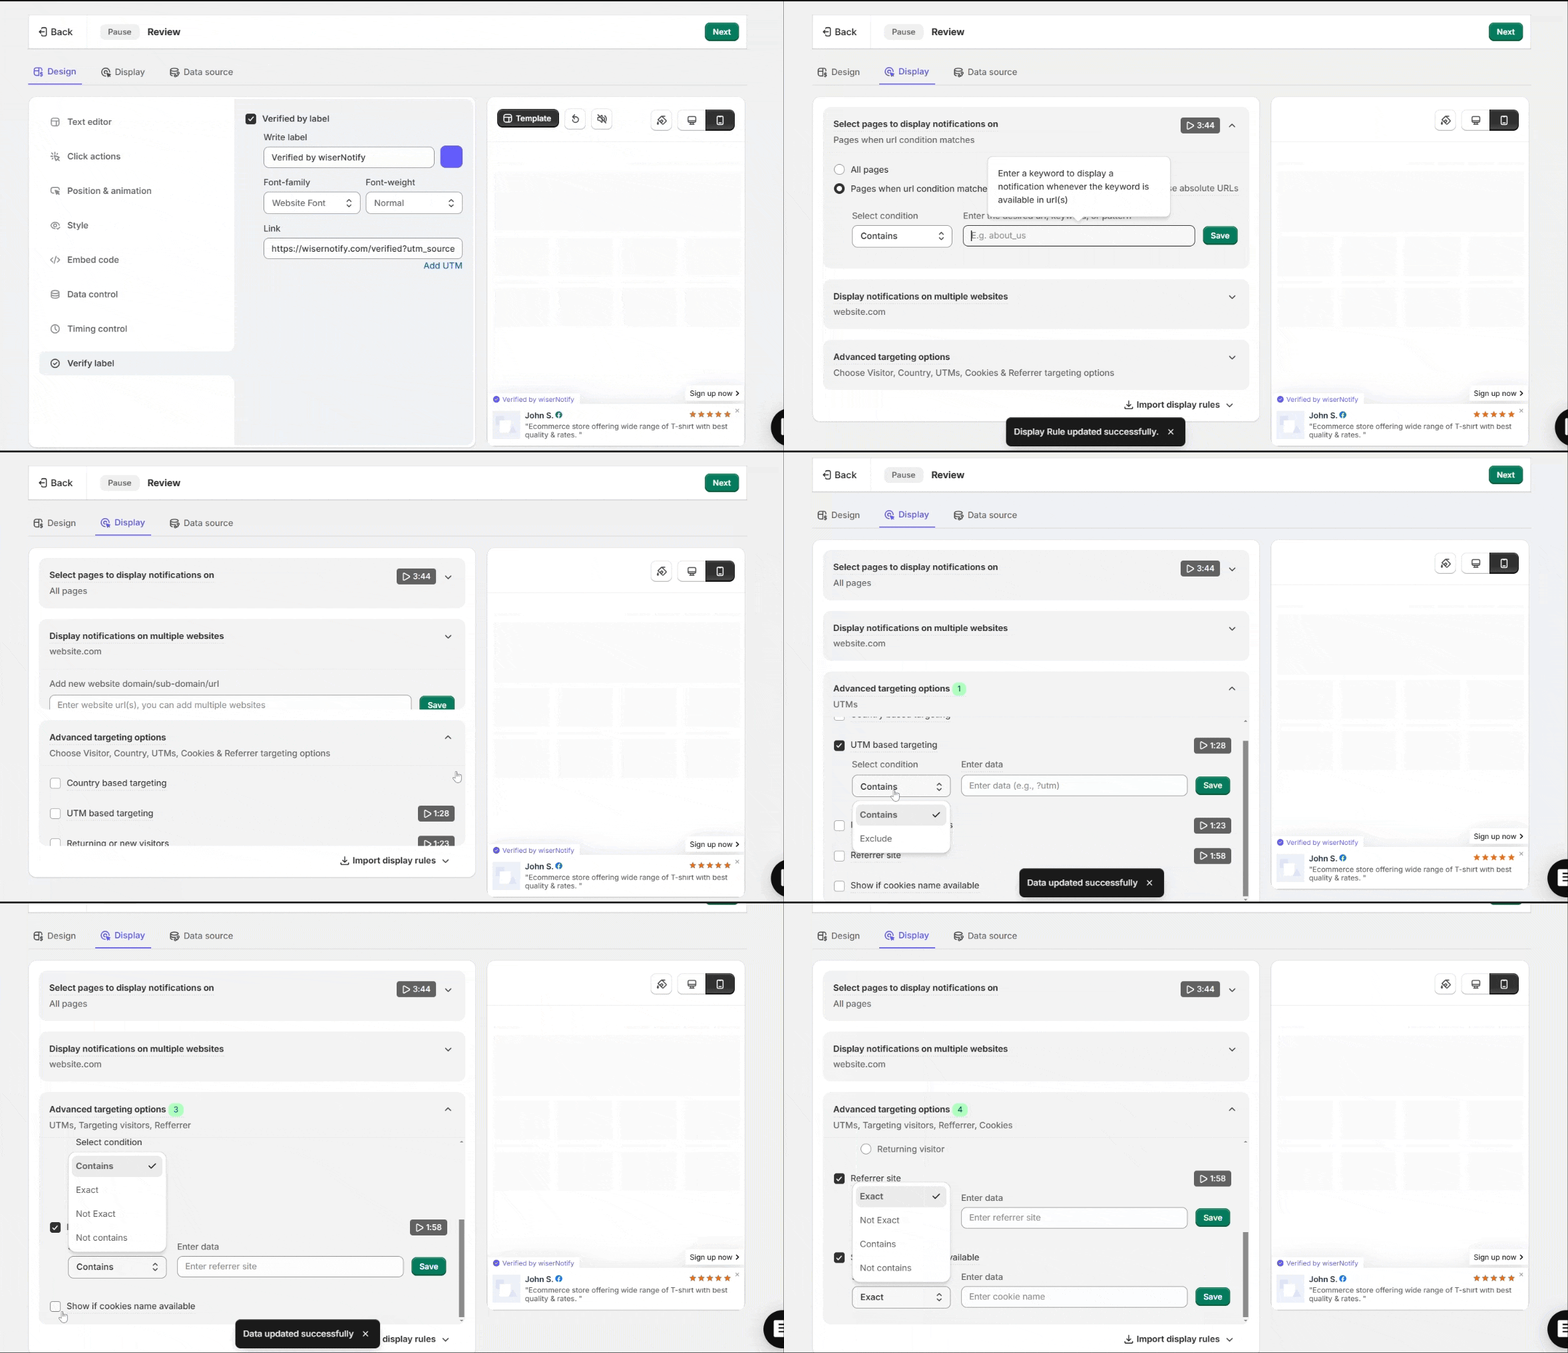
In the Design Section, customize the notification to align with your brand and preferences:

- Text Editor:
- Allows you to customize the text displayed on the notification.
- If no dynamic data is available, you can manage fallback text (e.g., “Best one”).
- Includes options for Trimming & Capitalization to:
- Capitalize text automatically.
- Shorten long words, phrases, or text to fit the notification area.
- Control the singular/plural formatting for time-based text (e.g., “{x} minute” vs. “{x} minutes”).
- Click Actions:
- Configure what happens when a user clicks on the notification (e.g., opening a URL, or scrolling to a specific section).
- Position & Animation:
- Set the position of the notification on the webpage (e.g., top-left, bottom-right).
- Choose animation effects (e.g., slide-in, fade-in) for the notification to enhance visibility.
- Style:
- You can adjust the notification’s visual appearance, such as colors, fonts, and size, to match your website design.
- Embed Code:
- Provides access to the notification’s embed code for manual placement on your website or integration with custom platforms.
- Data Control:
- Manage the data feeding into the notification, such as dynamic fields or placeholders.
- Timing Control:
- Set the display timing for the notification, including delays, duration, or specific schedules.
- Verify Label:
- Ensures all dynamic labels and fields are properly configured and displayed as intended.
Here, you can see all the options in the designs section in detail.
Step 3: Configure Display Settings

Under the Display Section, define where and how your notification will appear:
- Select Pages: Choose specific pages or display notifications across all pages.
- Multiple Websites: Configure settings for notifications on multiple domains.
- Advanced Targeting: Target users based on visitor behavior, location, UTM parameters, cookies, or referrer.
Here, you can see each option of display section in details.
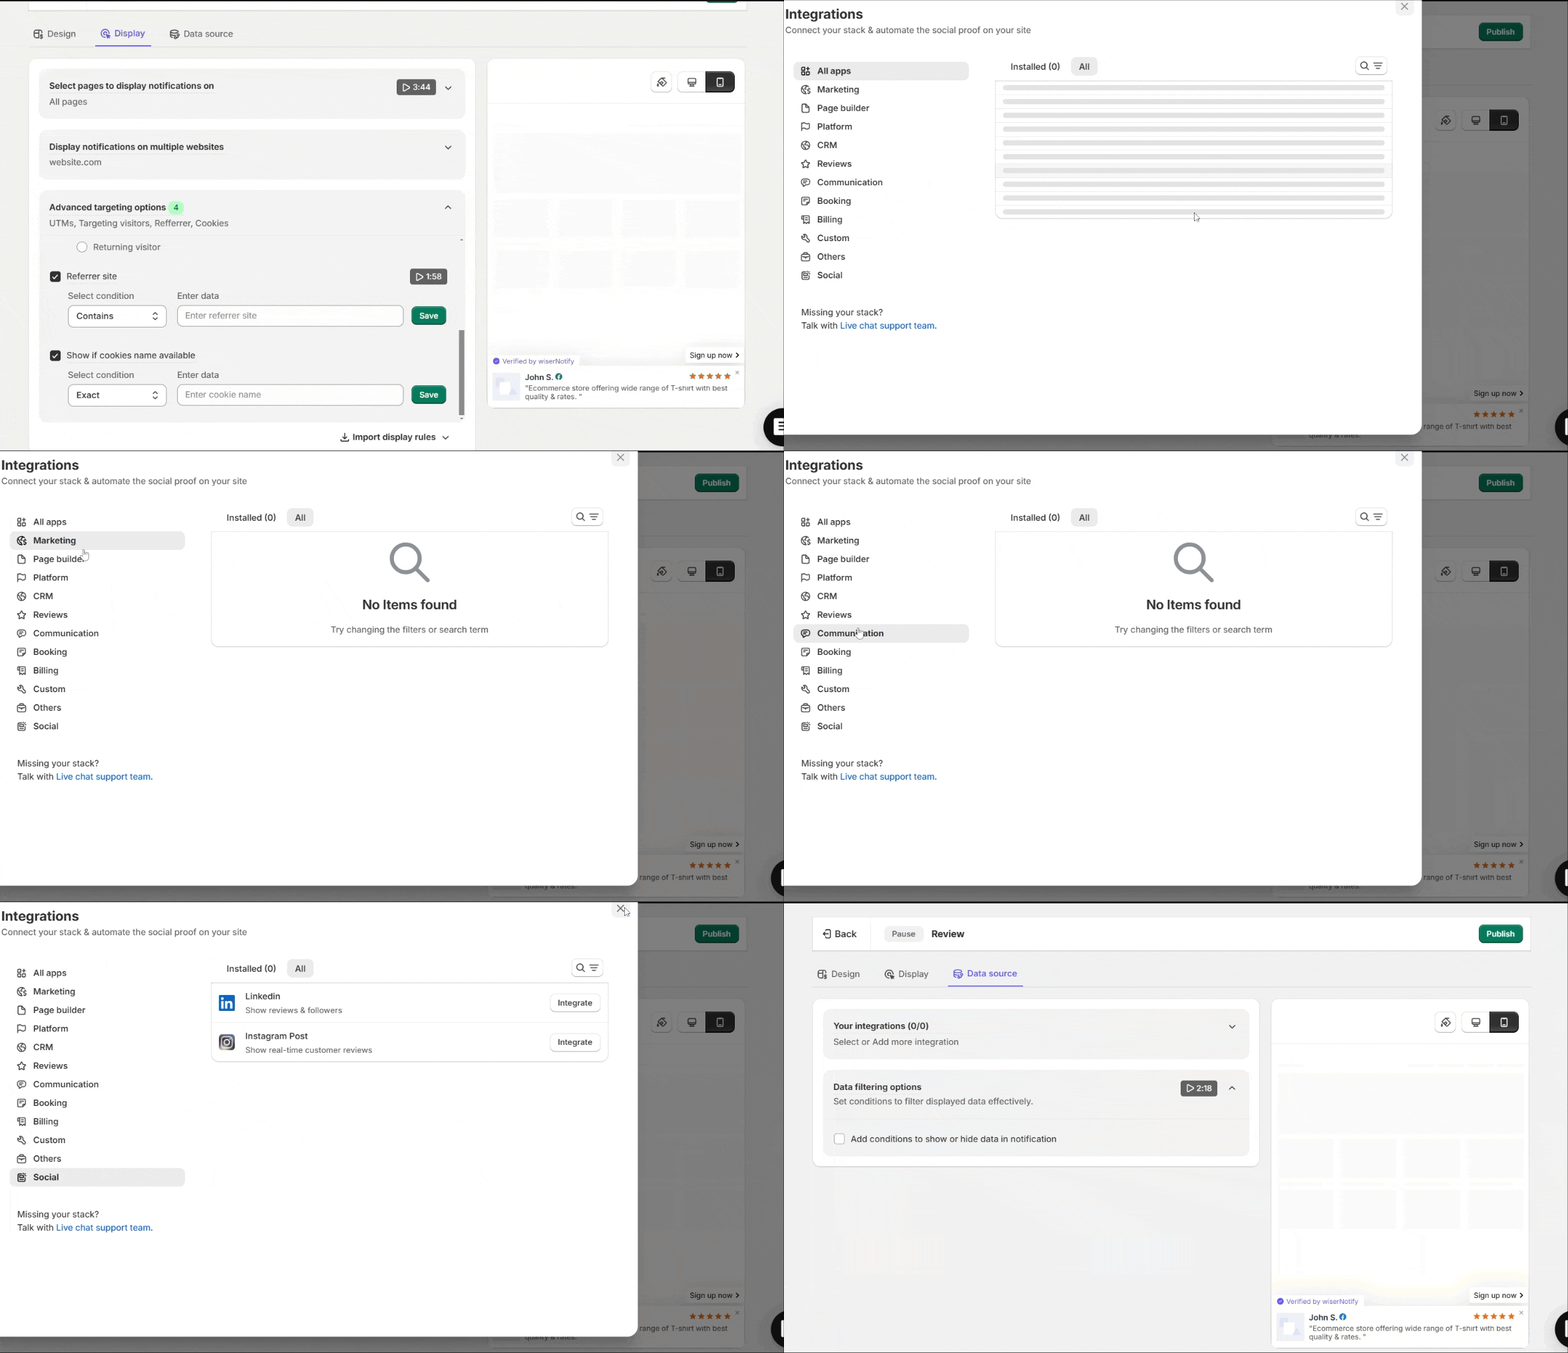
Step 4: Integrate Data Source & publish

- Navigate to the Data Sources tab.
- Select your integration (e.g., Shopify, WooCommerce, or custom webhook) for pulling sales data.
- Configure data filtering options to refine the displayed records.
Here, you can see all detail options of data-source in detail.
Click “Save” and then “Publish” your notification.
Now, Visit your site.


