This guide will walk you through:
- Display Notifications: Add the WiserNotify pixel code to your Webflow website.
- Capturing Sales & Lead Activities: Connect Webflow with WiserNotify using a webhook to fetch real-time sales & lead data.
Install WiserNotify Pixel Code to Webflow
Step 1: Get your wisernotify pixel code
- Log in to your WiserNotify account.
- Navigate to the Install Pixel page.
- Copy your Pixel Code.

Step 2: Add the Pixel Code to Webflow
Login with Webflow,
- Click on Setting in your project.
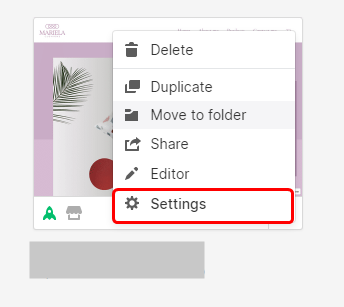
- Navigate to Custom code.
- Paste the WiserNotify Pixel code into the header code and click on the save changes button.

Done,
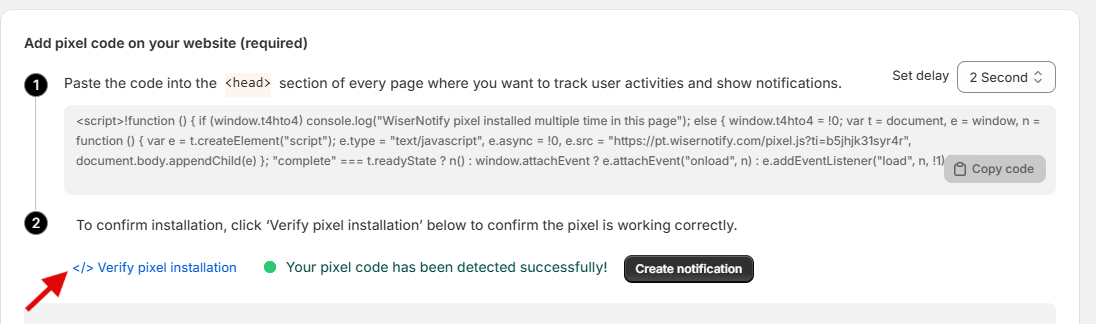
Step 3: Verify Installation
- Go back to your Wisernotify pixel page.
- Click on verify pixel installation to check if the pixel is active.
- If installed correctly, you will see a “Pixel Active” successfully message.
Note: This pixel script tag is required on every page wherever you want to track visitor activities, capture form submit events & display notifications.
Add API Key to Connect Webflow to pull the events Sales & Lead Activities
Step 1: Get the API key from Webflow
- Go to WiserNotify > Webflow Integration.
- Click on the Integrate button inside the Integration box.

Login with web flow
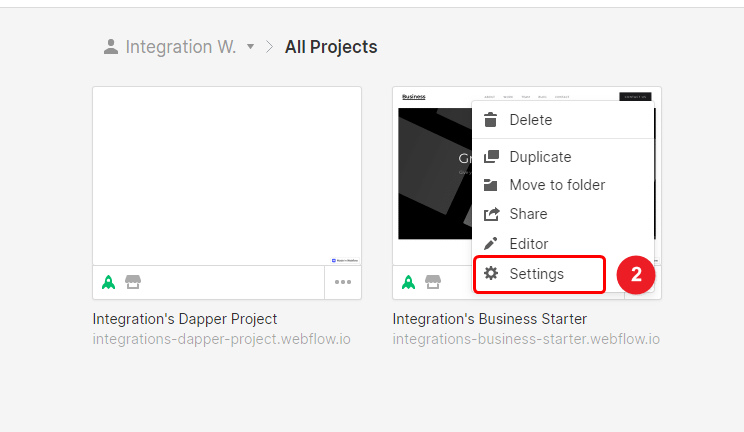
1. Edit your Site.

2. Click on the setting option.
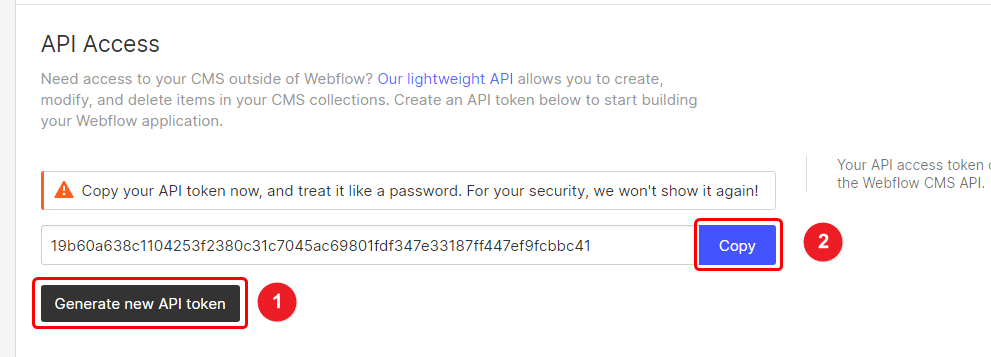
- Click on the Integration tab.

1. Click on the generate access token button.
2. Click to copy the button.
Step 2: Configure API in Wisernotify
1. Enter the API token.
2. Enter a connection name
3. Click on the Create button.

Please test by adding a new data & visit the WiserNotify – Dashboard Data page. Here, You can see all the captured/ received data with its source name.