
How to Add a Sales Popup on Leadpages (No Code)
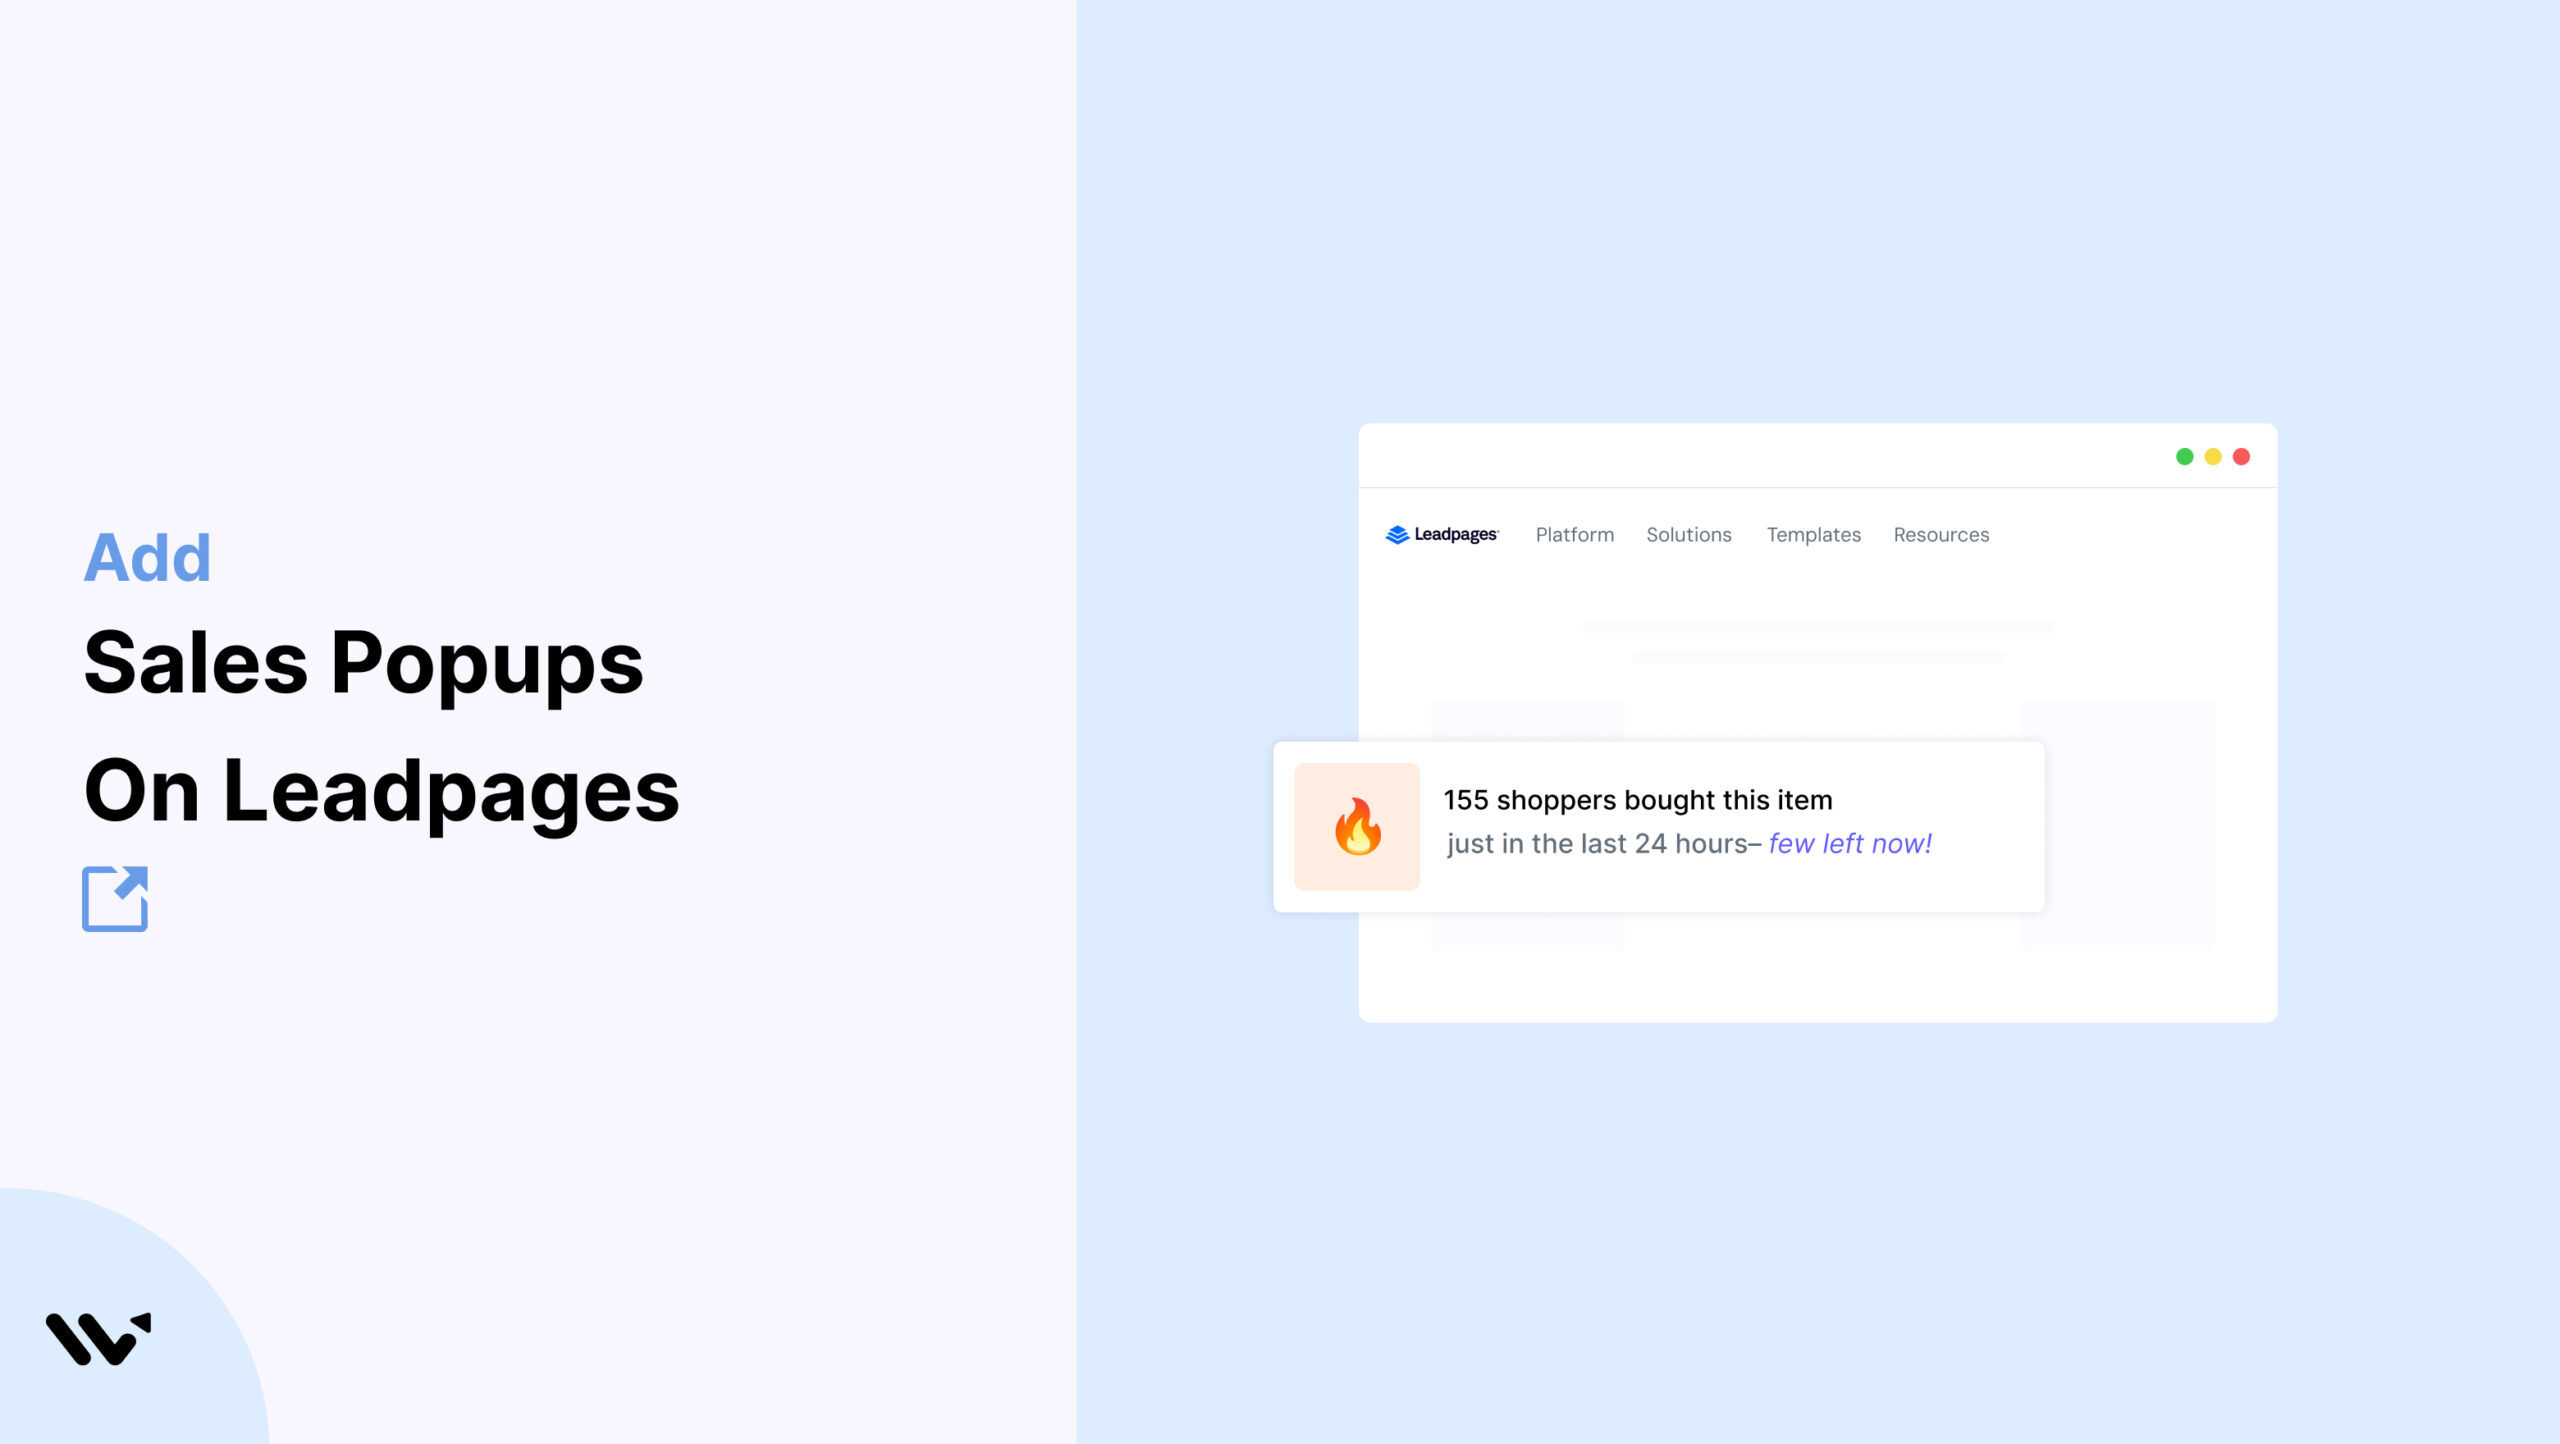
You’ve built a clean landing page in Leadpages, with a strong headline, a clear offer, and a simple form. But a lot of visitors still leave without signing up.
It usually comes down to trust, and social proof statistics show that around 70% of people check for proof before they act.
A first-time visitor doesn’t know if anyone else is signing up. A live popup like “Nina from Atlanta just downloaded the Lead Magnet Toolkit” is social proof that shows them, on the spot, that they are.
WiserNotify adds these sales notification popups to your Leadpages pages, no code needed.
How to Add a Sales Popup on Leadpages
The whole setup is no-code. You paste one WiserNotify pixel into your Leadpages site, then build and manage the popup from the dashboard. The video below walks through creating the notification, and the steps are written out under it.
Step 1: Copy Your WiserNotify Pixel
Create a free WiserNotify account or log in. Open the Install Pixel page and click Copy Code.

Step 2: Edit Your Leadpages Site
Log in to Leadpages and open the site you want to edit.
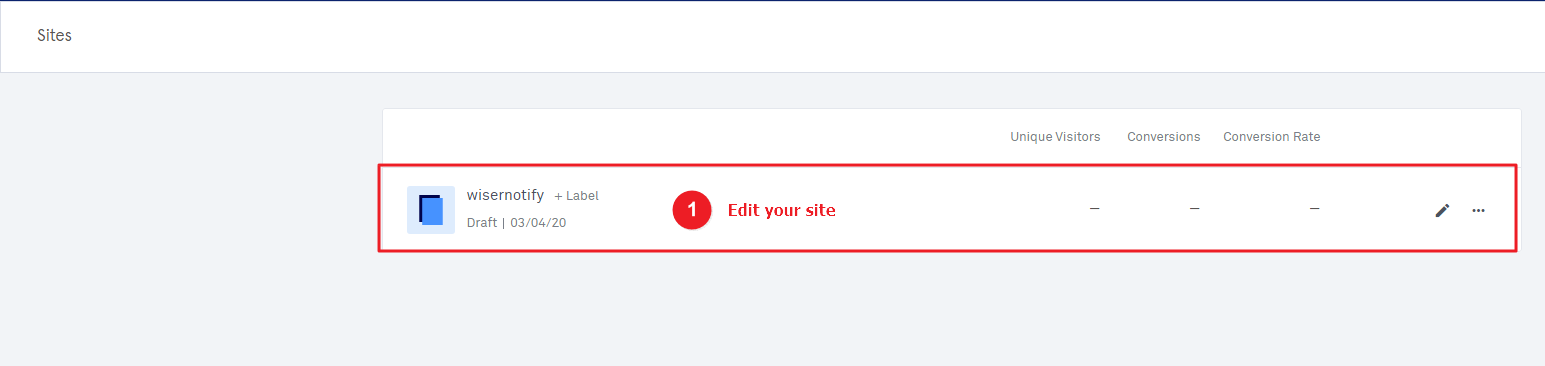
Step 3: Paste the Pixel in the Analytics Tab
Click Settings, open the Analytics tab, and paste your WiserNotify pixel into the Head Section Tracking Code box. Click Save, then click Publish to push it live.
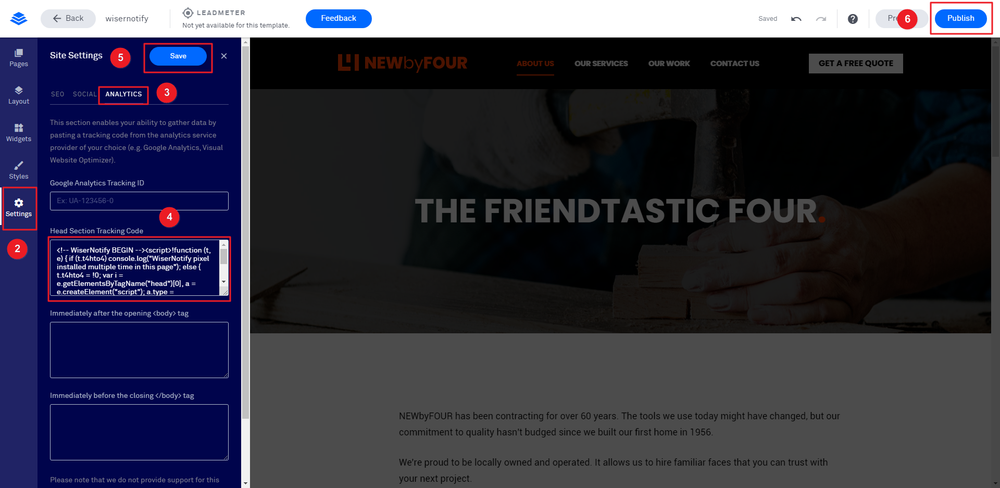
For the full detail on this step, see the Leadpages integration guide.
Step 4: Verify the Pixel
Open your Leadpages site once so it loads the pixel, then go back to the WiserNotify pixel page and click Verify pixel installation. A “Pixel Active” message means you’re connected.

Step 5: Create a Sales Notification
In the WiserNotify dashboard, click Add Notification and open the Sales Activities tab. You get two options:
- Recent Sales: shows each buyer’s name, location, product, and time.
- Sales Count: shows the total number of sales over a period.
Pick Recent Sales, choose a design, then name it and enter your Leadpages URL.

Step 6: Design the Notification
In the Design section, set the popup to match your page:
- Style: adjust the icon, position, animation, borders, and colors.
- Text editor: edit the wording and change the language if you need to.
- Click action: turn on a CTA button if you want the popup to link somewhere.
- Data and timing: set a display delay and how long the popup stays on screen.
Save your changes when the design looks right.

Step 7: Connect Data and Publish
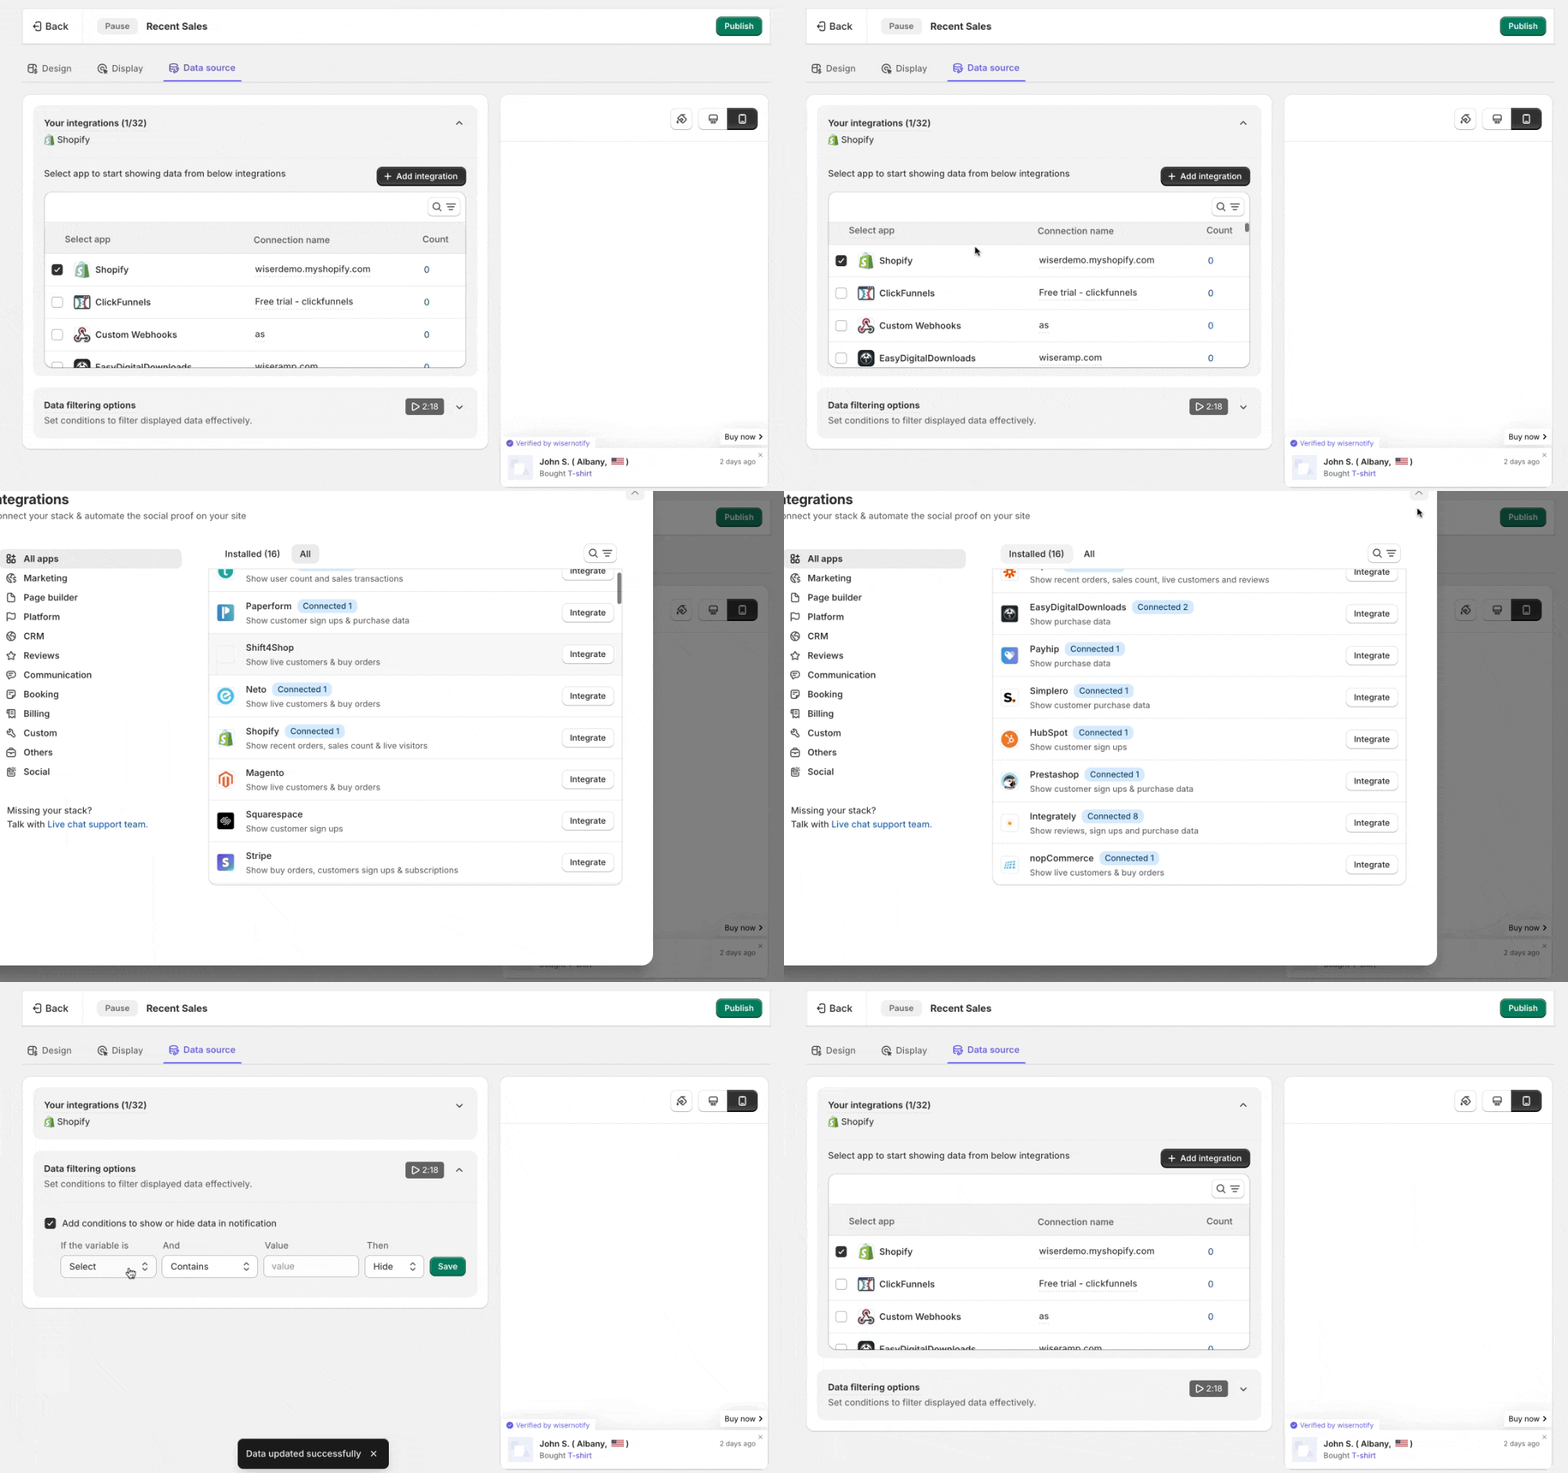
In Data Source, connect where your leads or sales come from, a form tool, payment gateway, or webhook, so the popup runs on real activity. In Display, set it to show on your Leadpages pages.
Then click Finish, turn it on, and open your page in a private window to see it live.

Boost Conversion Instantly
Add Social Proof & Urgency to your website
Popup Not Showing Up on Leadpages?
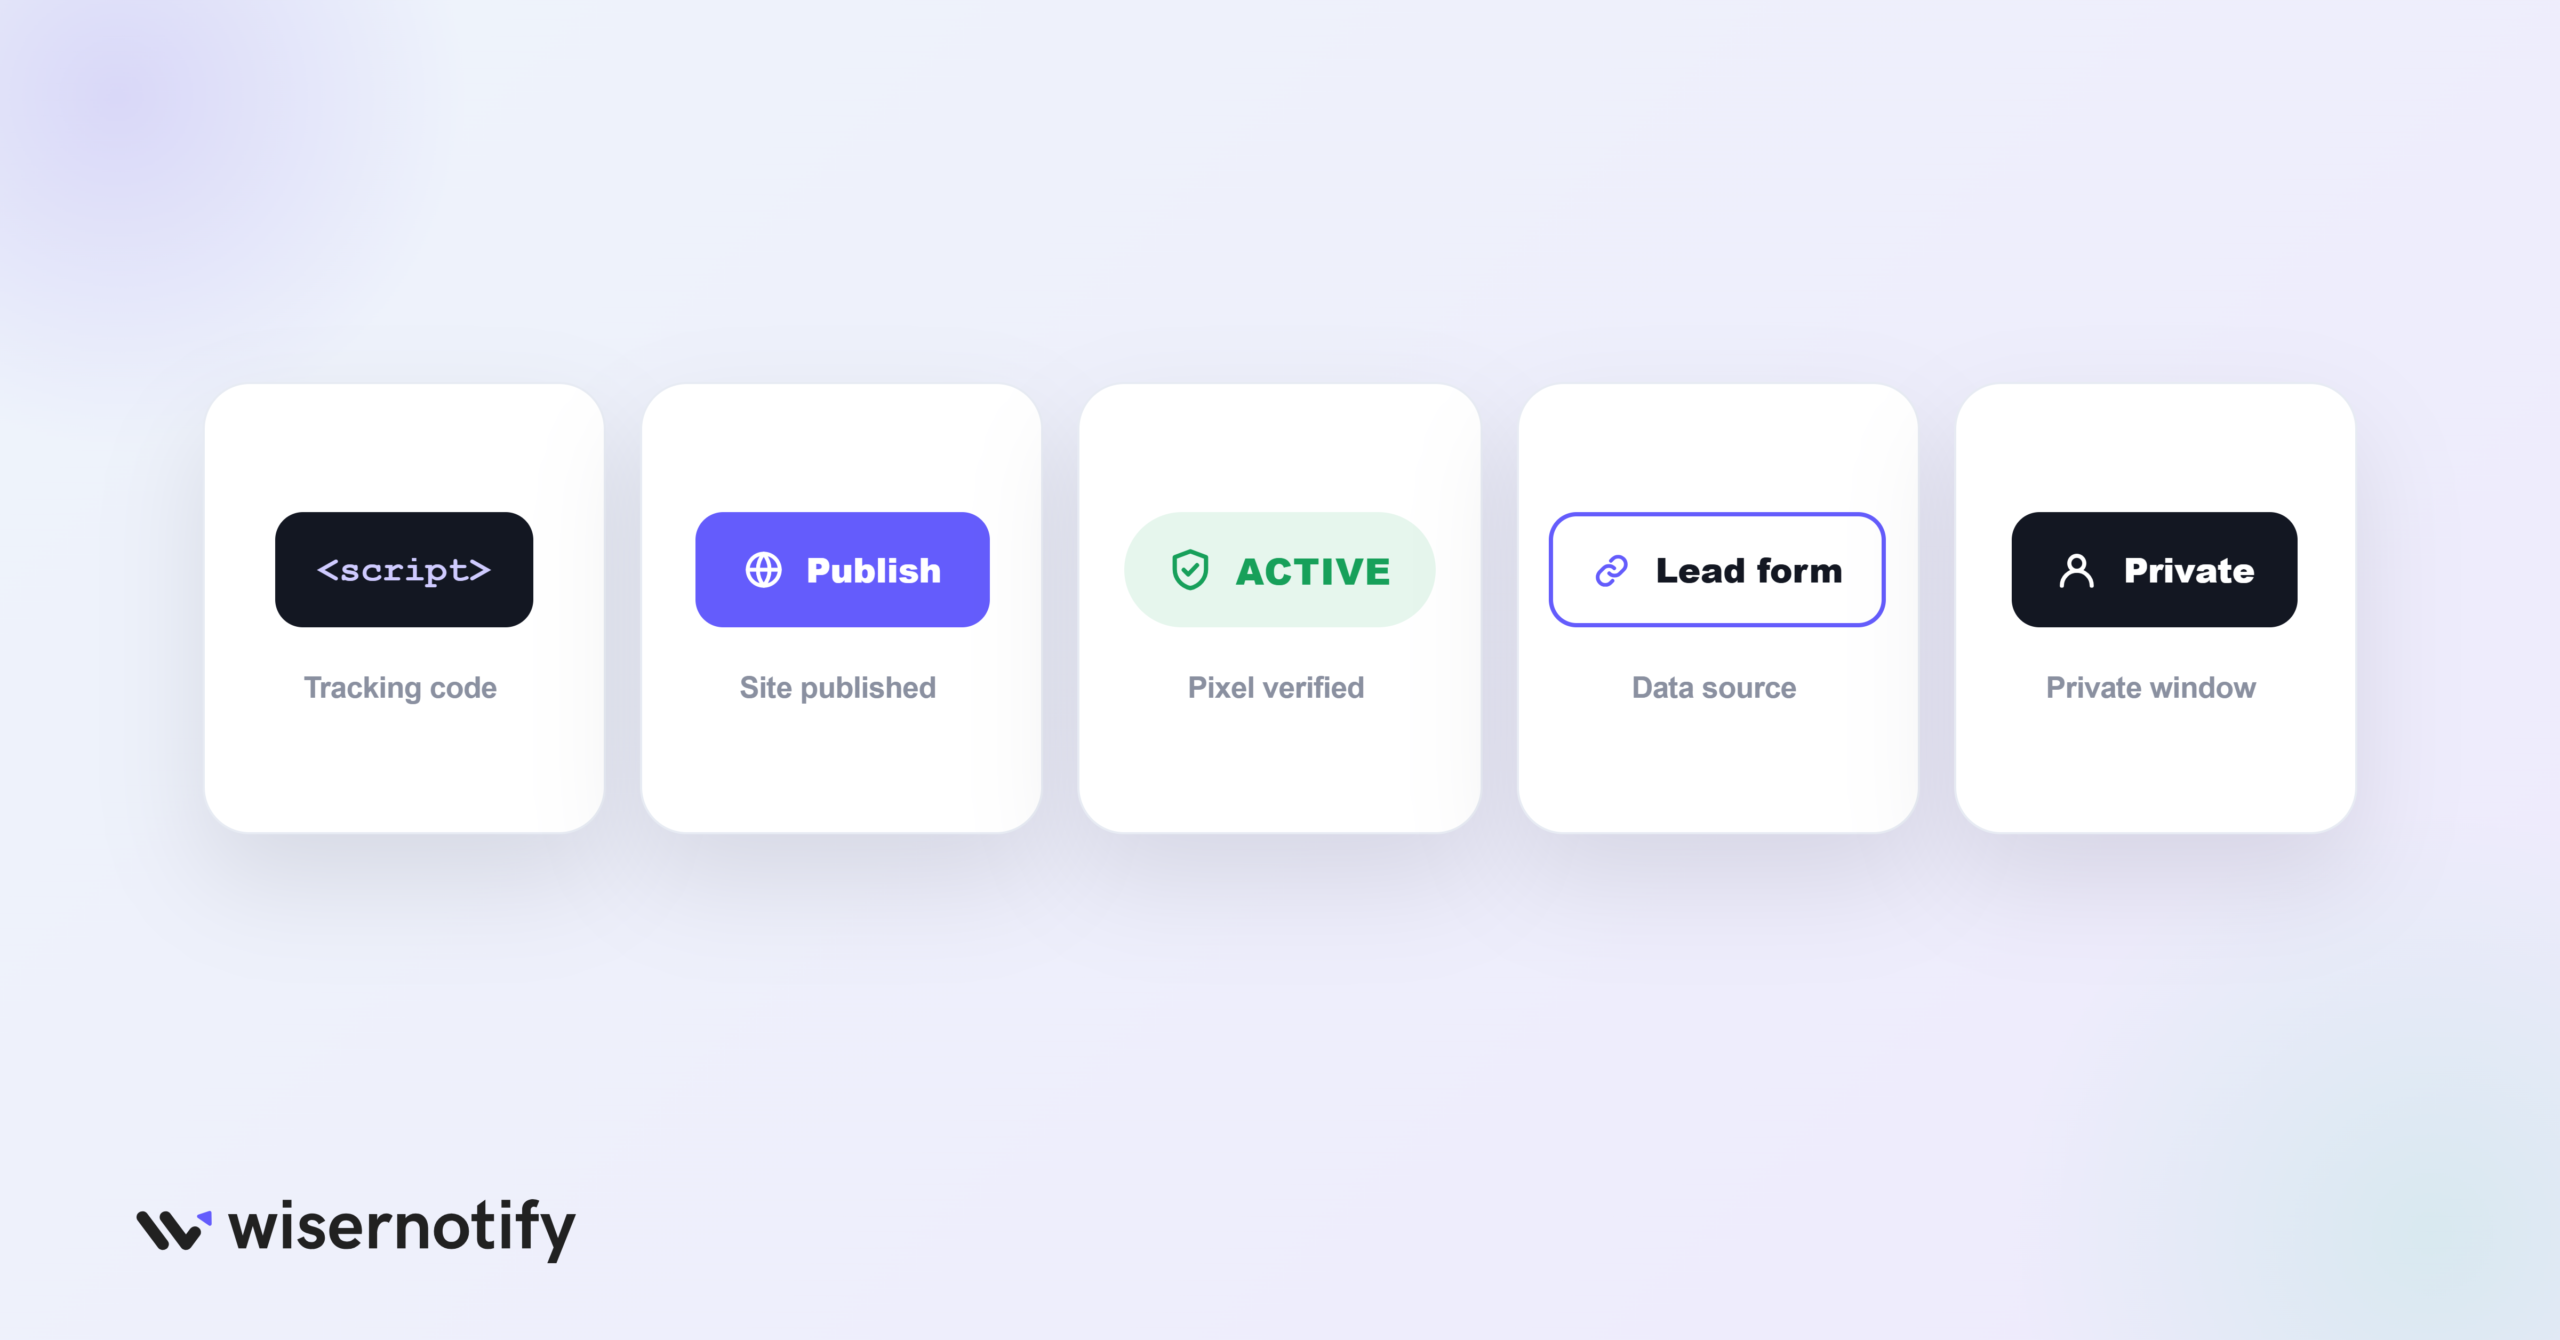
If the popup isn’t showing on your live Leadpages site, check these first:
- Pixel not in the Analytics tab: the code has to go in Settings > Analytics > Head Section Tracking Code, and you have to Save.
- Site not published: saving isn’t enough, click Publish so the code goes live.
- Pixel not verified: load your page once, then click Verify pixel installation and confirm it shows Active.
- Wrong data source: in the notification’s Data Source, confirm the right lead or sales source is connected.
- Cache: open the page in a private window so you’re not seeing an old version.
Still stuck? WiserNotify’s dashboard has a built-in check that shows what’s wrong, and live chat can help.
Is the Leadpages Sales Popup Free?
You can try it free. WiserNotify offers a 7-day free trial, so you can add the pixel to Leadpages, set up a popup, and see how it performs before you pay anything.
After the trial, you pick a paid plan based on your monthly visitor traffic. Plans scale up as your traffic grows, and higher tiers add more widgets and features.
For most Leadpages sites, the trial is enough time to run a live popup and see whether it lifts conversions before committing.
Sales Popup Tips for Leadpages
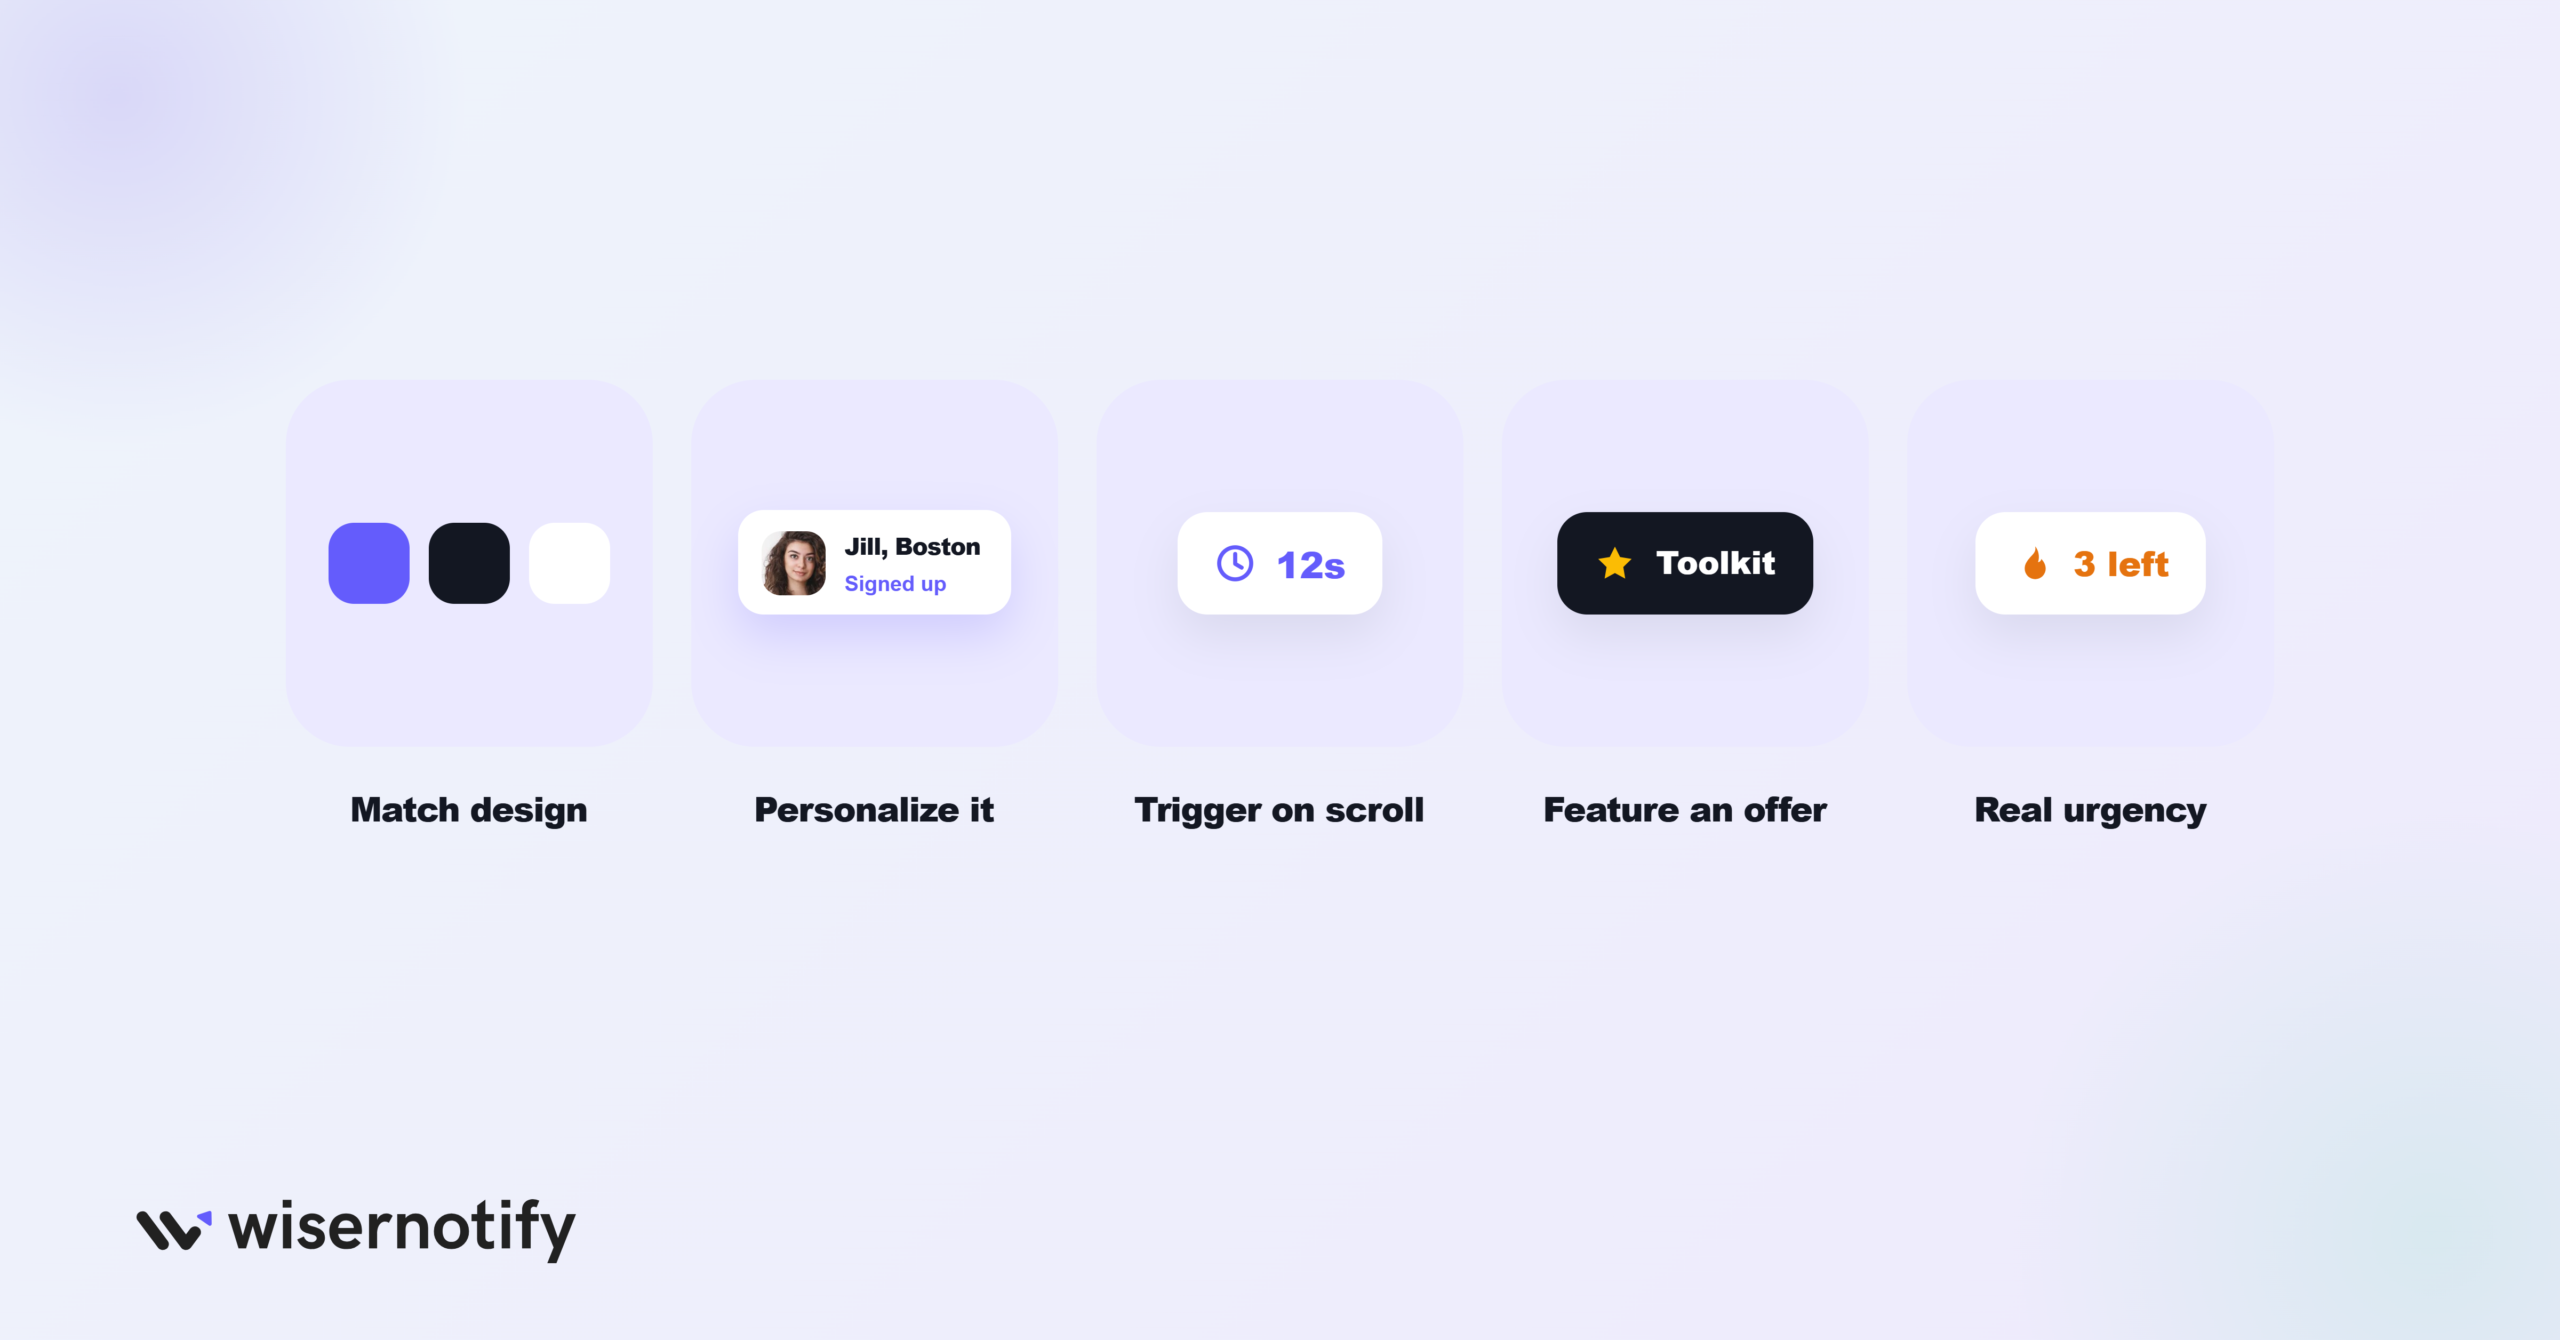
- Match your page design: use your Leadpages colors, fonts, and layout so the popup looks like part of the page, not an add-on.
- Personalize the message: “Jill from Boston just signed up for the course” reads real, as the best social proof examples show. It beats a vague “someone signed up.”
- Trigger on behavior: show it after 10 to 15 seconds or a 40% scroll, so only engaged visitors see it.
- Feature your best offer: tie the popup to your top lead magnet or course, like “Emma just downloaded the Lead Conversion Toolkit.”
- Use urgency when it’s real: a line like “Only 3 spots left” is a simple way of creating urgency in sales, but keep it true.
Sales Popup Mistakes to Avoid on Leadpages
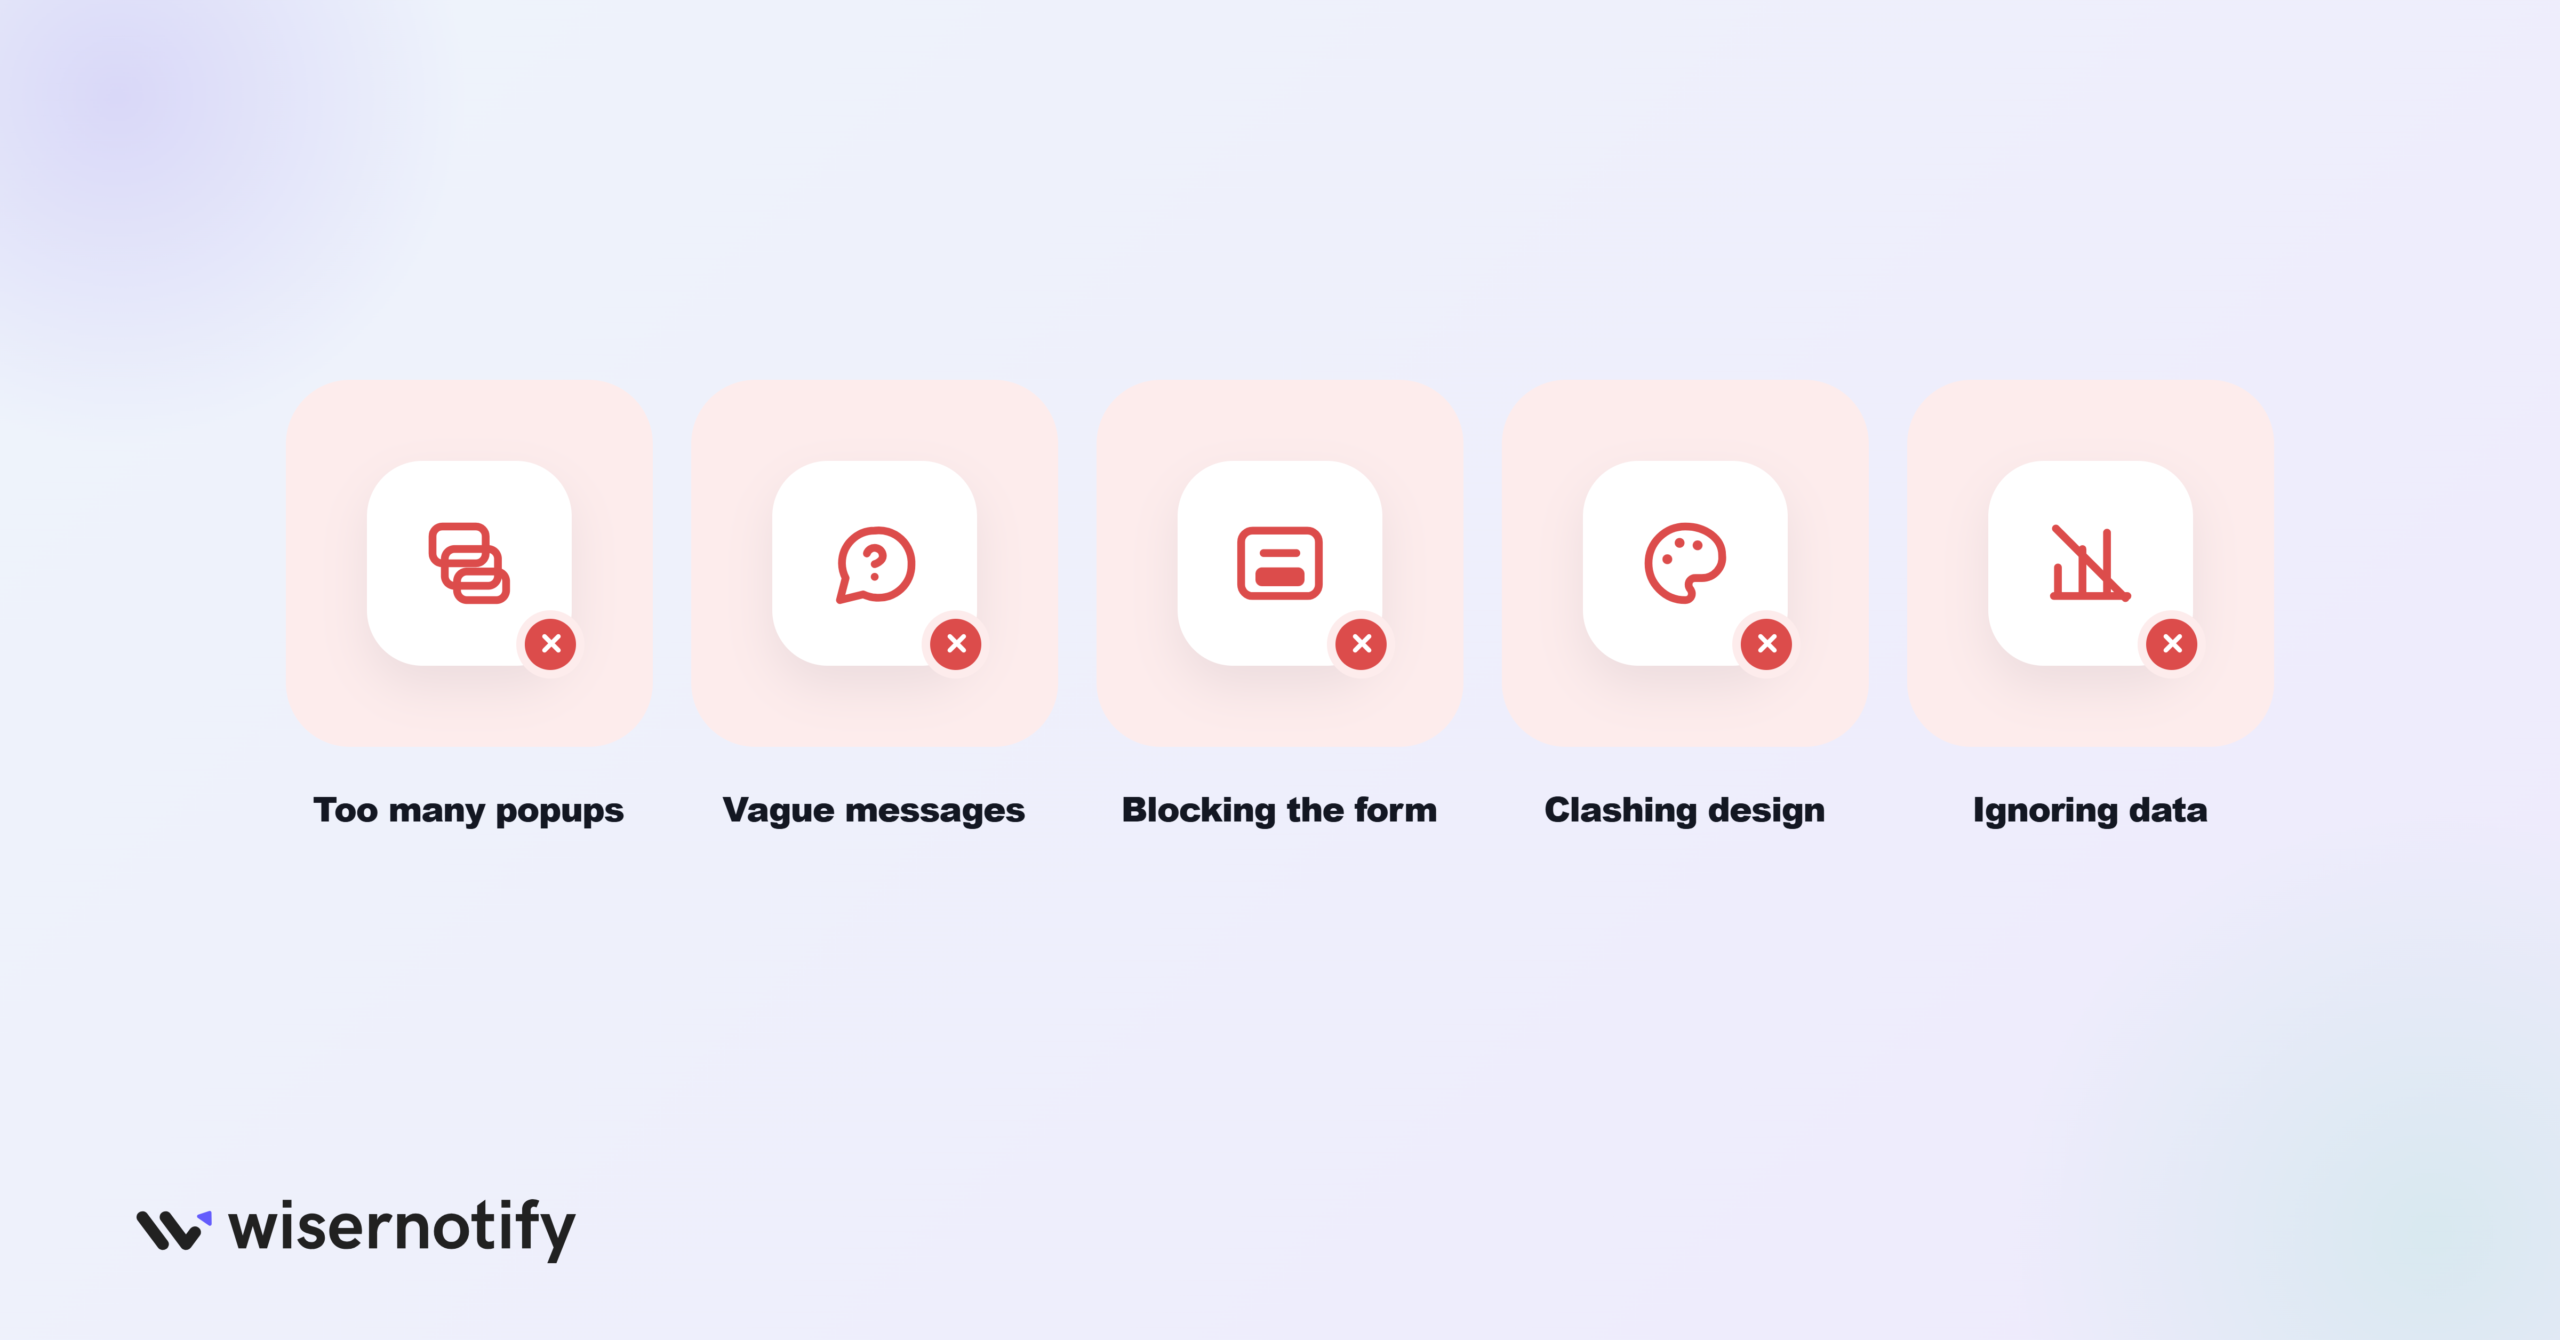
- Too many popups: constant popups clutter a focused landing page and annoy visitors. Show one every 30 to 60 seconds and cap it at two or three per session.
- Vague messages: “someone signed up” doesn’t build trust. Include the name, city, and the specific action so it feels real.
- Blocking the form: a popup over your CTA or form fields costs you the conversion. Keep it in a corner and test on mobile.
- Clashing design: default or off-brand styling looks spammy. Match the popup to your Leadpages fonts and colors.
- Ignoring the data: setting a popup and forgetting it means guessing. Watch impressions, clicks, and conversions, then adjust.
Build trust & FOMO
Highlight real-time activities like reviews, sales & sign-ups.


Wrap-Up
Leadpages helps you build pages that convert. Sales popups add the trust that turns more visitors into signups.
With light, customizable popups tied to real activity, you give visitors more confidence and help them decide faster, without redesigning your page or touching your form.
Set up your WiserNotify sales popup on Leadpages and give every landing page the proof it needs to convert.
Related guides
Setting up a sales notification popup on a different platform? These walk through it:
Frequently Asked Questions
Does Leadpages have a built-in sales notification popup?
No, Leadpages has no native sales popup. You add one with WiserNotify by pasting a pixel into the Analytics tab, then build and manage the popup from the dashboard.
How do I add WiserNotify to Leadpages?
Copy your WiserNotify pixel, edit your Leadpages site, go to Settings > Analytics, paste it into the Head Section Tracking Code box, click Save, then Publish.
What can the sales popup show?
Recent Sales shows each buyer’s name, location, product, and time. Sales Count shows the total number of sales or signups over a period you choose.
Where does the popup data come from?
Connect your lead or sales source, a form tool, payment gateway, or webhook, in the notification’s Data Source, so the popups run on real, recent activity.
Is there a free trial for the Leadpages sales popup?
WiserNotify offers a free 7-day trial, so you can add the pixel to Leadpages and set up a popup to test it before choosing a paid plan.

Krunal Vaghasiya is a marketing tech expert who boosts e-commerce conversion rates with automated social proof and FOMO strategies. He loves to keep posting insightful posts on online marketing software, marketing automations, and improving conversion rates.




 Capterra