
How to Add a Callback Widget to LearnWorlds
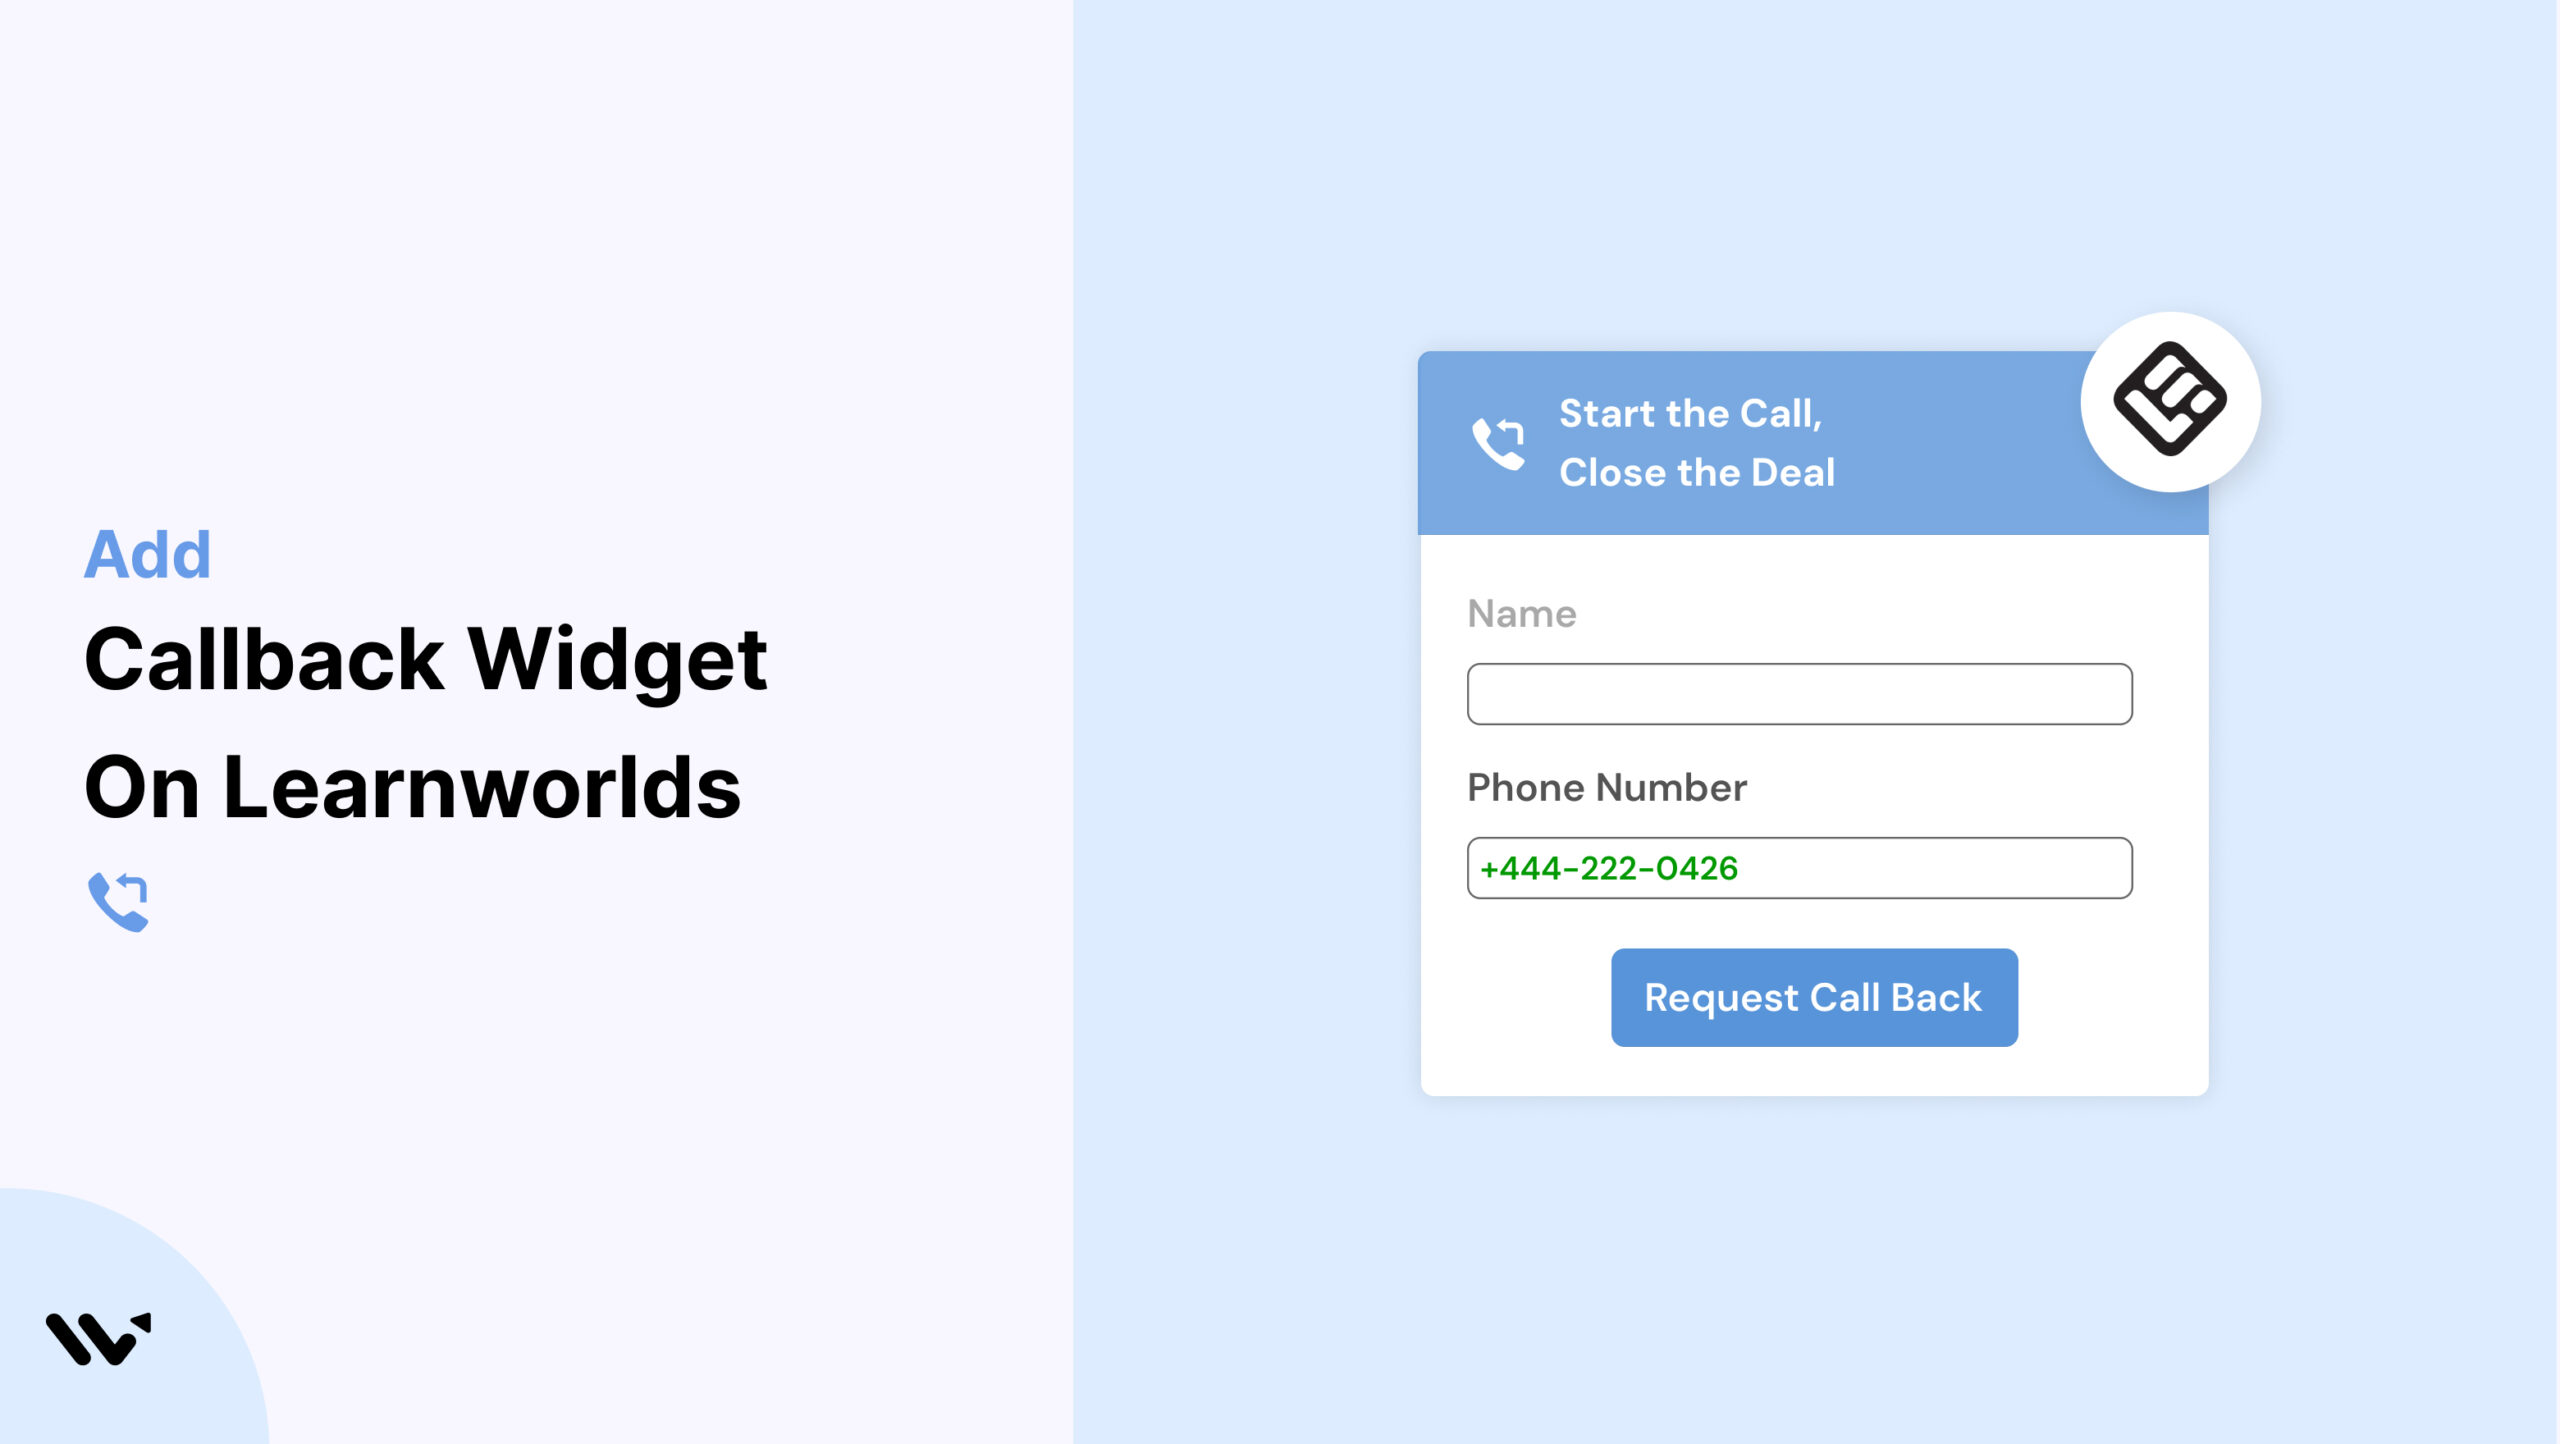
To add a callback widget to LearnWorlds, paste the WiserNotify pixel into Site Custom Code’s logged-out head box, click Update, then set up the Call back widget with your number and turn it on. One tap lets a course visitor ask for a call.
Course buyers stall on real questions. Which cohort fits my schedule, is this too advanced, what happens after I pay.
The steps below cover the LearnWorlds Custom Code paste with a screenshot, the widget build, and the pages where the button earns actual calls.
Key takeaways
- The pixel goes in Site Custom Code under your school’s website editor, in the head box for logged-out visitors.
- The Call back widget sits under Widgets, Call To Actions in WiserNotify, with no page editing needed after the paste.
- Show it on course and pricing pages, and keep it out of the course player.
Why a Callback Widget on LearnWorlds?
A course is a considered purchase. Someone weighing a $900 program wants one answer from a human before enrolling.
Without a way to ask, many close the tab and promise themselves they will come back. Most never do.
A callback button catches that moment. Every request hands you the phone number of a buyer who was already on your course page.
Build trust & FOMO
Highlight real-time activities like reviews, sales & sign-ups.

How to Add a Callback Widget on LearnWorlds
The video covers the widget build end to end. The LearnWorlds-specific steps with screenshots follow.
Step 1: Copy Your WiserNotify Pixel

Start your WiserNotify trial, 7 days free, or log in. The Install Pixel page holds the code. Copy it.
Step 2: Paste It in Site Custom Code
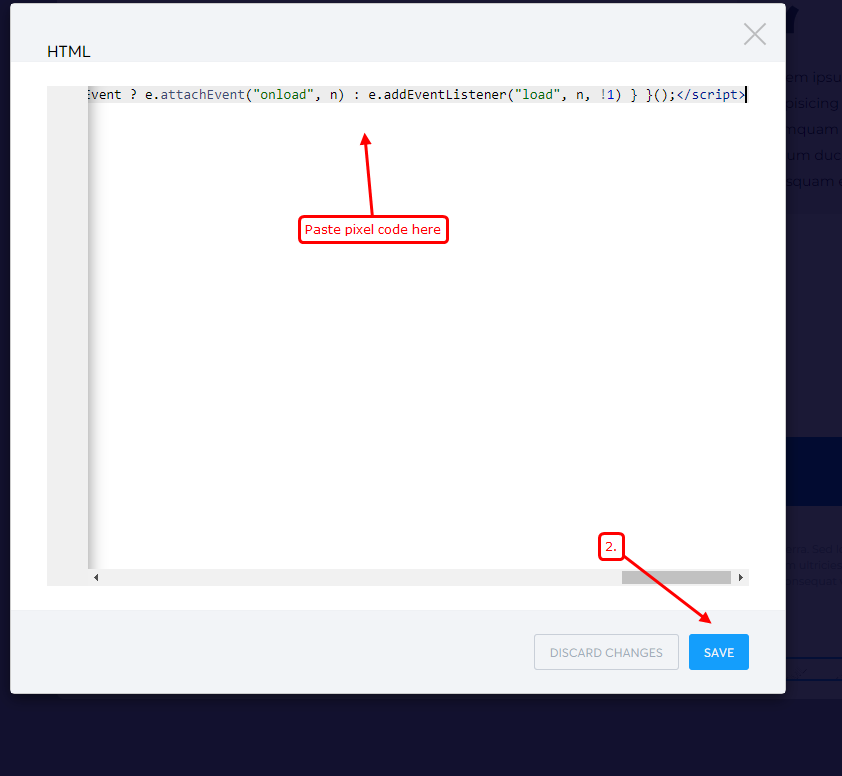
In LearnWorlds, go to Website > Design > Edit website. In the editor, open Page > Custom Code > Site Custom Code.
Paste the pixel into the head box for logged-out visitors, the people deciding whether to enroll, and click Update.
Want current students to see the button too? Paste the same code into the logged-in head box before updating.
Step 3: Verify the Pixel

Load your school once in a private window. Back in WiserNotify, hit Verify pixel installation. A green Pixel Active message confirms the paste worked.
Step 4: Add the Call Back Widget

Head to Widgets in WiserNotify and open the Call To Actions tab. On the Call back card, click Add, name the widget, point it at your school’s domain, and continue with Create & customize.
Step 5: Write the Contact Card
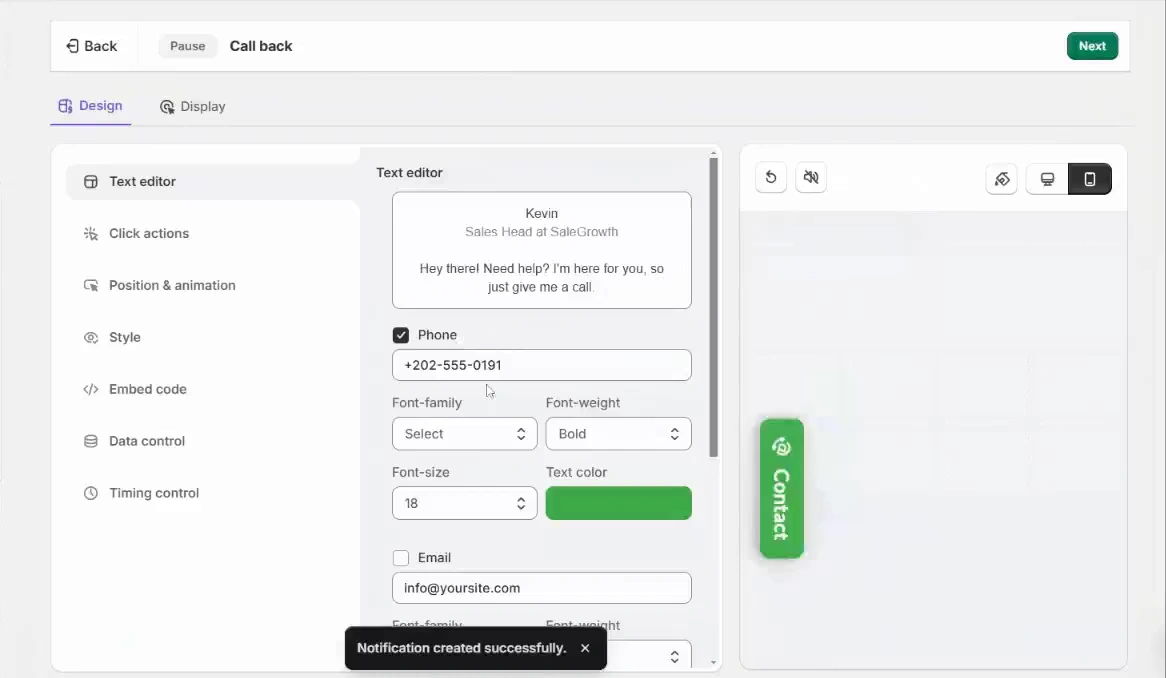
Fill the Text editor with a real name, a role like Course Advisor, a photo, and the number that rings. “Not sure which course fits? Let’s talk” pulls far better than a bare phone icon.
Step 6: Set Position and Animation
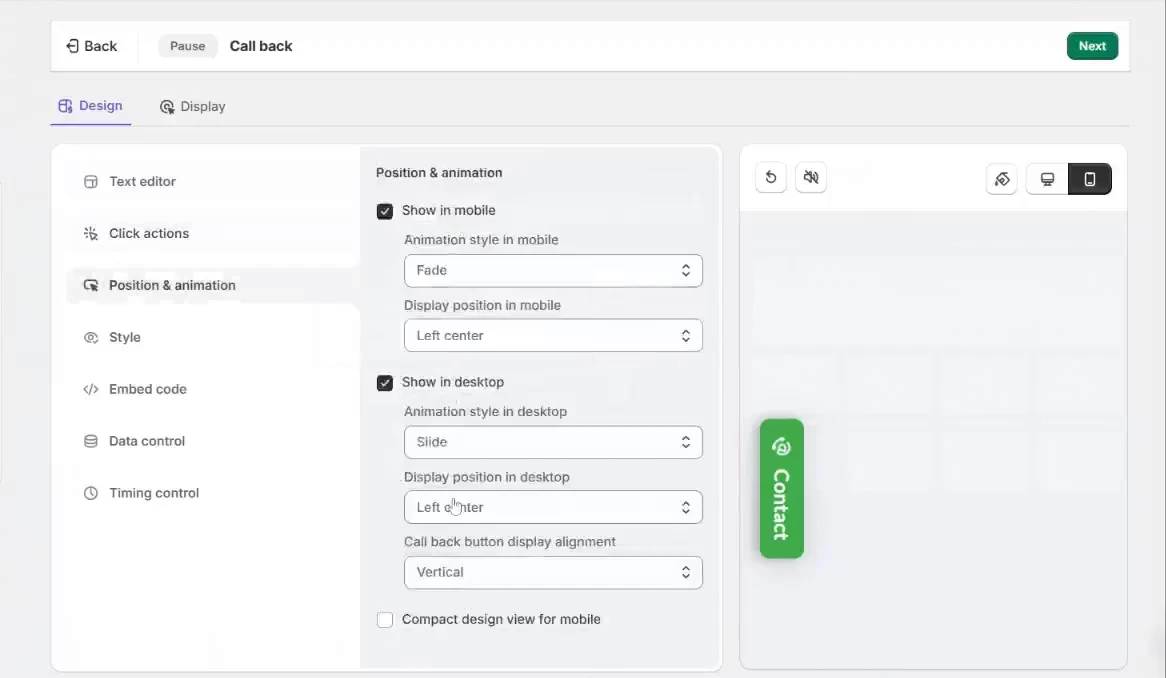
Choose the corner and animation separately for desktop and mobile. Bottom right stays clear of LearnWorlds navigation and course cards on both.
Step 7: Schedule, Target, and Publish
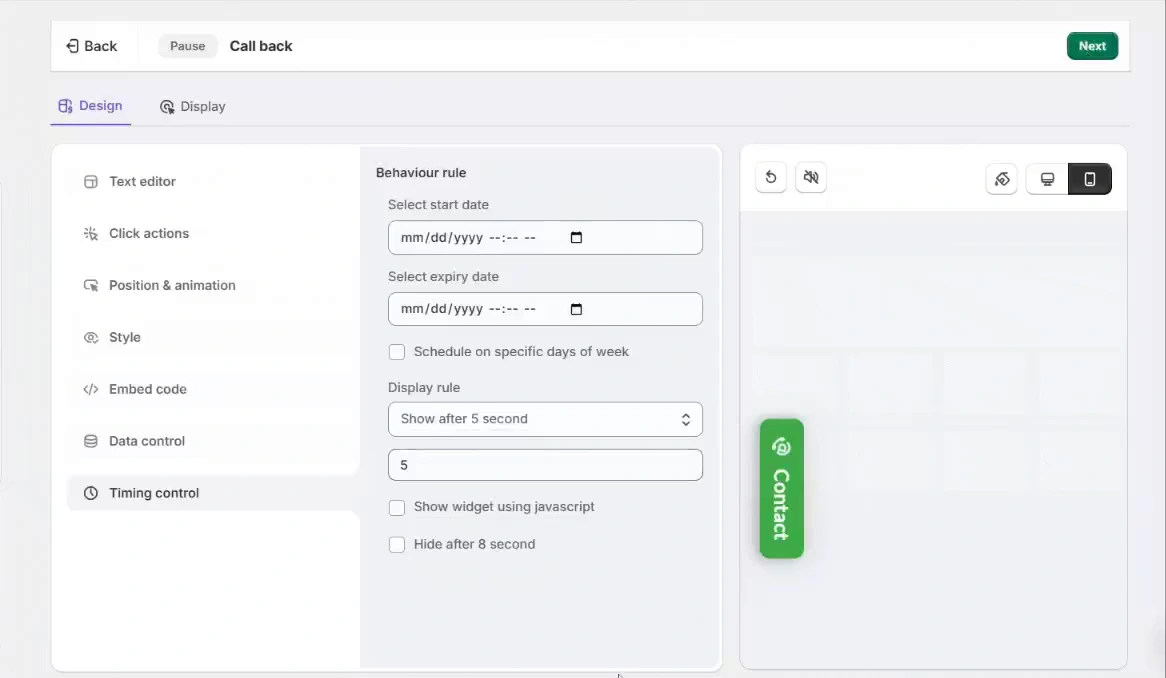
Use Timing control to limit the widget to hours when someone picks up. Under Display, a Contains rule targets your course and pricing pages. Publish, switch it on, and test the tap from your phone.

Boost Conversion Instantly
Add Social Proof & Urgency to your website
3 Callback Widget Examples
Three patterns that earn calls in different ways.
1. Exit-Intent Callback Prompt

Sath waits for exit intent, then opens a “Before you go!” popup offering a 10-minute security evaluation call. Leavers get one specific reason to stay in touch.
2. Simplilearn’s Course-Page Callback
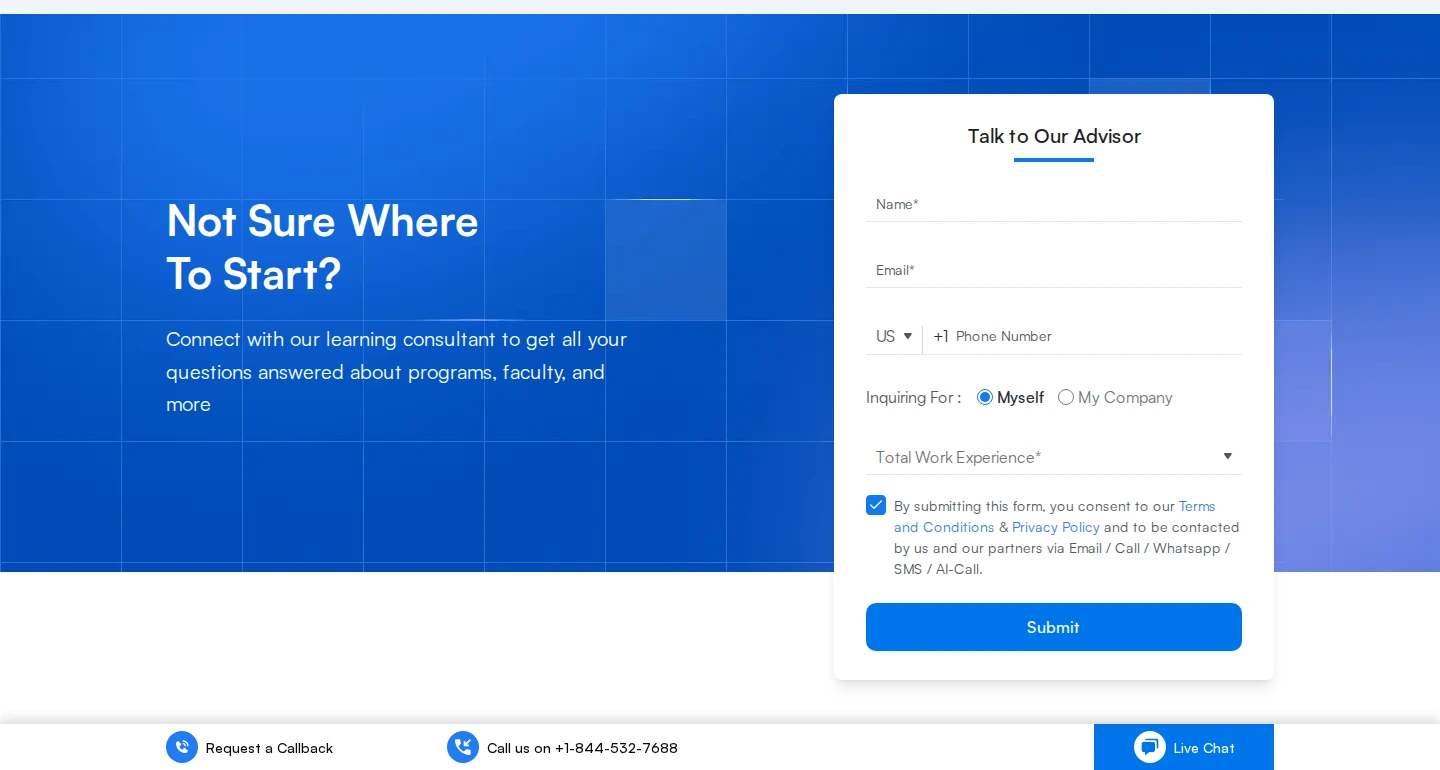
Simplilearn runs the course-site pattern at scale. Its program pages pair a “Not Sure Where To Start?” advisor form with a sticky Request a Callback bar.
The buyer stuck between programs talks it through instead of postponing. On LearnWorlds, the Call back widget scoped to course pages with a Contains rule does the same job.
3. WhatsApp Call Widget

Artoon drops the form entirely. Its floating WhatsApp icon opens a chat, and the call gets arranged inside a conversation, a good fit when your students live on WhatsApp anyway.
Where to Show It on Your School
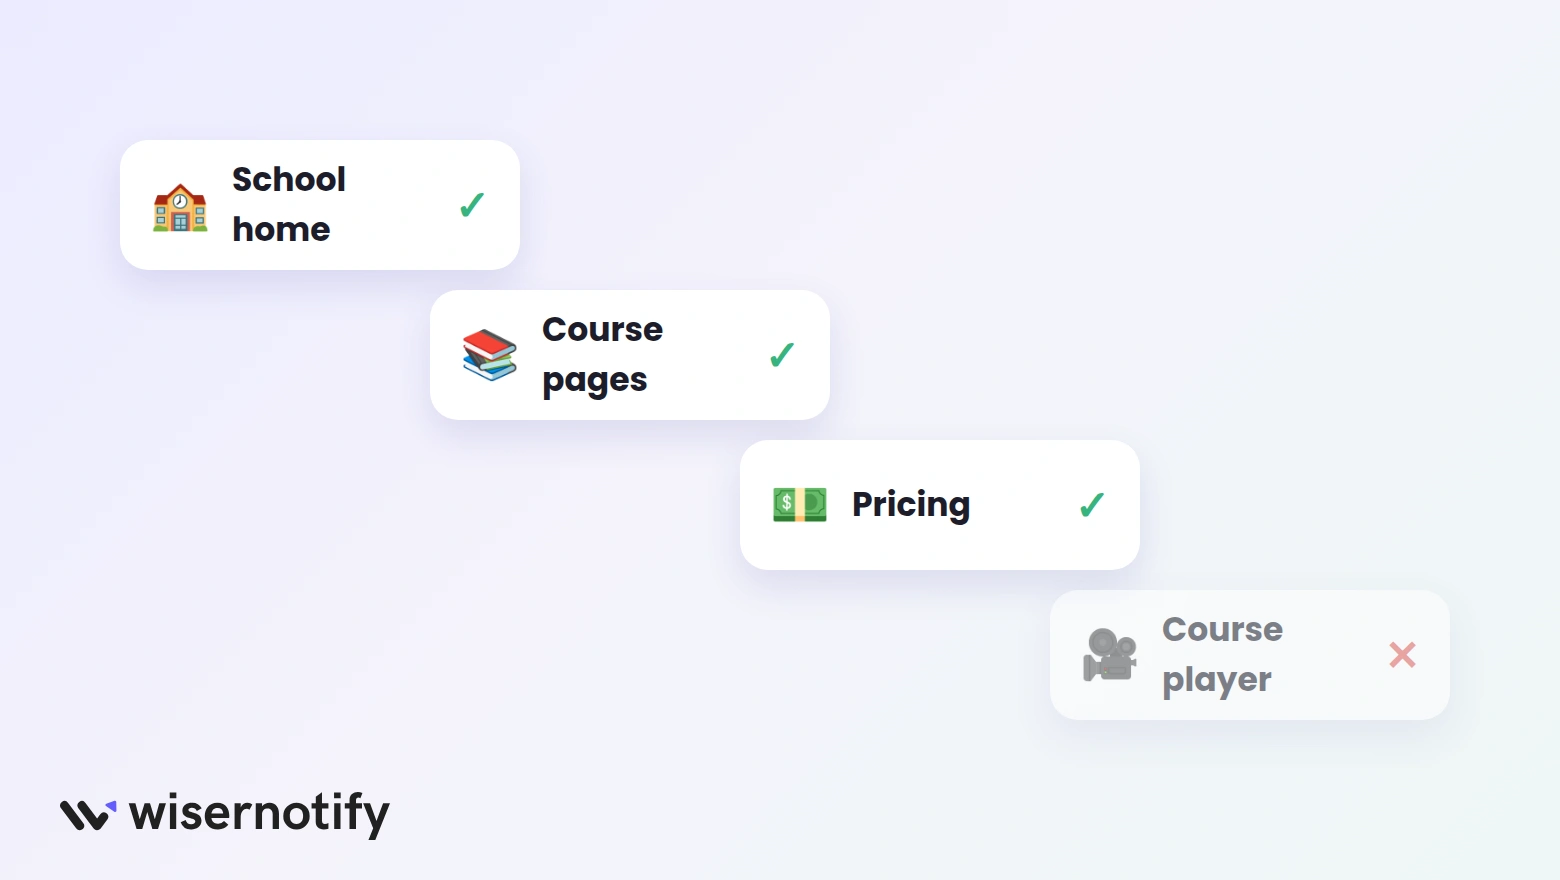
- Course sales pages. The pre-enrollment doubts live here, so this is where the button works hardest.
- Pricing and bundle pages. Payment plans and cohort choices generate exactly the questions a quick call settles.
- Your school’s home page. First-time visitors comparing you to other schools often need one conversation.
- Keep it out of the course player. Enrolled students watching lessons need support links, not a sales callback button.
Callback Widget Not Showing on LearnWorlds?
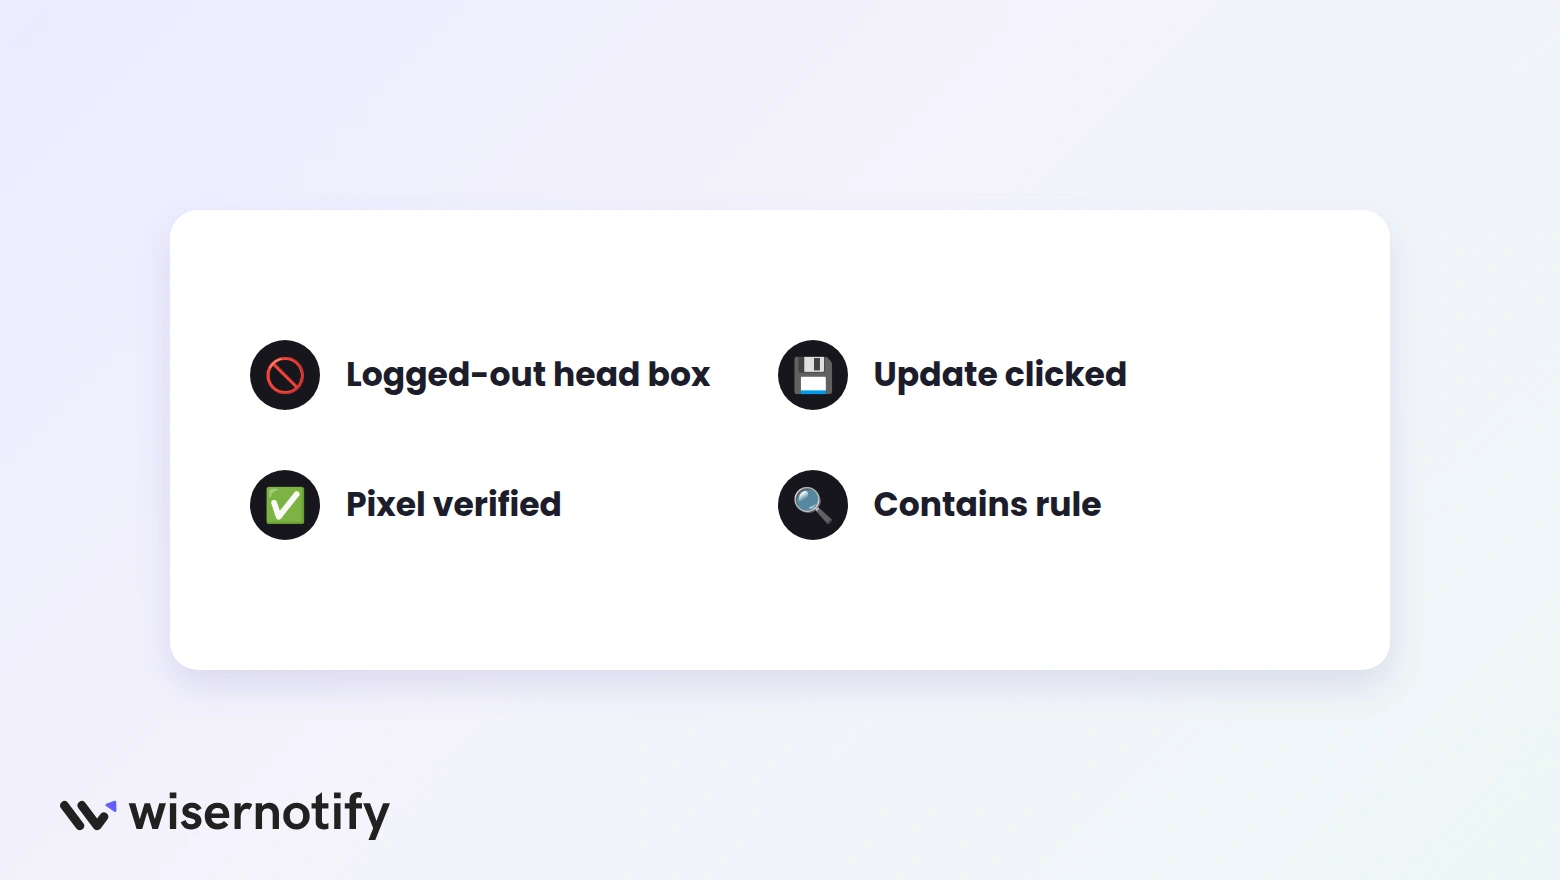
- The pixel sits in the wrong box. Site Custom Code has separate logged-in and logged-out fields. Visitors browsing your courses are logged out, so the code belongs in that head box.
- Update was never clicked. The editor saves nothing until you do.
- Verification failed quietly. Run Verify pixel installation, and re-paste the full code if the green message never comes.
- The page rule misses the URL. Course page addresses are long, so use Contains, not Equals.
Callback Widget Tips for LearnWorlds
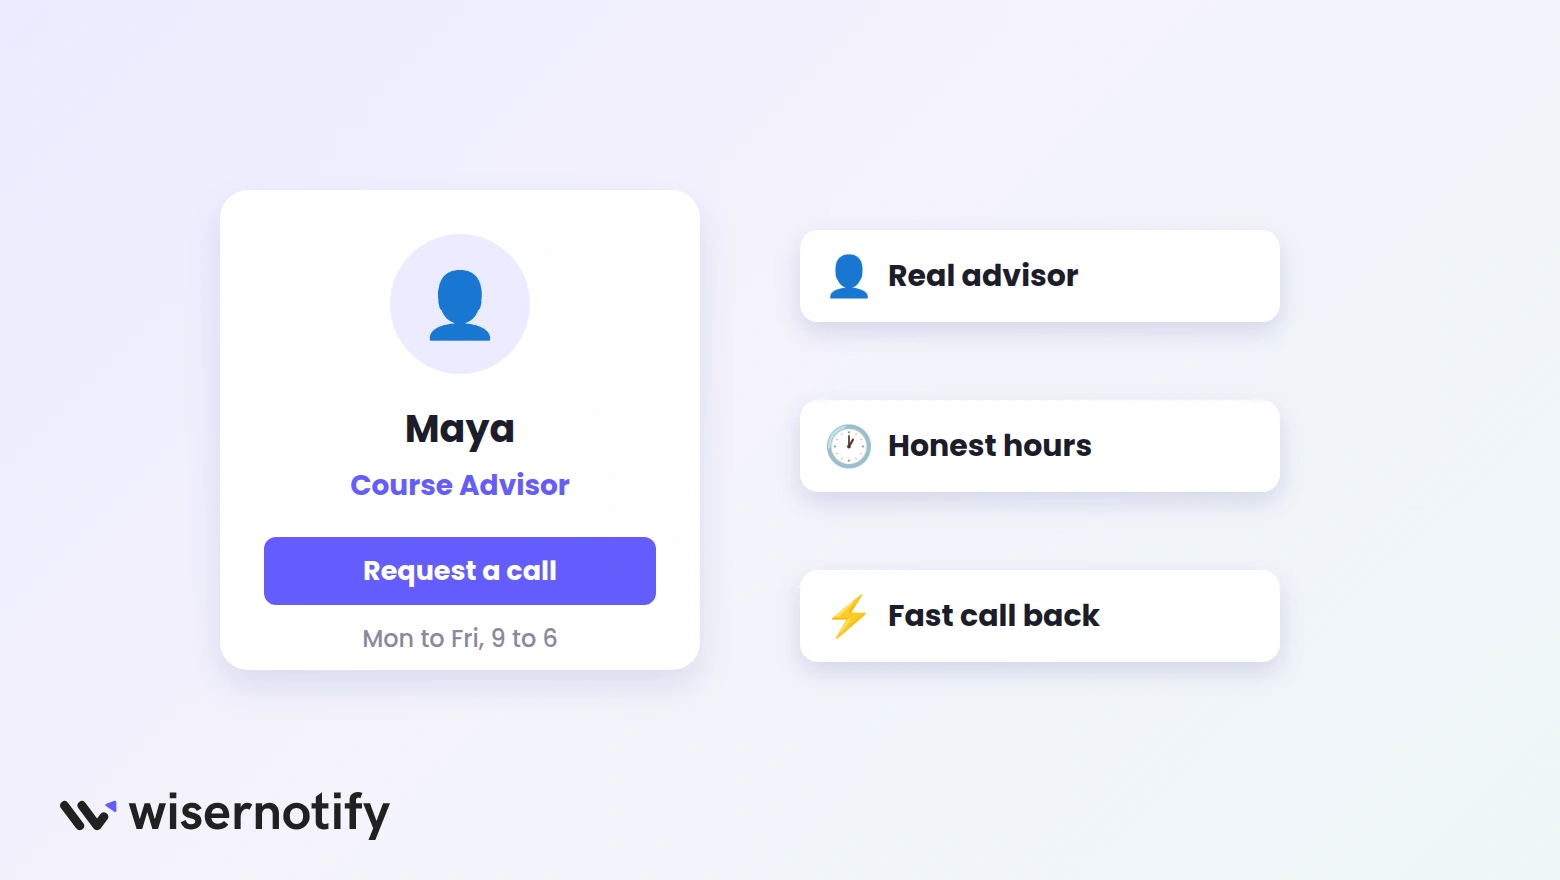
- Answer as an advisor. A named Course Advisor with a photo turns the card into a person worth calling.
- Schedule it honestly. Show the button only in hours someone picks up, and say the reply time on the card.
- Trigger with patience. A short delay or scroll trigger lands the button mid-decision instead of on page load.
- Match your school’s branding. Pull the theme’s colors and fonts into the card so it looks native to the site.
- Call back within minutes. The lead asked while sitting on your course page. Speed is the whole advantage.
Mistakes to Avoid
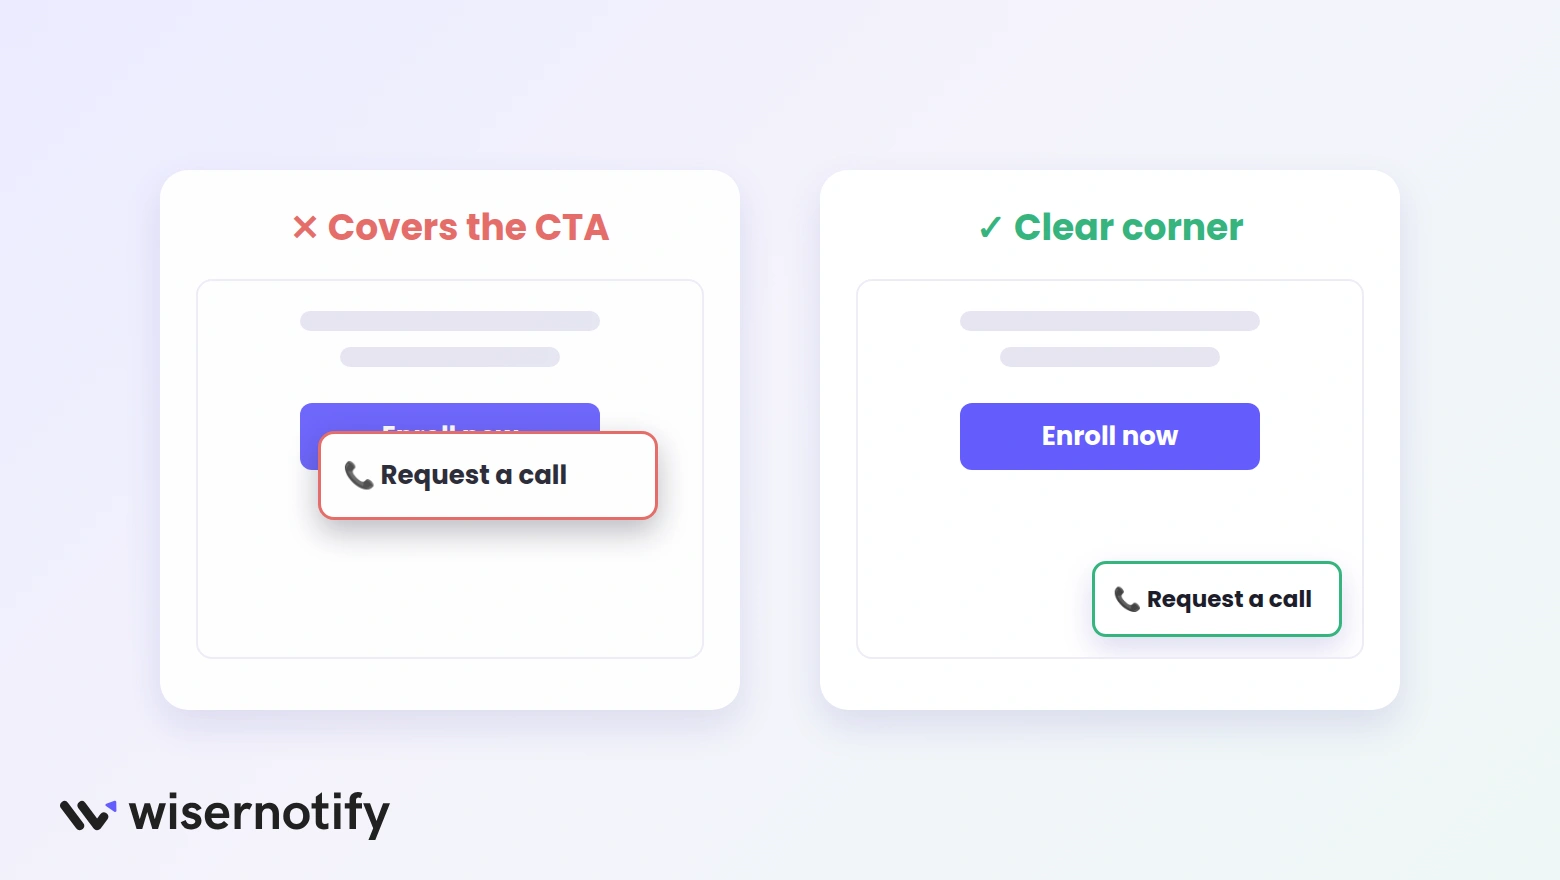
- Blocking enrollment buttons. Check the widget never overlaps your Enroll CTA on mobile.
- Running it for logged-in students. Unless support calls are the goal, keep the sales button for prospects.
- Writing a vague ask. “Contact us” gets ignored. Name the doubt, like cohorts, level, or payment plans.
- Never reading the stats. The per-page view, open, and request counts tell you where the button belongs.
How to Measure the Impact
The widget analytics in WiserNotify break down views, opens, and requests page by page across your school.
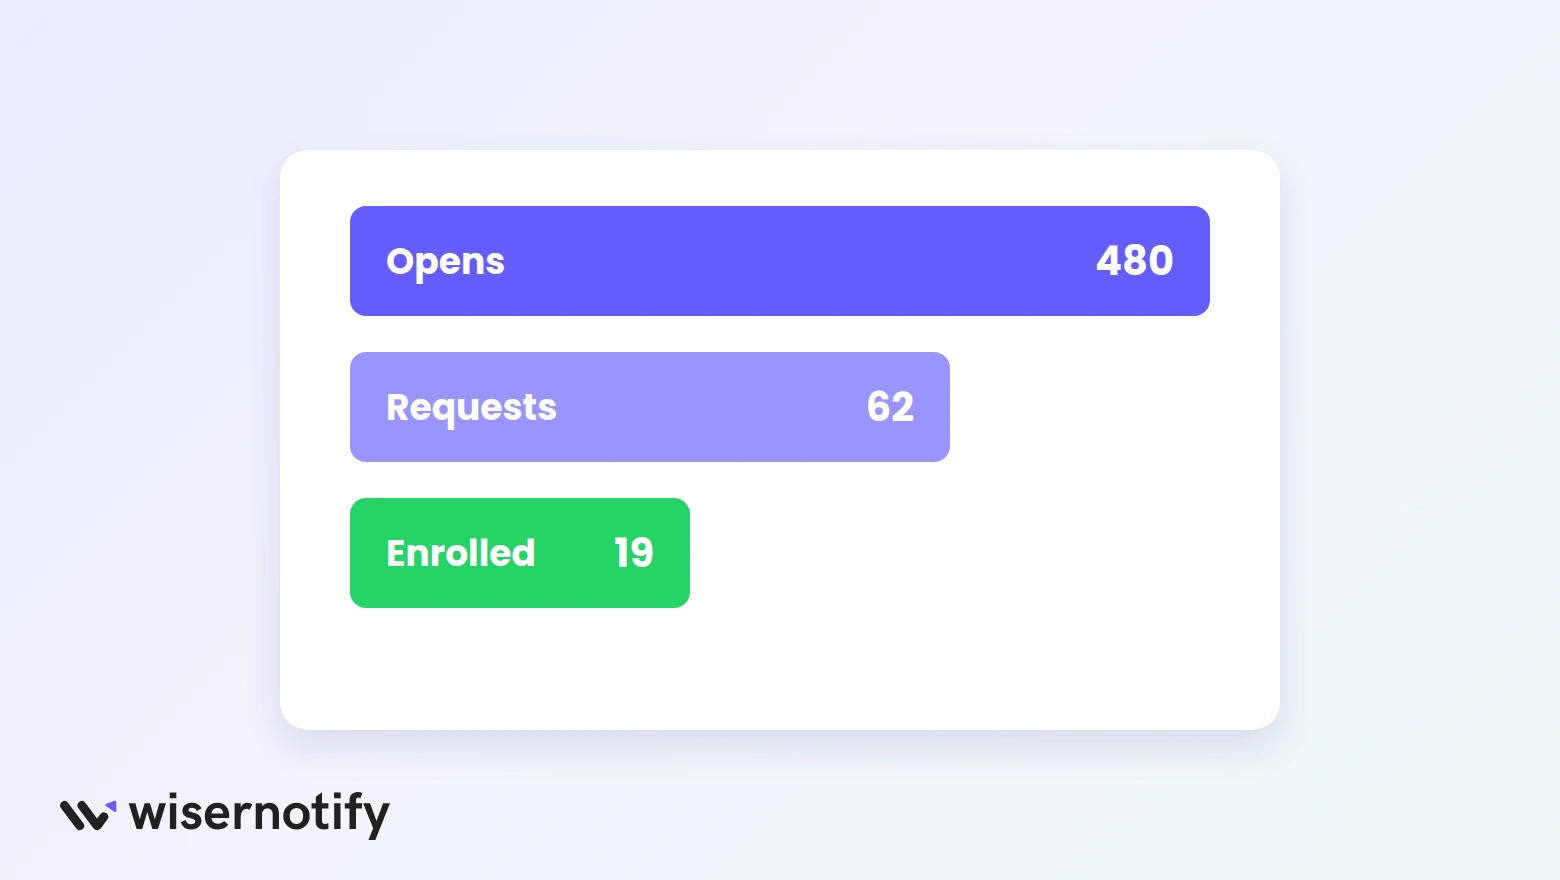
Then follow enrollments. Tally which callback leads became students, and set the month after launch against the month before. Lots of opens with few requests points at the card’s wording, not its position.
Wrap Up
Course sites lose their most serious buyers quietly, the ones with one unanswered question.
One Custom Code paste plus a published callback button puts a direct line on every page where that question appears.
Run it on your best-selling course page first, answer every request quickly for a week, and expand wherever the enrollments say so.
Related guides
Adding the same widget somewhere else? These guides cover it:
Frequently Asked Questions
How do I add a callback widget to LearnWorlds?
Paste the WiserNotify pixel into Site Custom Code’s logged-out head box under Website, Design, Edit website, click Update, then turn on the Call back widget.
Will the callback widget slow down my school?
No. The widget script loads asynchronously, so your pages render first and the button appears after.
Can I show the button only to visitors, not students?
Yes. Site Custom Code has separate logged-in and logged-out boxes, so pasting the pixel only in the logged-out box keeps the button for prospects.
Can I match the widget to my school's design?
Yes. Colors, text, position, and animation are all editable, with separate position settings for mobile and desktop.
Where do the callback leads go?
Requests land in your WiserNotify dashboard with alerts so someone calls back fast, and Zapier can pass each lead to your other tools.

Krunal Vaghasiya is a marketing tech expert who boosts e-commerce conversion rates with automated social proof and FOMO strategies. He loves to keep posting insightful posts on online marketing software, marketing automations, and improving conversion rates.




 Capterra