
WordPress site owners often struggle to keep visitors engaged and build instant credibility. With so many websites out there, it’s challenging to make yours stand out and feel trustworthy at first glance.
Even if your product, blog, or service is excellent, visitors may bounce if they don’t see any social proof. Relying solely on written testimonials or outdated content may not be enough to convert skeptical users.
Adding a social media feed to your WordPress site gives it a dynamic, real-time boost of credibility. It allows you to showcase live engagement, user-generated content, and community activity—all without writing a single line of code. Wisernotify makes this process seamless and fast.
Why Add Social Media Feed on WordPress?
Displaying your social media feed on WordPress does more than just fill space. It’s a powerful strategy to enhance user trust and improve conversion rates.
Strengthen Brand Trust: A live Instagram or Facebook feed full of real interactions helps new visitors feel confident about your brand. People trust peer content more than marketing copy.
Improve Dwell Time: Fresh, engaging content pulled in from your social channels keeps users on your site longer, reducing bounce rates and improving SEO.
Showcase Real-Time Social Proof: Every time someone tags your brand or leaves a positive comment, it can automatically appear on your site—helping nudge visitors closer to a purchase or signup.
Keep Your Website Looking Fresh: Social feeds update automatically as you post, making your WordPress site appear more active without any manual effort.
Increase Conversions: By showing authentic community engagement and testimonials, a social media feed can drive more conversions, whether it’s newsletter signups, product purchases, or service bookings.
Example: If you’re running a WordPress blog for fashion tips, embedding an Instagram feed with user outfits featuring your recommendations makes your blog not just informative, but interactive and shoppable.
How to Add Social Media Feed on WordPress


How to Embed Social Media Feed on WordPress
Once your Wisernotify widget is ready, here’s how to embed it on your WordPress site:
1. Login to Your WordPress Dashboard
- Visit yoursite.com/wp-admin and log in.
2. Open the Page/Post Editor
- Navigate to Pages or Posts, and select the page where you want to embed the feed.
3. Add a Custom HTML Block
- Click the “+” icon to add a new block.
- Choose “Custom HTML” from the block types.
4. Paste the Wisernotify Embed Code
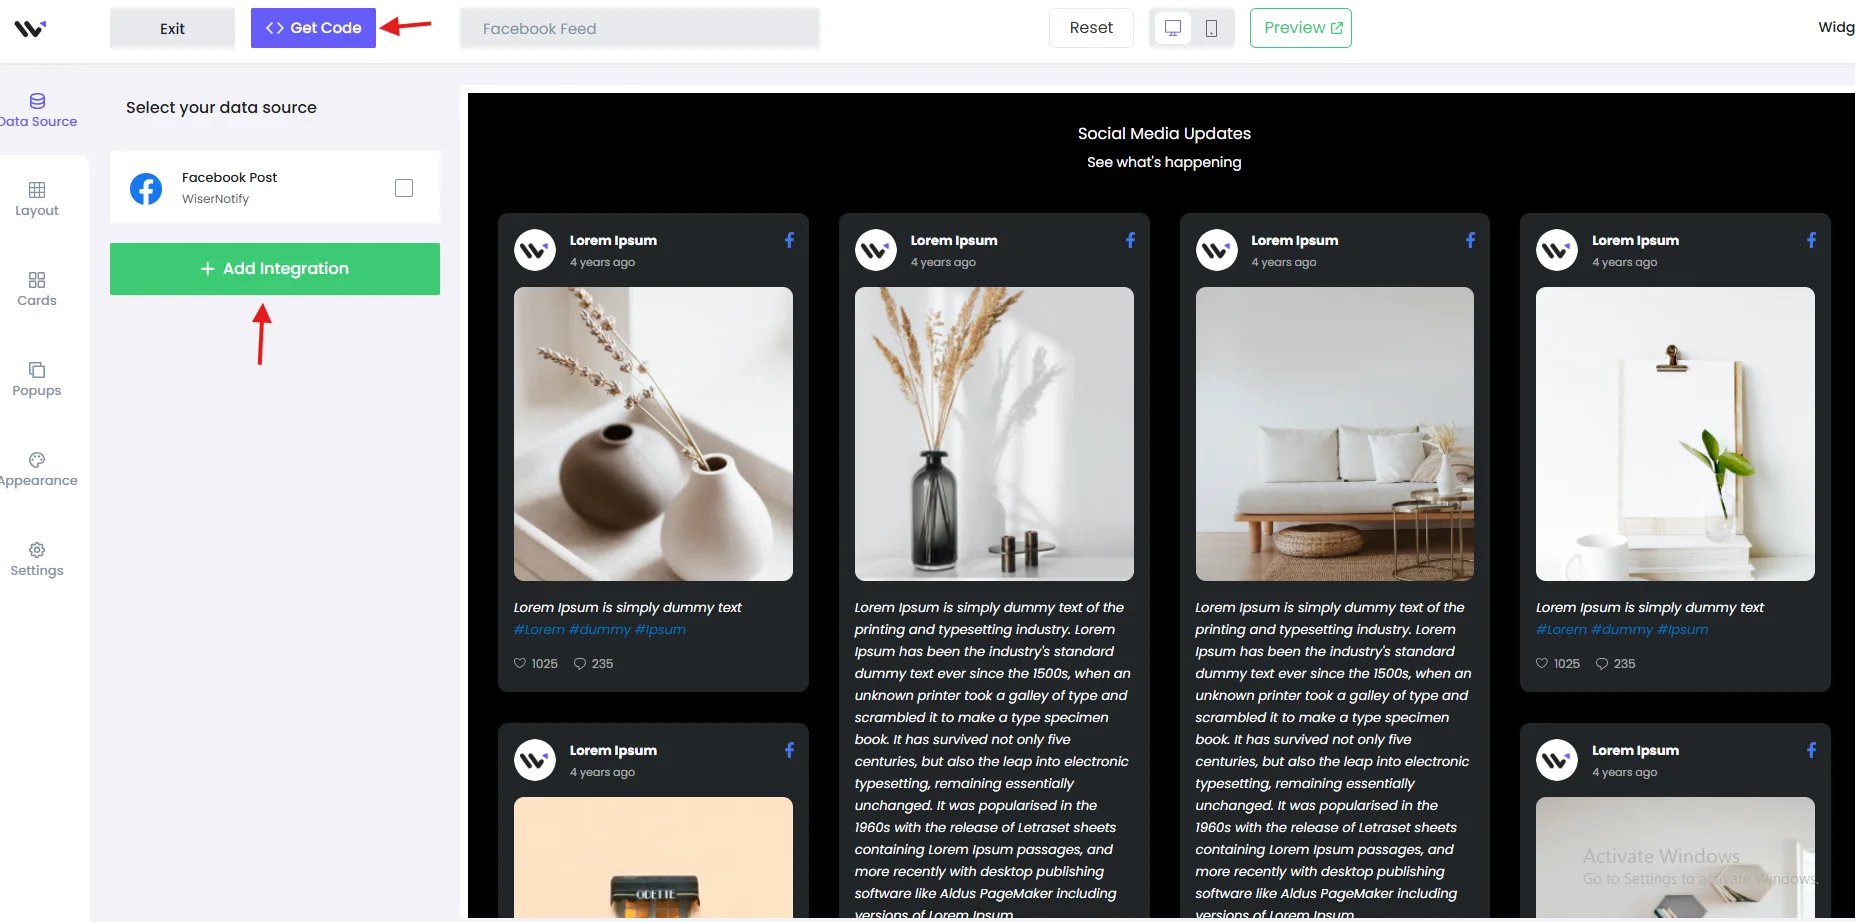
- Go to Wisernotify and copy your social media widget embed code.
- Paste it into the HTML block.
5. Preview and Publish
- Click “Preview” to check the layout.
- Once it looks good, click “Publish” or “Update.”
Best Practices for Showcasing Instagram Feed on WordPress
Place It Strategically
- Add your feed to areas with high visibility—like the homepage, sidebar, or below product listings. Avoid burying it in the footer where engagement may be low.
Match Your Site’s Branding
- Wisernotify allows full control over fonts, colors, and layout. Match your feed’s design to your WordPress theme for a cohesive look.
Display Curated Content
- Don’t show every post. Use Wisernotify’s moderation tools to display only the best, most relevant content that supports your message.
Keep the Layout Clean
- Choose minimal layouts if your site has a sleek aesthetic, or more vibrant layouts if you want to draw attention. Avoid overwhelming visitors.
Use Hashtags and Mentions
- Set up your feed to display posts tagged with your branded hashtag. Encourage followers to tag you so their posts appear on your site.
Common Mistakes to Avoid When Adding Social Media Feed to WordPress
Ignoring Mobile Optimization
- Many WordPress themes are mobile-friendly, but not all embedded content adjusts well. Wisernotify feeds are responsive, but always test on phones and tablets.
Adding Too Much Content
- A long, unfiltered feed can be distracting. Limit your feed to 6–9 high-quality posts to keep your site clean and conversion-focused.
Not Updating Old Embed Codes
- If you manually embedded feeds before using Wisernotify, replace those old codes. They may be outdated and could slow down your site.
Not Moderating the Feed
- Always curate the content shown. A single off-brand or inappropriate post can hurt credibility. Wisernotify makes it easy to filter content before publishing.
Placing the Feed in Low-Visibility Areas
- Avoid putting your social feed at the very bottom of your pages. Place it where users are most likely to interact with it.
Wrap-Up
Adding a social media feed to your WordPress site helps turn static pages into interactive experiences. It shows your audience that people are engaging with your brand in real-time—and that builds trust fast.
With Wisernotify, embedding social media feeds is simple, fast, and doesn’t require coding. Whether you want to boost conversions or make your site more engaging, it’s an easy win.
