
If you’re running an online course on Teachable, building trust is key to increasing enrollments. But even the most beautifully designed course page can feel empty without real proof that others are engaging with your content.
Adding a social media feed to your Teachable site helps show off your brand’s activity, student success stories, and community interaction — all in real time.
With Wisernotify, you can embed a dynamic Instagram, Facebook, or Twitter feed on Teachable in minutes, without any coding. Here’s exactly how and why you should do it.
Why Add Social Media Feed on Teachable?
Boost Course Enrollments with Social Proof: Seeing real students engage with your course builds confidence. When prospective students see others tagging, posting about, or reviewing your courses, they’re more likely to enroll.
Showcase Student Wins and Testimonials: Got a student who just passed their exam or launched a business thanks to your course? Share those moments automatically through your feed.
Keep Your Teachable Site Fresh: Social feeds auto-update as you post, giving your website fresh content that reflects your latest activity without any extra effort.
Encourage More Engagement and Follows: Visitors who see your content on Teachable are more likely to follow your social profiles — helping you grow your community.
Strengthen Brand Credibility: A live feed that includes real feedback, shoutouts, and user-generated content instantly boosts trust in your brand and course offerings.
How to Add Social Media Feed on Teachable


How to Embed Social Media Feed on Teachable
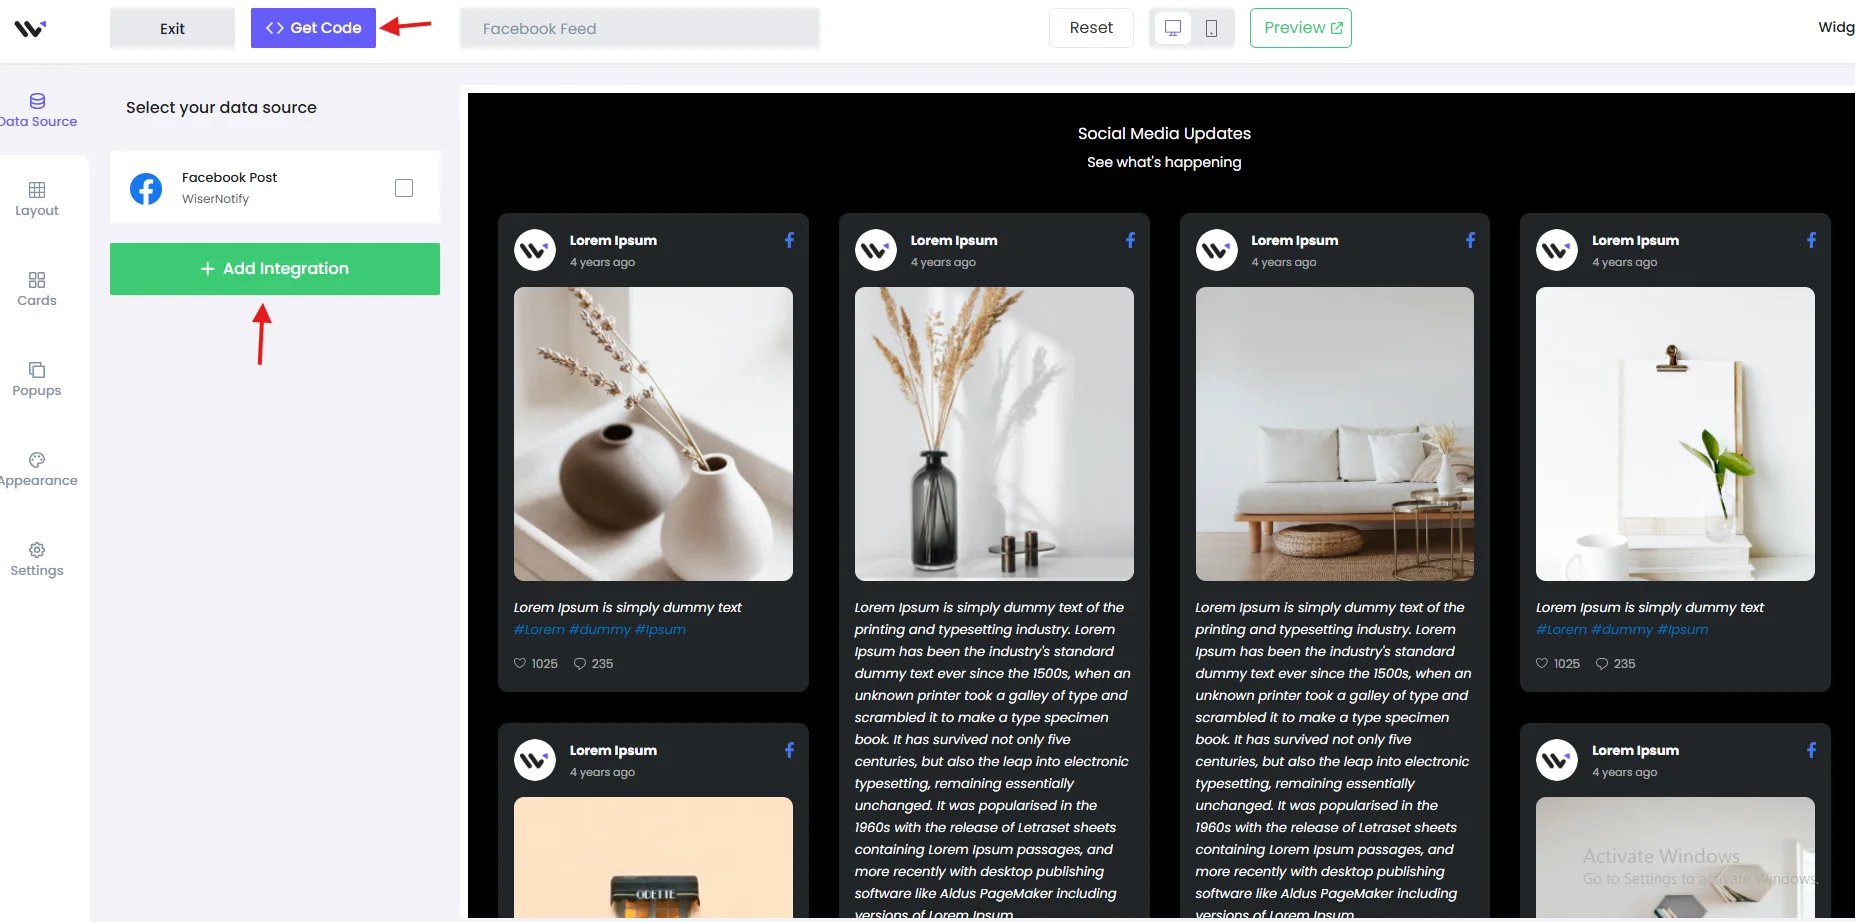
After you’ve created your social media widget with Wisernotify, follow these steps to embed it into your Teachable site:
1. Login to Your Teachable Admin
- Go to https://teachable.com and sign into your course admin dashboard.
2. Navigate to “Site” Settings
- From the sidebar, click on “Site” and then “Pages” to access your landing, homepage, or thank you pages.
3. Choose the Page Where You Want to Embed the Feed
- Click “Edit” next to the page where you want the social feed to appear.
4. Add a New HTML Block
- In the page editor, click “Add Block” and choose the “Custom HTML” option.
5. Paste Wisernotify Embed Code
- Copy the embed code from Wisernotify and paste it into the HTML block.
6. Preview the Page
- Use the preview function to check how your feed appears on the page. Make sure the alignment and spacing are visually clean.
7. Save and Publish
- Once you’re satisfied, hit “Publish” to push your live feed to your Teachable site.
Best Practices for Showcasing Instagram Feed on Teachable
Display It Near Course CTAs
- Position the feed above or just below your “Enroll Now” button or course highlights. It can reinforce the buyer’s decision in that moment.
Customize the Feed’s Look
- Use Wisernotify’s style options to make sure the feed fits with your site’s fonts and color palette. This helps keep a professional look.
Showcase Real Student Stories
- Highlight posts from students who tag you or share their course outcomes. This increases relatability and encourages others to join.
Avoid Cluttered Layouts
- Stick with a minimal grid or carousel style that doesn’t distract from your course content. 4–6 posts per section works well.
Test for Mobile Responsiveness
- Teachable is often accessed via mobile. Make sure your feed looks just as polished on smaller screens.
Common Mistakes to Avoid When Adding Social Media Feed to Teachable
Using the Wrong Block Type
- Only use a “Custom HTML” block to embed your Wisernotify script. Other block types won’t display the feed correctly.
Not Previewing the Live Site
- The backend editor may not show a true preview. Always test on the live version to confirm the widget appears properly.
Misaligned Placement
- Don’t bury your feed at the bottom of your page or between unrelated blocks. Keep it tied to your key message areas.
Forgetting to Publish Changes
- Teachable requires you to hit “Publish” before updates go live. Don’t stop at “Save” or your feed won’t be visible.
Unstyled Widgets Breaking the Aesthetic
- A generic-looking feed might clash with your branding. Take time to customize it within Wisernotify before embedding.
Wrap-Up
Teachable makes it easy to deliver great online courses — and with Wisernotify, you can make your site more credible and engaging with a live social media feed.
From showcasing real student experiences to increasing course sign-ups through social proof, adding a feed is a quick win.
Ready to make your Teachable site more dynamic and persuasive? Embed your social media feed today using Wisernotify and see the difference.
