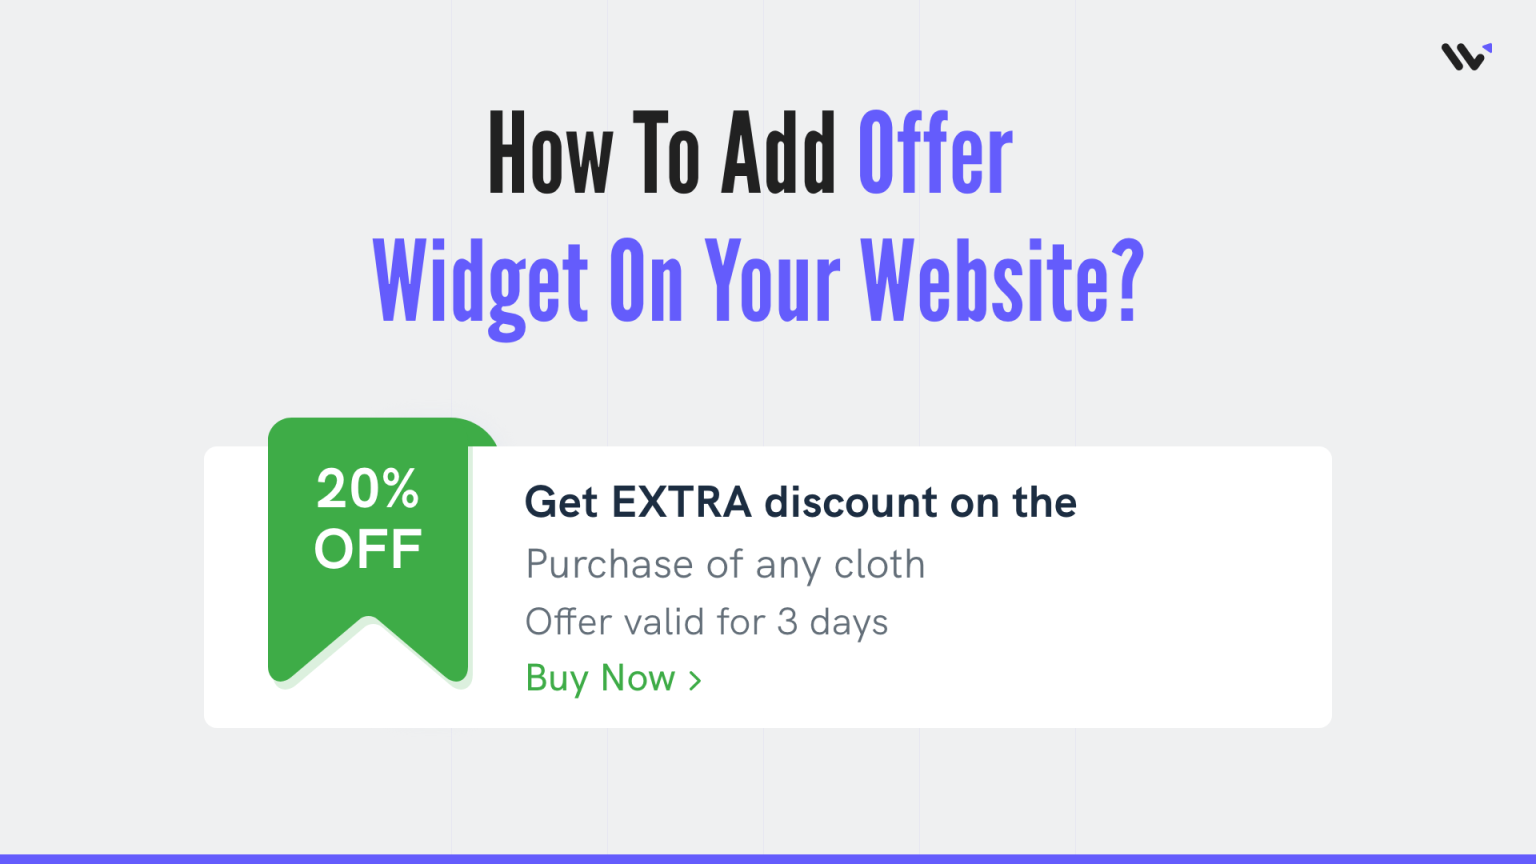
Offering widgets is a great way to increase sales. They allow customers to buy impulsively and purchase items they don’t need or want.
Offer widgets are usually found on e-commerce websites. They allow customers to buy something they didn’t know they needed and can be used to increase impulse purchases, which are very important in the retail industry.
Offer widgets are interactive and engaging and offer instant gratification. They are a great way to get people’s attention in many ways, such as offering discounts, free shipping, or even a gift with a purchase.
Offer Widgets can be used on the homepage, product page, or any landing page to offer limited-time offers to draw people in.
If you are not a developer, you may find it challenging to create these widgets without writing any code. Fortunately, many tools allow you to easily create offer widgets without writing code.
WiserNotify allows you to create offer widgets without writing a single line of code.
Let’s see how you create an offer widget for your website.
How do you create an offer announcement widget for your website?
Step 1: Go to the WiserNotify and Create an account.
Step 2: Once you log in, install the pixel on your website.
Step 3: Now, click on the “Add Notification” button.
Step 4: You will receive different social proof notifications and widgets there. Click on the announcement.
You’ll see different announcement widgets for discounts, offers, free plans, and more here.
You can add “Announcement ads” to display offers on “our website by clicking on “Add.”
You’ll see an asking URL: enter the easy-to-remember name and the URL where you want to display the offer announcement.
You can enter multiple website URLs here. Once you have completed this information, click “Create & Customize.”
Step 5: You’ll redirected to the customization page. Here, we see the display section.
Step 6: In the design section, you can change the look and feel of the widget.
- See Preview on mobile and desktop screen
- Edit offer text
- Change Icon, position, animation, shapes, borders, etc.
- Add CTA and make your widget clickable under the “Click” Option.
- Display widgets in the loop with other notifications
- Apply Behavioral rules, Set start and expiry dates for widgets or specific days of the weeks
- Set exit intent, scroll-based intent, or time-based intent
- Set hide rules and countdown timer
You can also remove the design from the widget by enabling the embed in your options.
Step 7: Once you’ve customized the section, save it and move to the next option by clicking the continue button.
Step 8: The next section is the display section; you can set display rules here.
- Choose specific pages you want to display widgets
- Add multiple website URLs
- Choose whether you want to display widgets to new or returning visitors.
- Target audience using UTM source, referrer site, and cookies name
Step 9: Once you have customized both these options, click “publish.”
The widget will be live on your website. You can check it on your website.
That shows you create an announcement widget on your website and make announcements.


