

Countdown timers are an excellent way to create urgency and encourage visitors to take immediate action. Whether promoting a limited-time sale, a product launch, or an event, timers highlight time-sensitive opportunities that motivate users.
Swipe Pages, known for its fast-loading, mobile-responsive landing pages, makes it easy to add countdown timers using widgets, third-party tools, or custom code. This guide will walk you through how to add a countdown timer to Swipe Pages and maximize its impact.
When and Where to Use Countdown Timers
Strategic placement of countdown timers can significantly boost conversions and engagement. Here’s where they’re most effective:
Limited-Time Sales
- Place timers on your landing page to emphasize discounts with messages like “Flash Sale Ends in 3 Hours!”
Event Registration
- Use timers to highlight deadlines for webinars or live events with calls-to-action such as “Register Before It’s Too Late!”
Product Launch Pages
- Create anticipation for upcoming launches by adding a timer that says, “Launching in 5 Days!”
Seasonal Promotions
- Include timers during holiday campaigns like Black Friday or Cyber Monday sales in headers or pop-ups.
Checkout Pages
- Add timers near checkout CTAs with phrases like “Complete Your Purchase in 15 Minutes to Get Free Shipping!”
By placing countdown timers strategically, you can create urgency and significantly improve your Swipe Pages’ conversion rates.
Add Countdown Timer to Swipe Pages
Swipe Pages offers flexible methods to integrate countdown timers:
- Using Countdown Timer Widgets
- Embedding Third-Party Tools
- Adding Custom Code
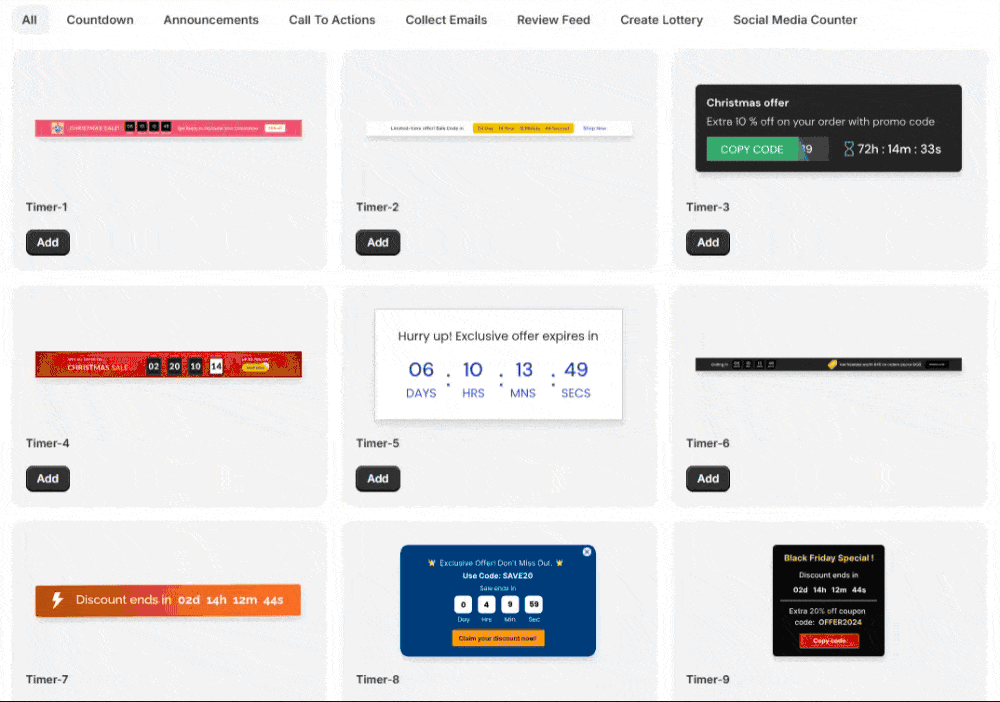
Now that you understand how countdown timers work, let’s look at how to add one to your website or store. It’s simple and takes about 10 to 20 minutes if done properly. Start by creating a WiserNotify account. Click any CTA button on this page. You can begin with the 7-day free trial to test the impact and see if it fits your needs. Once your account is created, go to your WiserNotify dashboard. From there, click on Notifications → Widget → Add Notification. Next, go to the Countdown section. You’ll see several types of countdown timers. Pick the one you like, click Add, and enter a name and the website URL where you want it to appear. Watch this full video tutorial for step-by-step guidance: And this is just the beginning of what WiserNotify can do. Next, go to the Countdown section. You’ll see several types of countdown timers. Other urgency widgets Social proof widgets WiserNotify also gives you advanced analytics to see what’s working and what’s not. Plus, you can use A/B testing to try different widget types and find what performs best. Here’s another full video tutorial if you want to explore more:


How to Add a Countdown Timer to Swipe Pages
- Log in to Swipe Pages:
- Access your Swipe Pages dashboard and select the landing page you want to edit.
- Open the Page Editor:
- Navigate to the page editor by clicking on Edit for the desired page.
- Add a Countdown Timer Widget:
- In the left-hand menu, find the Countdown Timer widget.
- Drag and drop it into the desired section of your landing page.
- Configure the Timer Settings:
- Type: Choose between a Fixed Timer (counts down to a specific date) or an Evergreen Timer (resets for each visitor).
- End Date/Duration: Set the timer’s end date or countdown duration.
- Customize the Timer Design:
- Adjust colors, fonts, labels (e.g., “Days,” “Hours,” “Minutes,” “Seconds”), and alignment to match your page’s branding.
- Preview and Publish:
- Save your changes and preview the page to ensure the timer is functioning correctly.
- Publish the page to make the countdown timer live.
Common Mistakes to Avoid
- Expired Timers: Always update or remove timers once campaigns end to avoid confusing visitors.
- Overuse of Timers: Avoid placing multiple timers on a single page to prevent clutter and distraction.
- Unclear Messaging: Pair timers with clear CTAs like “Shop Now” or “Register Before Time Runs Out!”
- Neglecting Mobile Optimization: Test timers on mobile devices to ensure proper display and functionality.
- Skipping Analytics: Track the performance of your countdown timers using Swipe Pages’ analytics or tools like Google Analytics.
Conclusion
Adding a countdown timer to your Swipe Pages landing page is a straightforward and effective way to create urgency, engage users, and drive conversions.
Whether using Swipe Pages’ built-in widgets, third-party tools, or custom code, you can seamlessly integrate timers tailored to your campaigns. Start using countdown timers today to maximize the performance of your landing pages and boost your results!
