
Countdown timers are an effective way to create urgency and motivate visitors to act quickly on your Framer site. Whether promoting a limited-time sale, launching a new product, or highlighting an event, timers draw attention and improve conversions.
Framer’s flexible no-code design system allows you to integrate countdown timers seamlessly using third-party tools, custom code, or prebuilt components in this guide, you’ll learn when and where to use countdown timers, how to add them to your Framer site, and tips for making them impactful.
When and Where to Use Countdown Timers
Strategically placed countdown timers can significantly improve engagement and conversions on your Framer website. Here’s how and where they’re most effective:
Limited-Time Sales
- Highlight flash sales on your homepage or product pages with messages like, “Sale Ends in 3 Hours!” to drive immediate purchases.
Event Promotions
- Use timers on event pages to emphasize registration deadlines. For example, “Register Now! Event Starts in 2 Days!” creates urgency.
Product Launches
- Add timers to product launch pages to build excitement. A countdown such as “Launching in 5 Days!” encourages pre-orders or early interest.
Seasonal Campaigns
- Promote holiday deals like Black Friday or Christmas offers with timers in headers or banners.
Cart Abandonment Pop-Ups
- Show timers in pop-ups to recover abandoned carts by emphasizing time-sensitive offers like, “Complete Your Purchase in 15 Minutes to Save 10%!”
Checkout Pages
- Add timers near checkout CTAs to encourage faster decision-making, such as “Order Now to Get Free Shipping in the Next 20 Minutes!”
By strategically using countdown timers, you can enhance engagement and conversions on your Framer site.
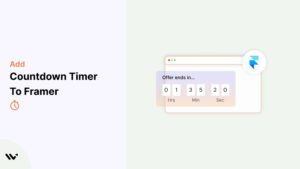
Add Countdown Timer to Framer
Framer allows you to add countdown timers through custom code, embedded third-party tools, or Framer’s built-in design features. Each method offers flexibility for creating timers that match your branding. With WiserNotify, creating a countdown timer is easier than ever.


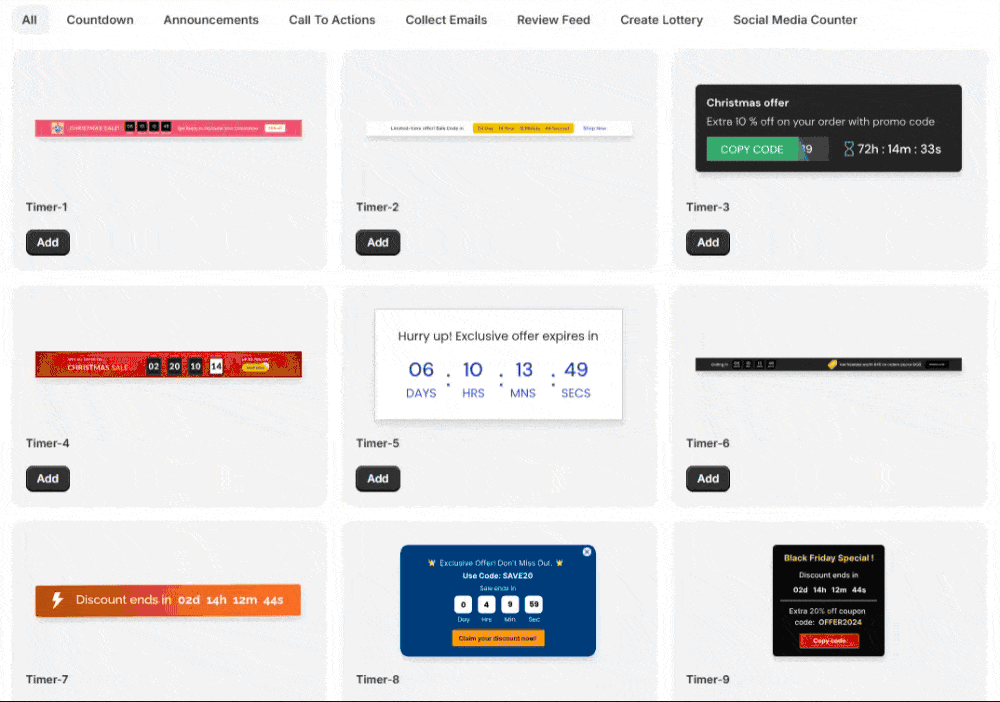

How to Add a Countdown Timer to Framer
- Choose a Third-Party Countdown Timer Tool:
- Popular options include Elfsight Countdown Timer, Powr.io, or Countdown Timer Generator.
- Configure your timer by setting the end date, time, and style.
- Generate Embed Code:
- Once your timer is ready, copy the embed code provided by the tool.
- Add the Timer to Framer:
- Open your Framer project and navigate to the page where you want to add the timer.
- Drag and drop a Code Component onto the canvas.
- Paste the embed code into the Code Component settings.
- Publish and Test:
- Save and publish your site.
- Preview your site to ensure the timer displays and functions correctly on all devices.
Common Mistakes to Avoid
- Adding countdown timers without a clear purpose can confuse visitors. Always link the timer to a specific campaign or event.
- Leaving expired timers visible damages credibility. Remove or update timers promptly after campaigns end.
- Overusing timers on multiple pages can overwhelm visitors. Use one well-placed timer per page to maintain clarity.
- Failing to test timers on different devices can result in poor user experiences. Ensure timers are responsive and display correctly across screen sizes.
- Using vague messaging reduces urgency. Pair timers with compelling CTAs like “Shop Now” or “Register Before It’s Too Late!”
- Neglecting analytics prevents optimization. Use tools like Google Analytics to monitor impressions, clicks, and conversions.
Conclusion
Adding a countdown timer to your Framer site is an effective way to boost urgency, engagement, and conversions. Whether you use third-party tools or custom code, timers can highlight time-sensitive opportunities and encourage action.
By following this guide and avoiding common pitfalls, you can seamlessly integrate countdown timers into your Framer site and elevate your campaigns. Start using countdown timers today to drive better results!
Related Posts:
