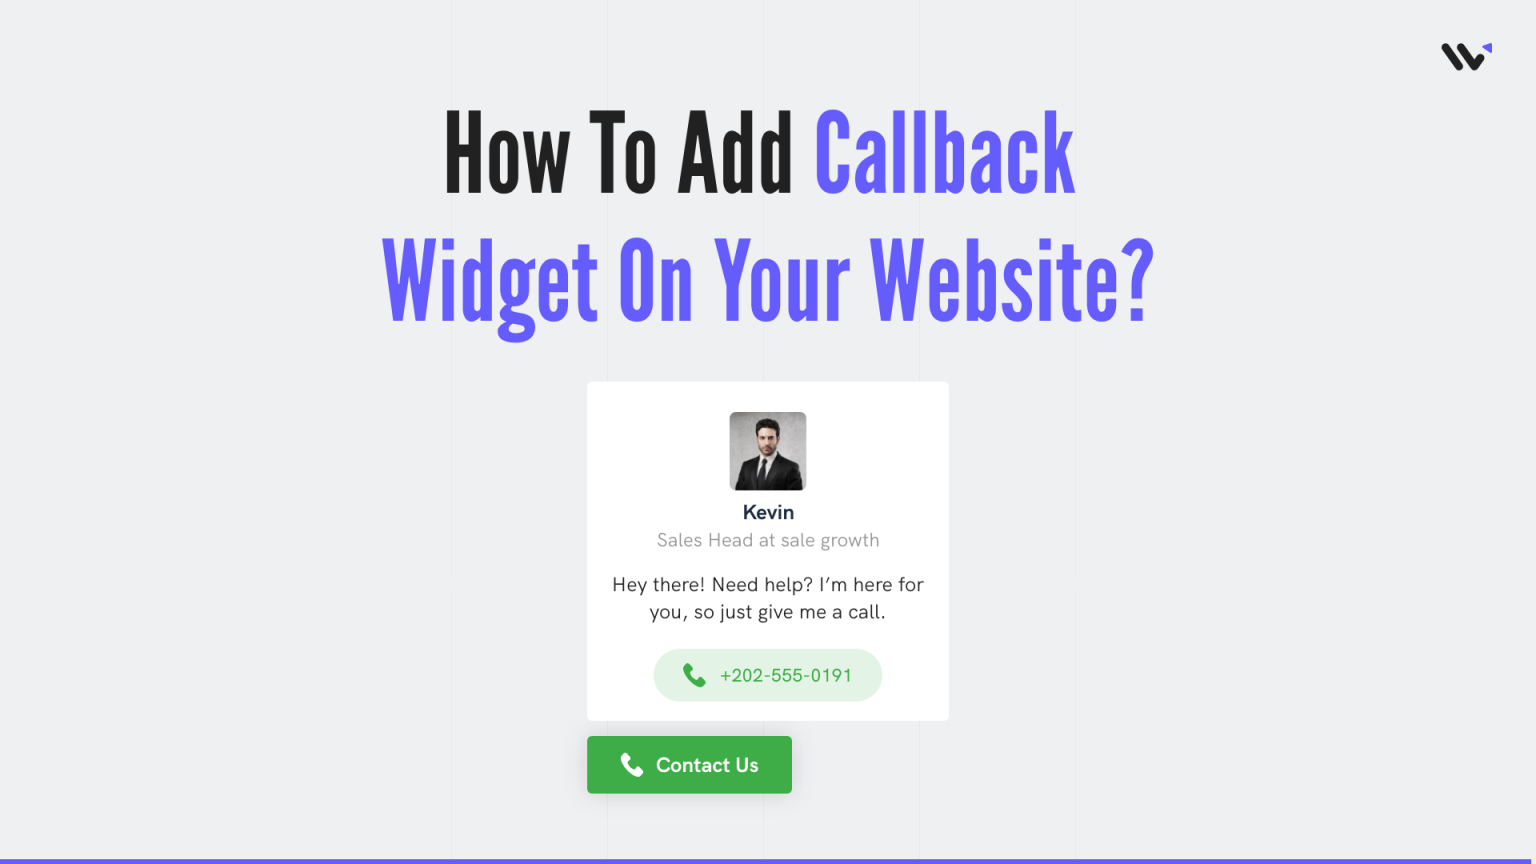
A call-back widget is a powerful tool that can help your site visitors get in touch with you.
This widget is usually placed on the website’s landing page or contact page. The benefits of having a call-back widget are that it helps build trust with your site visitors provide them with an opportunity to learn more about your products or services and gives them an opportunity to ask questions that they might not want to ask over the phone.
WiserNotify lets you create a call-back widget without writing a single line of code.
Related: 50+ real examples of social proof
Let’s see how you can create a call back widget for your website
Build trust & FOMO
Highlight real-time activities like reviews, sales & sign-ups.
How to Create Call back Widget for your website?
- Go to WiserNotify App and Create an account.
2. Once you log in, install the pixel on your website. You can find your pixel code here.
3. Now, click on the “Add Notification” button.
4. You will have different types of social proof notifications and widgets here. Click on Widgets and go to the “Call to Action”. Here you’ll see find the Call back widget
5. Just click on “Select Designs”
You’ll see a pop-up asking name and URL. Enter a name that is easy to remember, and enter the URL where you want to display the call back widget. You can enter multiple website URLs here. Once you fill in this information, click on “Create & Customize”.
6. You’ll be redirected to the customization page. Here we’ve two sections- Design, & Display.
7. In the design section, you can change the look and feels of the widget.
- See Preview on mobile and desktop screen
- Edit position, animation, borders, background, etc.
- Add CTA label and link
- Skip Seen widgets
- Display widgets in the loop with other notifications
- Apply Behavioral rule- Set start and expiry date for widgets or specific days of the weeks
- Set exit intent, scroll-based intent, or time-based intent
- Set hide rules
Build trust & FOMO
Highlight real-time activities like reviews, sales & sign-ups.
Under text editor, you can edit the text, phone number, and email id.
8. Once you’ve customized the design section, save it and move to the next option by clicking the continue button.
9. The next section is the display section; here, you can set display rules.
- Choose specific pages you want to display widgets
- Add multiple website URLs
- Choose whether you want to display widgets to new or returning visitors.
- Target audience using UTM source, referrer site, and cookies name
10. Once you have customized both these options, click on “Finish.”
And turn the widget ON
That’s it. The call-back widget will be live on your website. You can check it on your website
So that’s how you can create a call-back widget on your website.


