This guide will walk you through:
Capturing Lead Activities: Connect Woorise with WiserNotify using a webhook to fetch real-time lead data.
Add Webhook Integration to Connect Woorise to pull the events lead data
Step 1: Get the Webhook URL from WiserNotify
- Go to WiserNotify > Woorise Integration.
- Click on the Integrate button inside the Integration box.

1. Enter the Name of your connection.
2. Click on the Create button.
3. Click on the copy button.

Step 2: Configure Webhook in Woorise
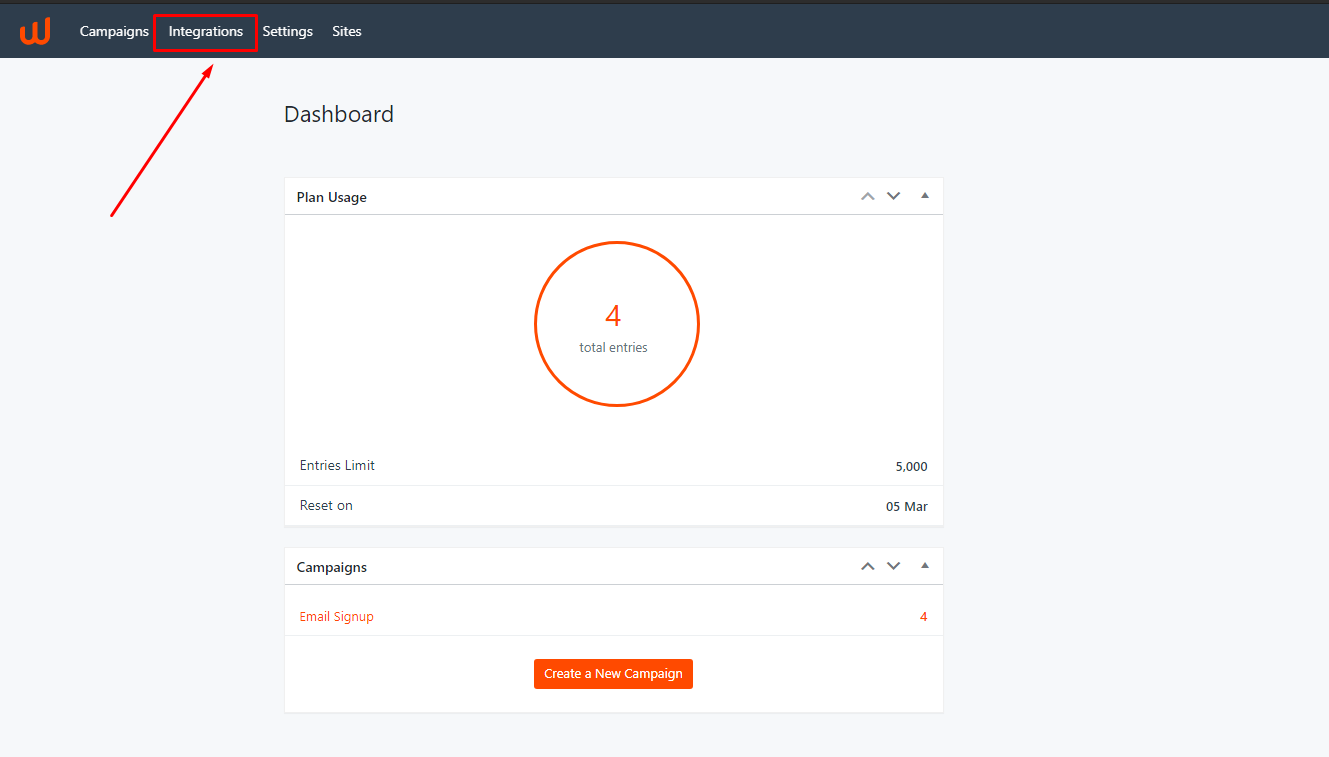
Login with Woorise.
— Go to Integration tab.

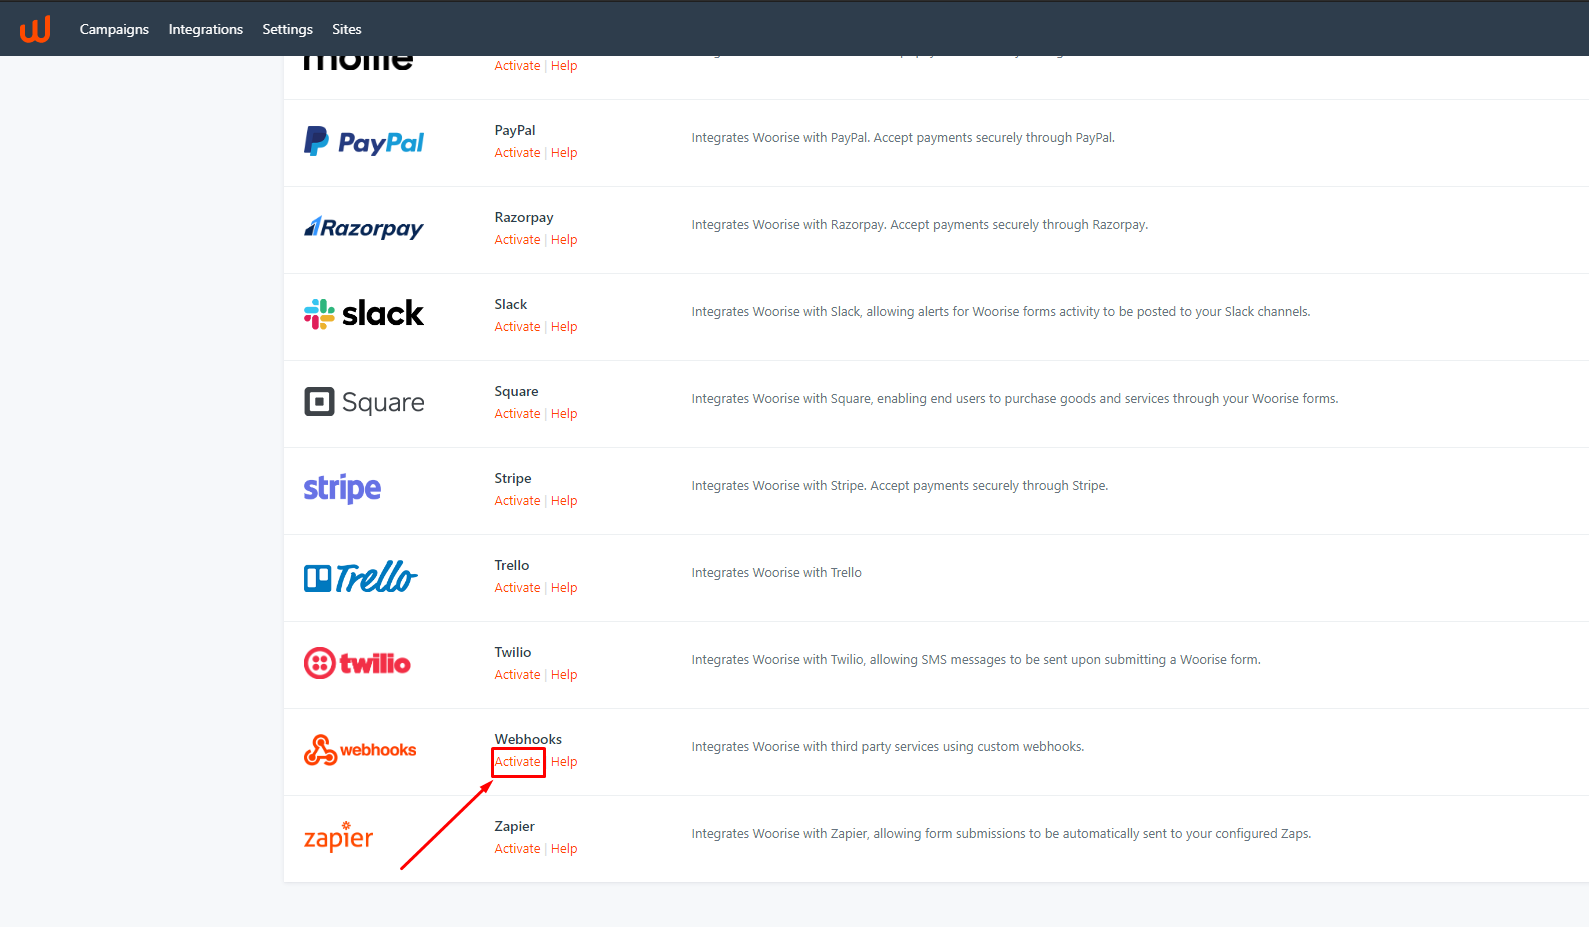
— Activate Webhook Integration.

— Go To Campaign tab.

— Edit Campaign.

— Edit Form.

— Hover on the Settings tab and click on the Webhooks option.

— Click on Add new button.

— Enter Webhook name.
— Paste Copied WiserNotify Webhook URL Into Request URL.
— In Request Method select “POST“.
— In Request Format select “JSON”.
— In Request body select “Select Fields” option.
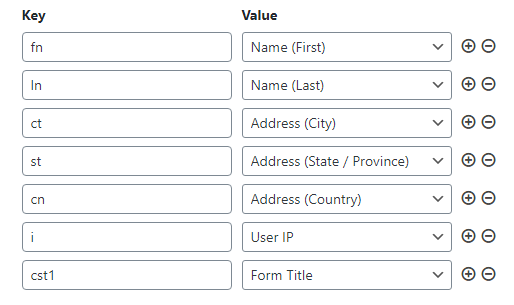
— In both dropdown options, add WiserNotify Keys and select form values.
fn-> Name(First)
ln->Name(last)
ct-> Address(city)
st->Address(State/Province)
cn->Address(Country)
i->User IP
cst1->Form Title
Reference Screenshot:

— Click on Upthe date setting.

Please do a test by adding new data & visit the WiserNotify Dashboard – Data page. Here, You can see all the captured/ received data with its source name.


